 Save
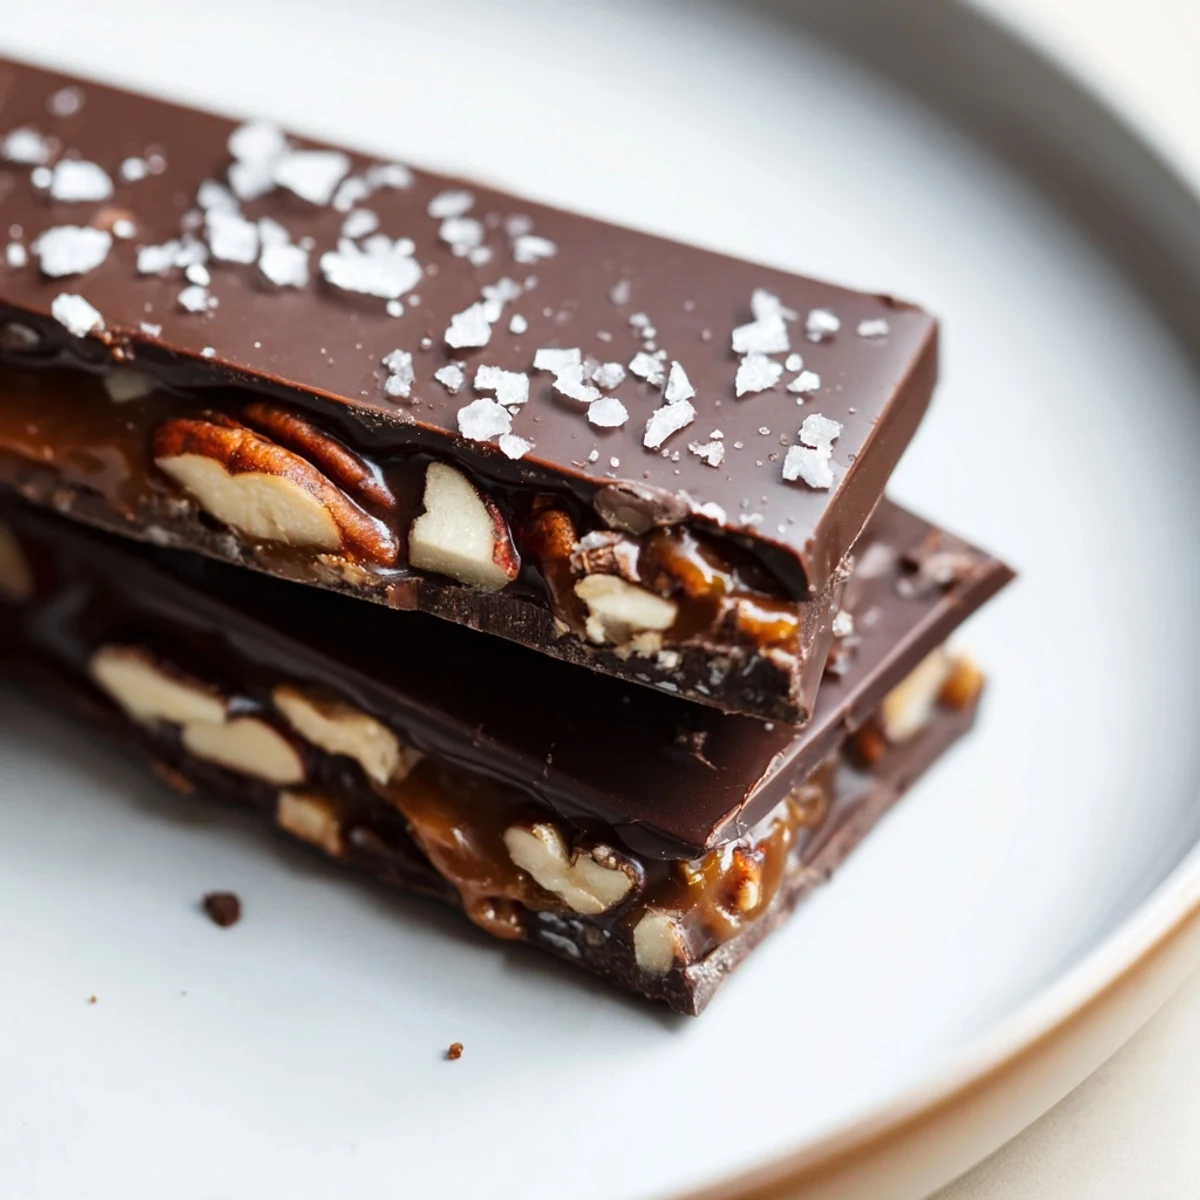
Save Create impressive layered squares by melting dark chocolate with butter. Spread a rich layer of soft caramels mixed with heavy cream, scatter chopped roasted nuts and sea salt, then top with the remaining chocolate. Chill until firm and slice into elegant bars.
There's something about the smell of melting chocolate that makes you feel like you're accomplishing something real in the kitchen. A friend once brought homemade chocolate bars to a dinner party, and I watched everyone's faces light up before they even tasted them—that moment stuck with me. I started experimenting with layering chocolate, caramel, and nuts, trying to recreate that magic. These bars turned out to be easier than they looked, and somehow more impressive.
I made these for my sister's book club once, and they disappeared so fast I didn't even get to eat one myself. The next day she texted me a photo of the empty plate with 'MAKE THEM AGAIN' in all caps. That's when I knew these bars deserved a permanent spot in my rotation.
Ingredients
- Dark or semi-sweet chocolate, chopped (300 g): This is the frame for everything else, so pick chocolate you actually enjoy eating on its own. Chopping it yourself helps it melt more evenly than using chips.
- Unsalted butter (2 tbsp): A little fat makes the chocolate smoother and easier to spread without cracking.
- Soft caramels, unwrapped (200 g): Check the brand—some are firmer than others, so you might need a splash more cream to get them silky. The unwrapping takes a minute but saves your sanity later.
- Heavy cream (3 tbsp): This turns caramels into something you can actually spread. Warm cream melts them faster than you'd expect.
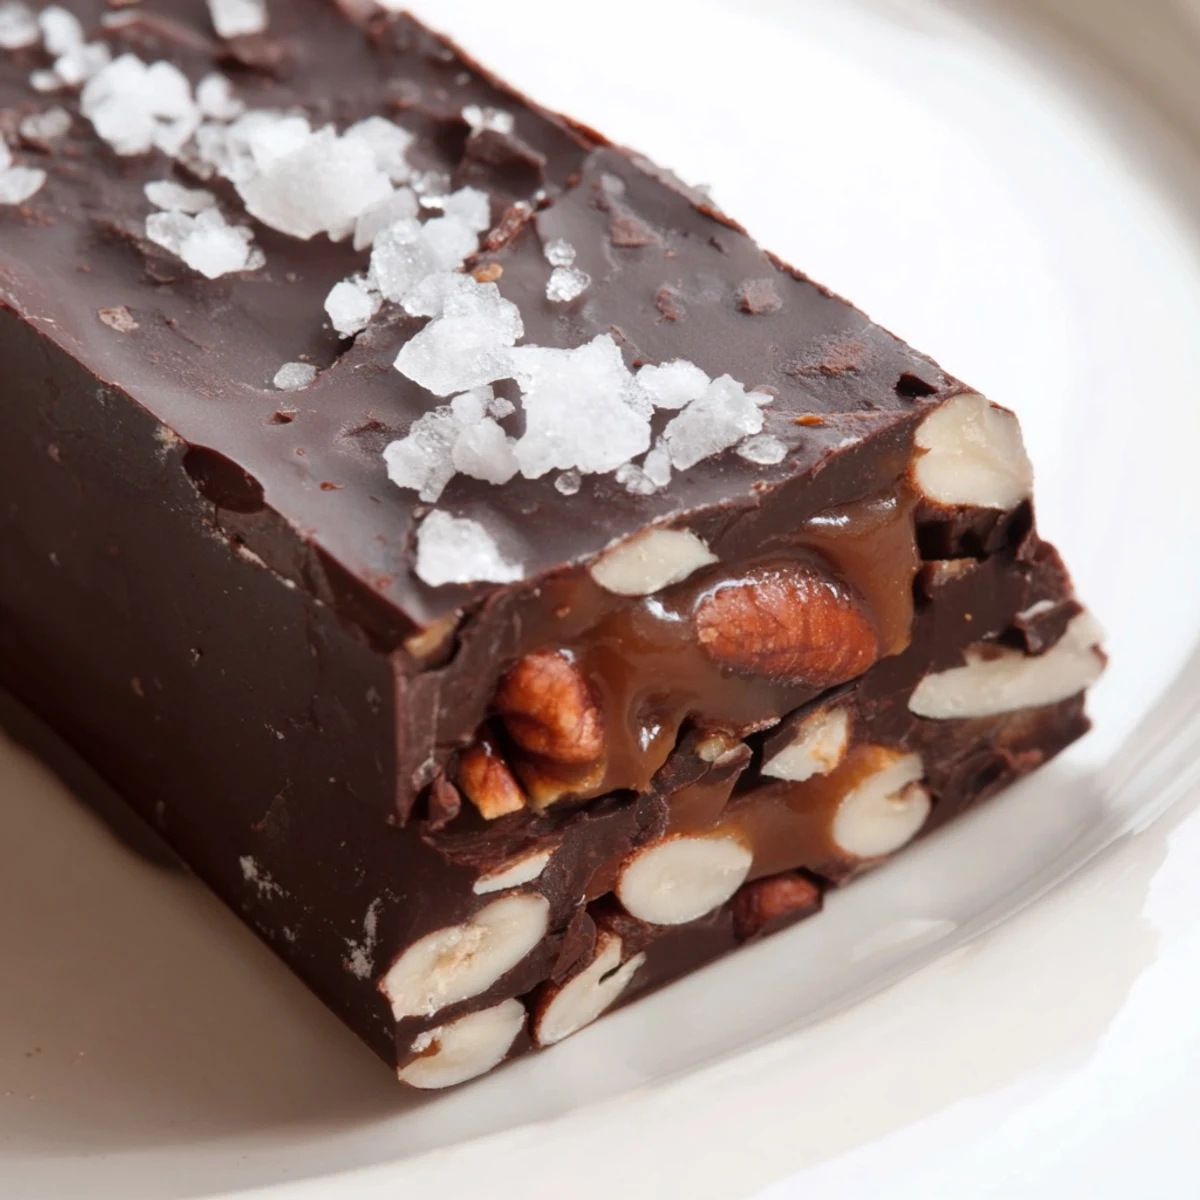
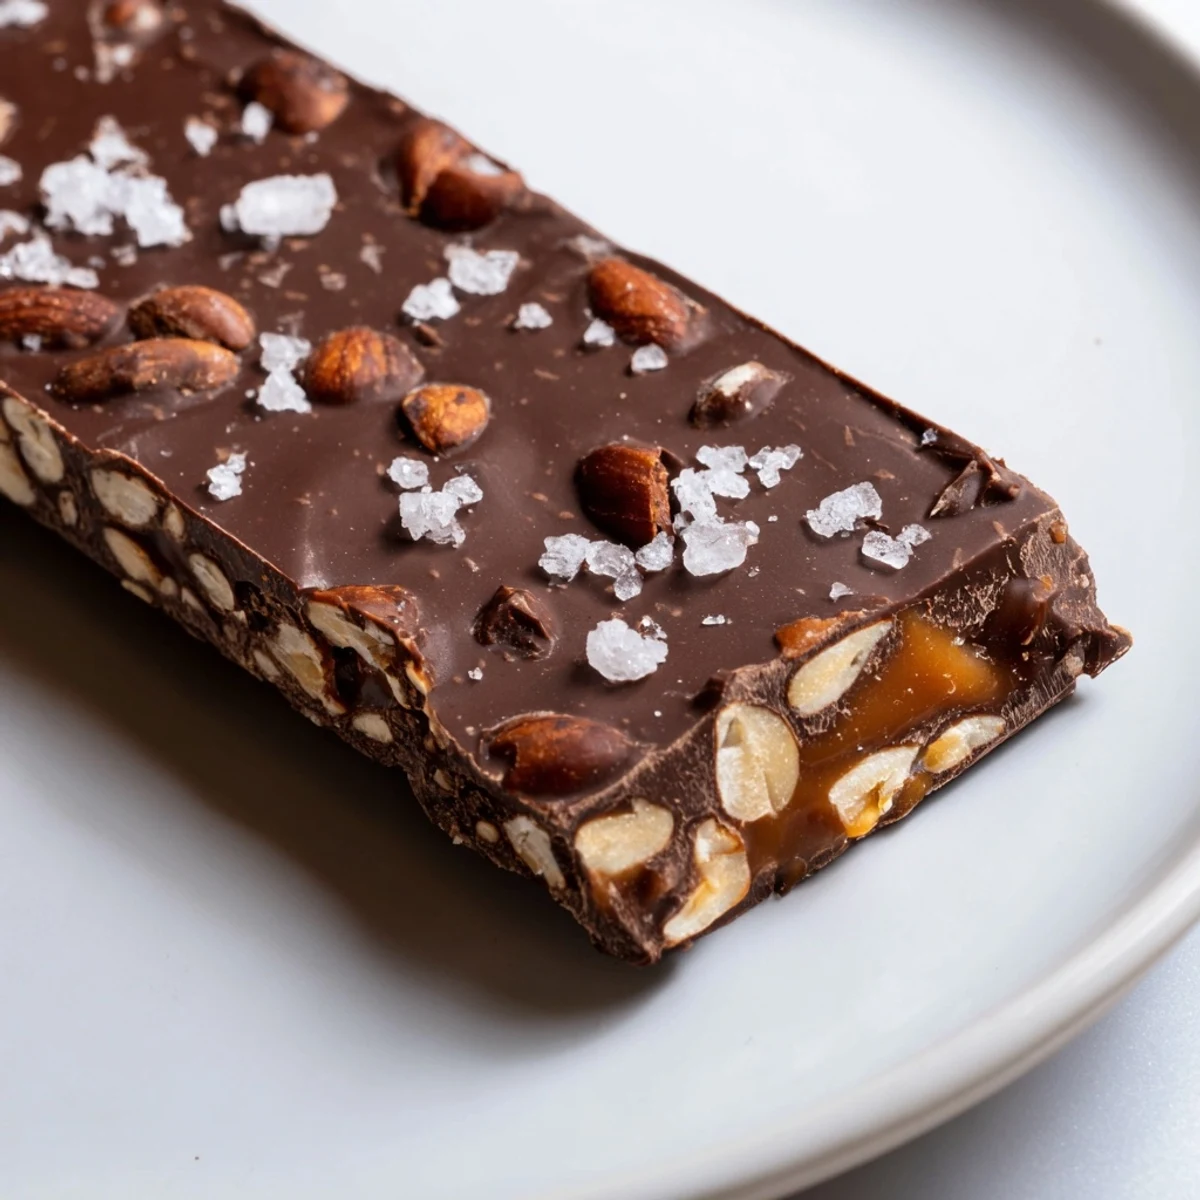
- Mixed nuts, roughly chopped (120 g): Almonds, hazelnuts, pecans—use whatever you have. The rough chop gives you satisfying texture that fine pieces miss.
- Flaky sea salt (1/4 tsp, optional): Don't skip this unless you really dislike salt. It's the secret that makes people wonder what makes these taste so good.
Instructions
- Line your pan and prep:
- Line an 8x8 inch square pan with parchment paper, letting it hang over the sides so you can lift the whole slab out later. This overhang saves you from breaking your bars apart with a spatula.
- Melt the chocolate base:
- In a heatproof bowl over simmering water or in short microwave bursts, melt the chocolate and butter together until glossy and smooth. Stir every so often so nothing catches on the bottom.
- First chocolate layer:
- Pour half your melted chocolate into the pan and spread it thin with a spatula. Get it into the corners so it holds everything in place. Chill for 15 minutes until it sets firm enough to hold the caramel.
- Make the caramel layer:
- In a saucepan over low heat, combine the caramels and cream, stirring constantly as they warm up and blend into something smooth and pourable. This usually takes 3 to 4 minutes if you're patient with the heat.
- Build the middle layer:
- Spread the caramel evenly over your chilled chocolate. Sprinkle the chopped nuts all over it and press them in gently so they stick. If you're using salt, scatter it now while the caramel is still slightly warm.
- Top with chocolate:
- Pour the remaining melted chocolate over the nuts and spread it to cover everything completely. This top layer seals everything in and makes the bars look finished and professional.
- Final chill and cut:
- Refrigerate for at least 30 minutes until the whole thing is solid. Lift out using the parchment overhang, then cut into 12 bars with a sharp knife, wiping the blade between cuts so you get clean edges.
 Save
Save My neighbor once asked if I'd opened a chocolate shop in my kitchen, and honestly that comment made my week. There's real pride in making something with your own hands that feels fancy enough to gift but approachable enough to eat while watching TV.
Choosing Your Chocolate
Dark chocolate gives these bars sophistication and a slight bitterness that plays nicely against the sweet caramel. Semi-sweet is friendlier and smoother if you prefer sweetness above all else. I've found that mid-range chocolate works just as well as expensive brands here—the caramel and nuts do so much of the work that you're not tasting pure chocolate flavor on its own.
Nut Variations and Toasting
Toasting your nuts for a few minutes in a dry skillet adds depth that untoasted nuts can't match. The smell alone tells you when they're ready, and they cool down in about two minutes on the counter. You can also swap the mixed nuts for peanuts, walnuts, or pistachios—each one tastes noticeably different but equally good.
Storage and Serving Tips
These bars live happily in an airtight container in the refrigerator for up to a week, though they usually don't last that long. Room temperature makes them a little softer and more yielding; slightly chilled gives them a snappier bite.
- Keep them in the fridge between eating sessions so the chocolate doesn't get sad and greasy at room temperature.
- If you're taking them somewhere, pack them flat and cool so the layers don't shift around.
- They taste even better the next day when the flavors have had time to settle together.
 Save
Save These chocolate bars sit somewhere between homemade candy and a serious dessert, which is exactly why people love them. Make a batch and watch what happens when someone realizes you actually made these yourself.
Recipe FAQs
- → Can I use milk chocolate?
-
Yes, substituting milk chocolate works perfectly if you prefer a sweeter and creamier flavor profile.
- → How do I store these bars?
-
Store the cut bars in an airtight container in the refrigerator to maintain their texture and freshness.
- → Should I toast the nuts?
-
Lightly toasting the nuts before adding them enhances their flavor and adds a pleasant crunch to the layers.
- → Can I use different nuts?
-
Absolutely, feel free to use almonds, hazelnuts, pecans, or any combination of your favorite crunchy nuts.
- → Why is sea salt optional?
-
Sea salt cuts through the sweetness and balances the rich chocolate and caramel, but it is not strictly necessary.
