 Save
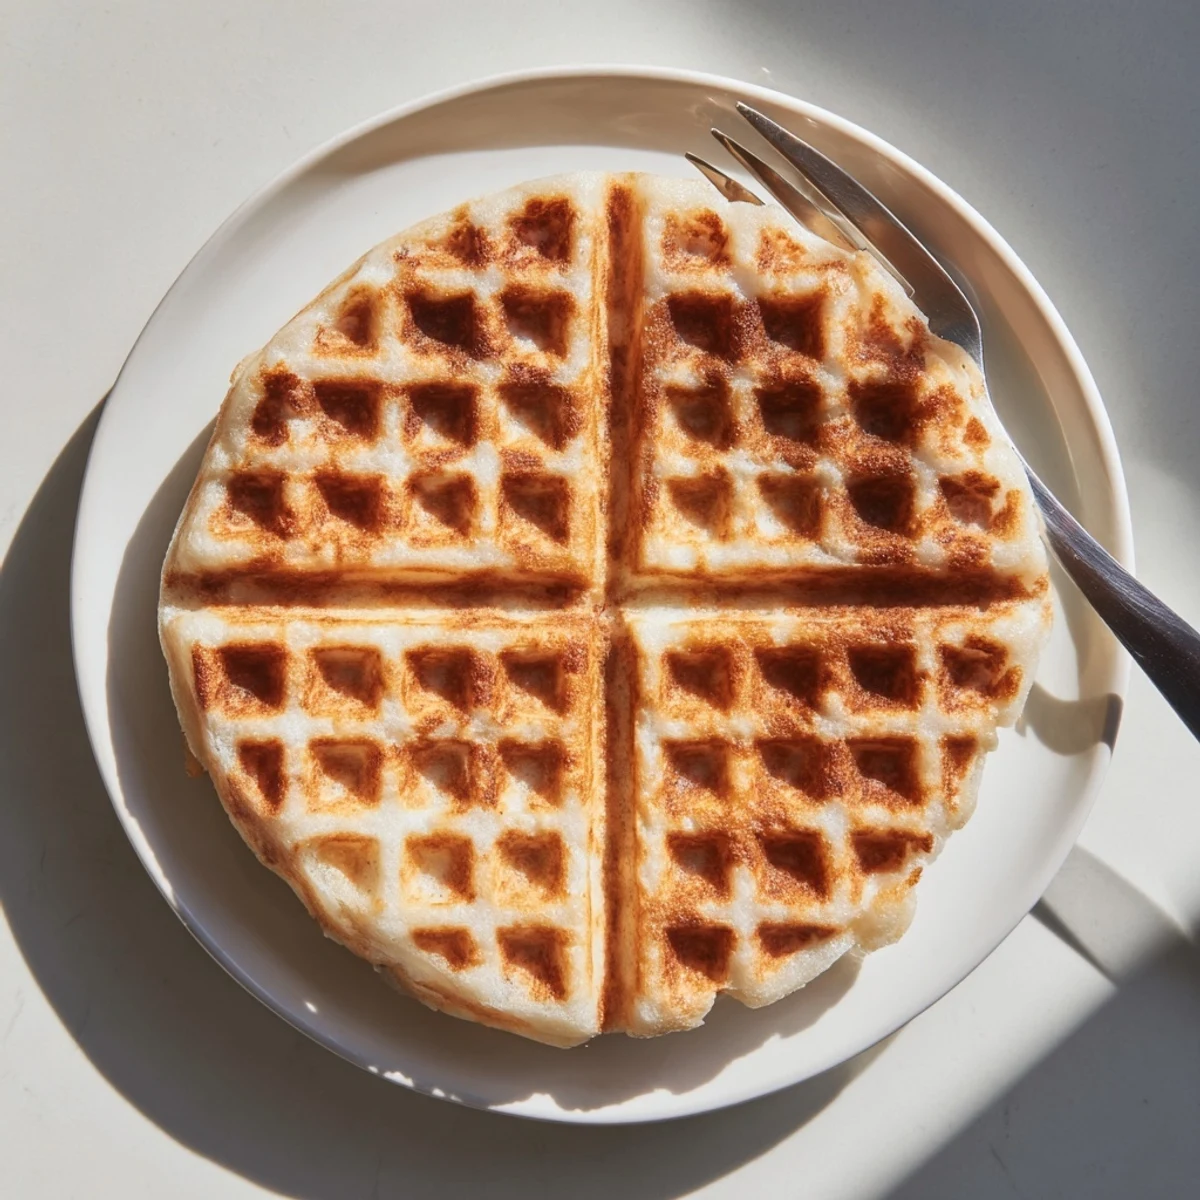
Save Transform simple russet potatoes into golden, crunchy waffle-shaped hashbrowns using your waffle iron. Grated potatoes combined with onion, egg, and seasonings create perfectly crispy edges and tender centers. This hands-off method delivers restaurant-quality results without constant stovetop monitoring.
Last Sunday morning I stood in my kitchen staring at my waffle iron, which had been gathering dust for months, and suddenly wondered what would happen if I threw shredded potatoes in there instead of batter. The result was so ridiculously crispy that my husband actually asked if I'd ordered them from a diner.
I made these for a friend's birthday brunch last month and watched everyone abandon the fancy quiche I'd also made just to hover around the waffle iron waiting for each batch to finish. Something about watching them cook is strangely mesmerizing.
Ingredients
- 3 large russet potatoes peeled: Russets have the perfect starch content for crispy results and their mild flavor lets the seasonings shine through
- 1 small yellow onion finely grated: The onion melts into the potatoes as they cook adding subtle sweetness and savory depth
- 1 large egg: This acts as the glue holding everything together without making the hashbrowns taste eggy
- 2 tablespoons all purpose flour or gluten free alternative: Just enough to bind the mixture and help create that golden crust we're after
- 1 teaspoon garlic powder: Adds a background savory note that makes people ask what your secret ingredient is
- 1 teaspoon salt: Essential for bringing out all the flavors and making those potatoes taste like something special
- ½ teaspoon black pepper: Provides a gentle heat that balances the richness of the butter
- 2 tablespoons unsalted butter melted plus extra for greasing: Butter creates unmatched flavor and browning while oil prevents sticking
- 2 tablespoons vegetable oil: Has a higher smoke point than butter alone ensuring nothing burns during the longer cooking time
Instructions
- Preheat your waffle iron to medium high heat:
- You want it hot enough to sizzle when the mixture hits it but not so hot that the outside burns before the inside cooks through
- Grate the potatoes using a box grater:
- Work quickly and use the large holes for the best texture then place the grated potatoes in a clean kitchen towel and squeeze out as much liquid as possible until the potatoes feel dry to the touch
- Combine the mixture:
- In a large bowl mix together the grated potatoes grated onion egg flour garlic powder salt and black pepper until everything is evenly distributed
- Add the butter:
- Pour in the melted butter and stir until every shred of potato is lightly coated
- Prepare the waffle iron:
- Lightly grease both sides with vegetable oil or nonstick spray paying special attention to the corners where sticking is most likely to happen
- Cook the hashbrowns:
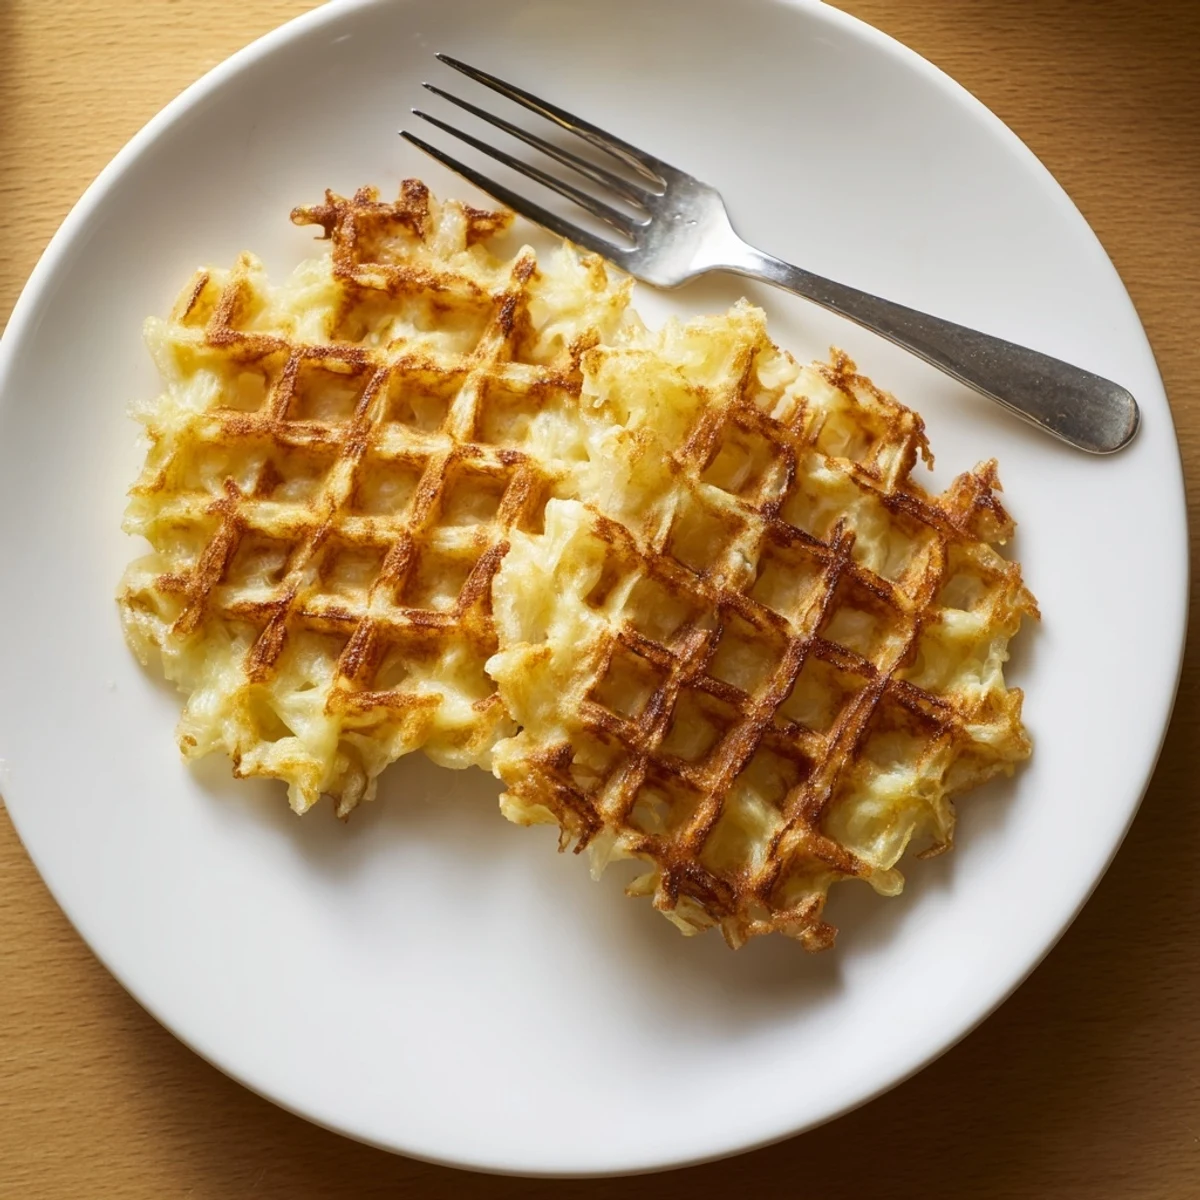
- Spread a generous even layer of the potato mixture on the preheated waffle iron without overfilling then close and cook for 10 to 12 minutes until deeply golden and crispy
- Finish cooking:
- Carefully remove the hashbrowns using a heat proof spatula and repeat with the remaining mixture keeping finished ones warm in a low oven if needed
 Save
Save My mom claims she's been making hashbrowns for thirty years and was absolutely skeptical about the waffle iron method until she tried mine. Now she keeps her waffle iron on the counter permanently.
Making Them Your Own
I've discovered that adding a handful of shredded sharp cheddar to the mixture creates the most incredible cheesy crust that forms almost like a frico on the edges. Fresh herbs like chopped chives or parsley folded in right before cooking add bright pops of flavor and beautiful green flecks throughout.
Serving Ideas
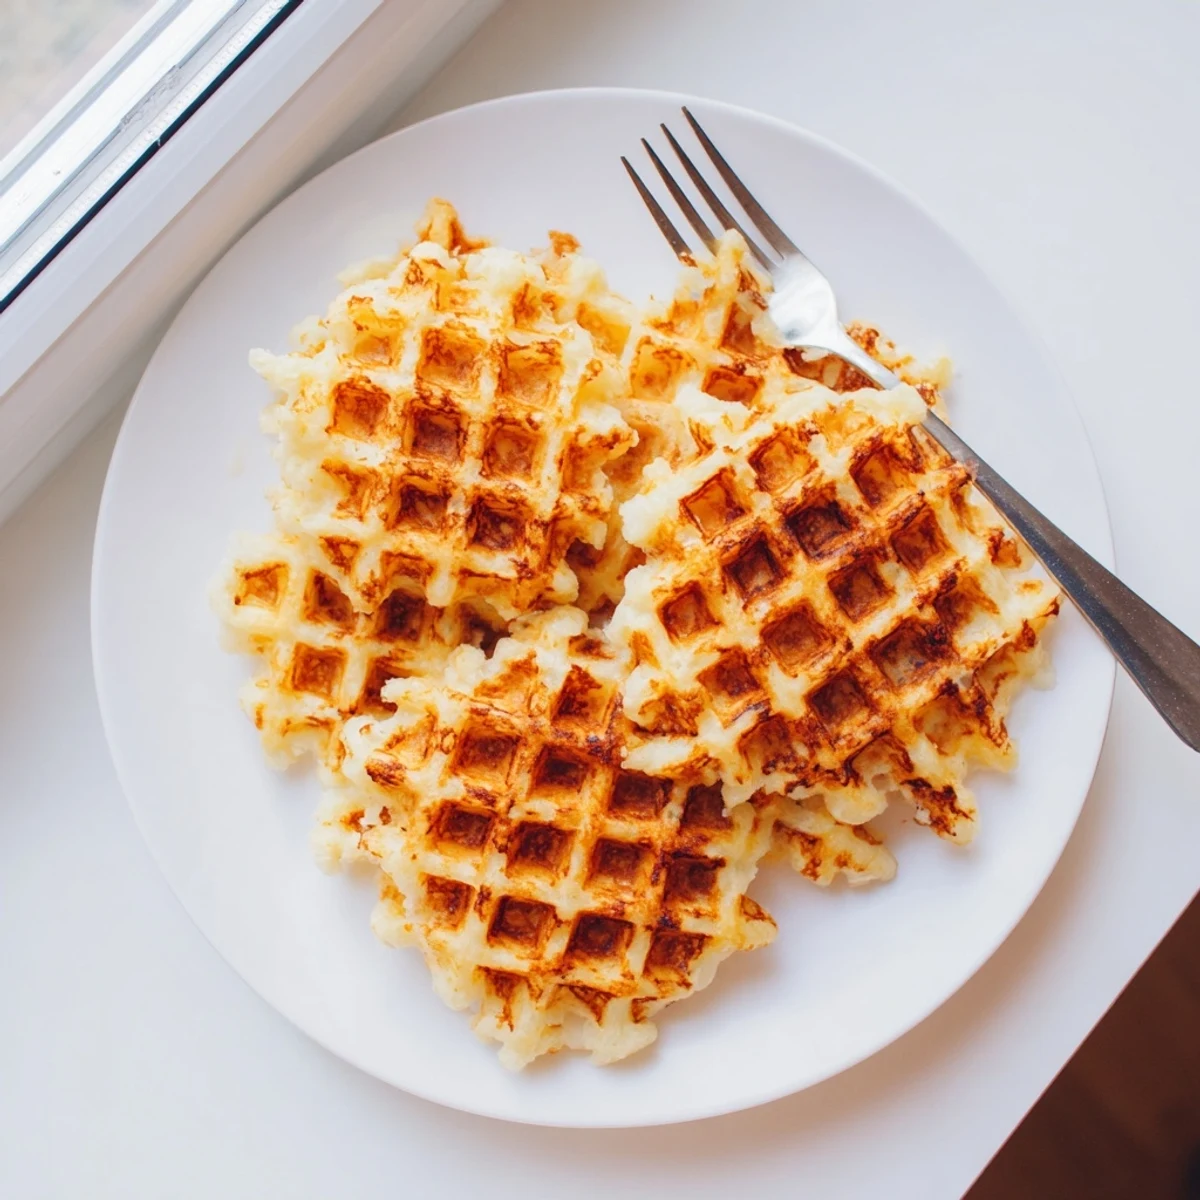
These hashbrowns are substantial enough to stand alone as a light lunch topped with a fried egg and some hot sauce. They're also perfect alongside any breakfast spread and hold up well under toppings like sour cream or applesauce.
Timing Is Everything
You can grate and squeeze the potatoes up to an hour ahead keeping them submerged in cold water to prevent browning then drain and squeeze again before mixing with the other ingredients.
- Let the mixture rest for 5 minutes before cooking to help the flour absorb moisture
- Keep finished hashbrowns in a 200°F oven so everyone can eat together
- Reheat leftovers in a toaster oven to maintain that crispy texture
 Save
Save There's something deeply satisfying about transforming the humblest ingredients into something that feels like such a treat.
Recipe FAQs
- → Why squeeze liquid from grated potatoes?
-
Removing excess moisture helps achieve maximum crispiness. Water in the potatoes creates steam during cooking, which can make hashbrowns soggy instead of crunchy.
- → Can I prepare the mixture ahead of time?
-
Yes, you can grate and season the potatoes up to 4 hours before cooking. Keep the mixture refrigerated in a sealed container, but squeeze out any additional liquid before cooking.
- → What works best for waffle iron grease?
-
Vegetable oil, canola oil, or nonstick spray all work well. Butter can burn at high waffle iron temperatures, so save melted butter for mixing into the potatoes.
- → How do I prevent sticking?
-
Preheat your waffle iron fully before adding the mixture. Generously grease both sides with oil before each batch, and allow the hashbrowns to cook until deeply golden before attempting to remove.
- → Can I freeze leftover hashbrowns?
-
Cool completely, then freeze in a single layer on a baking sheet before transferring to a freezer bag. Reheat in a 375°F oven or toaster oven for 8-10 minutes until crispy again.
