 Save
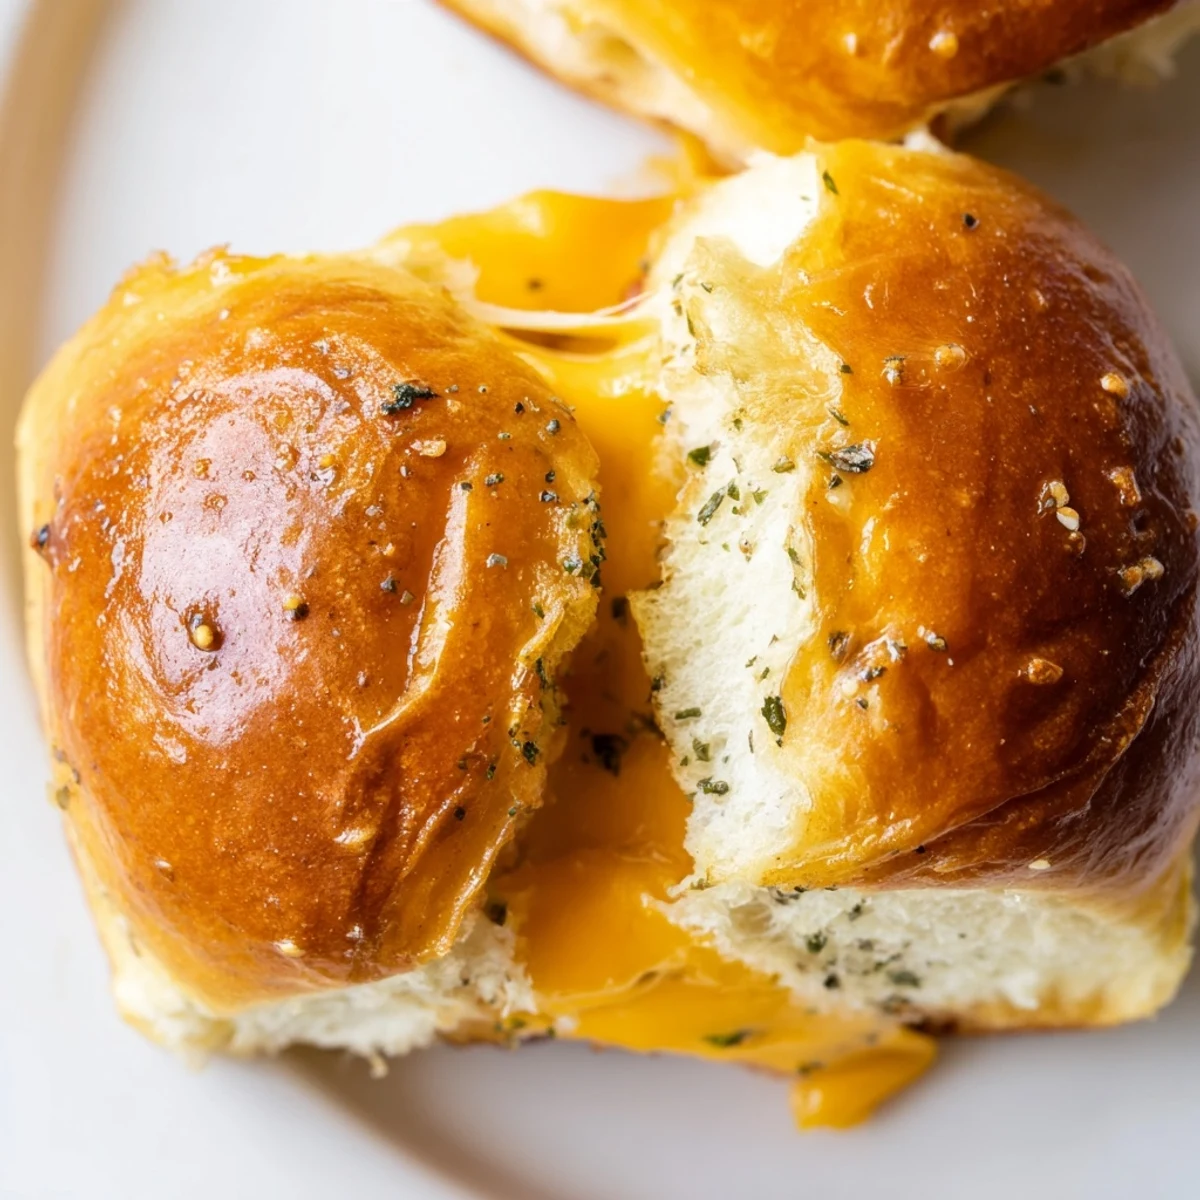
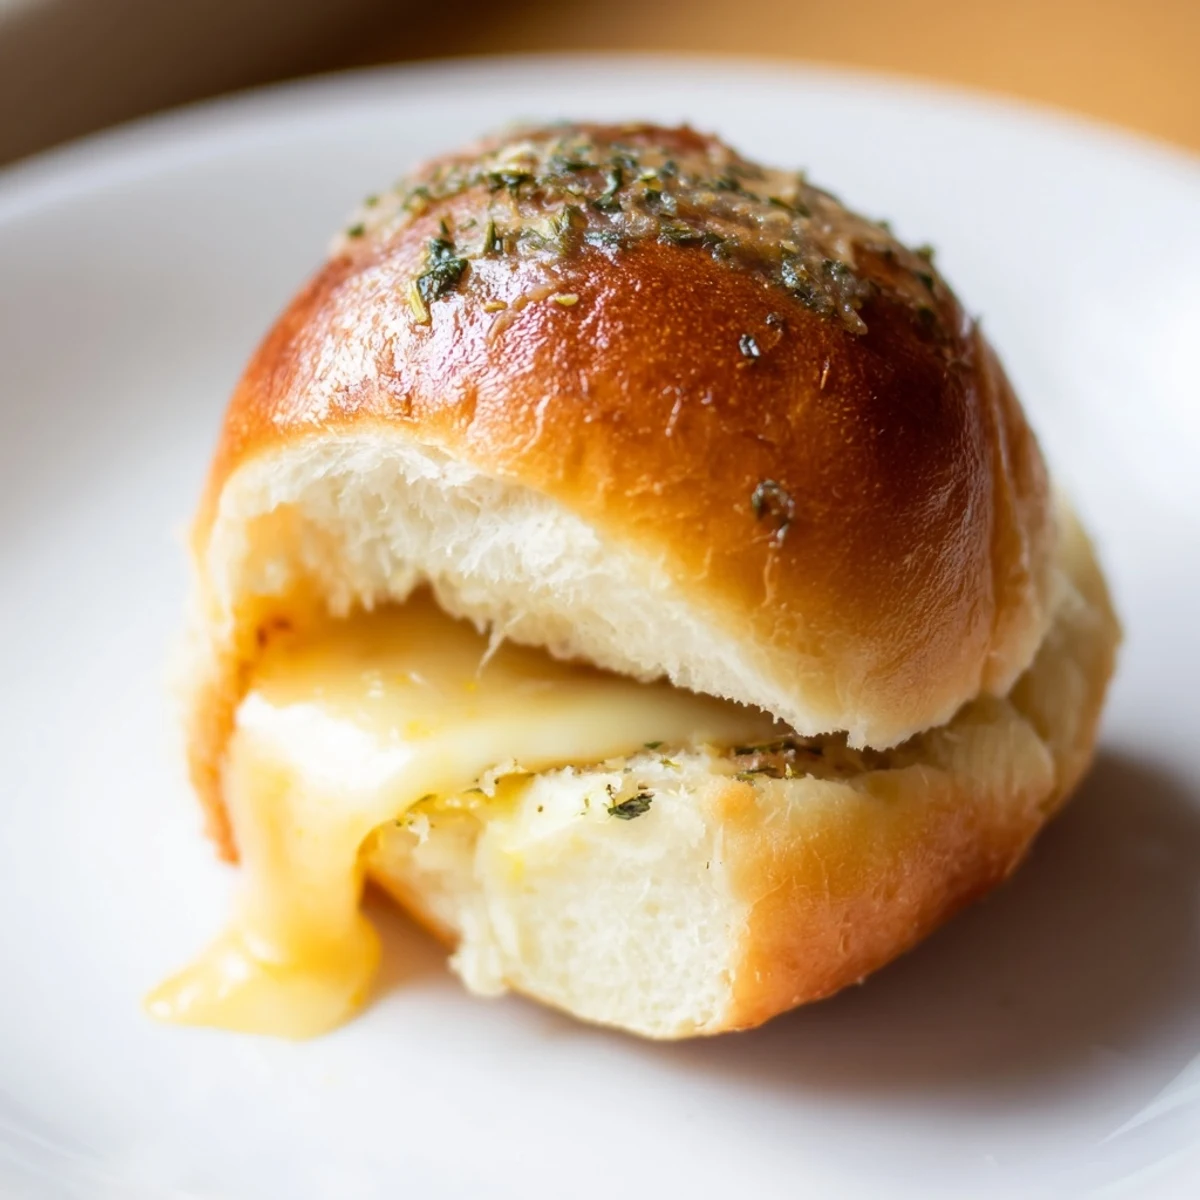
Save These bite-sized sandwiches transform sweet Hawaiian rolls into irresistible appetizers. The rolls stay connected while baking, making preparation quick and efficient. Melted cheddar creates the perfect gooey center, while a garlic-parsley butter mixture adds savory depth and helps achieve that coveted golden crunch on top.
The preparation takes just 10 minutes—slice the rolls horizontally, layer cheese slices, and brush with seasoned butter. After 15 minutes in the oven, you'll have 12 warm, handheld sandwiches with crispy tops and soft, cheese-filled centers. They're ideal for game day spreads, birthday parties, or casual weeknight dinners alongside tomato soup.
The kitchen was chaos that Sunday—my niece had brought over three friends unexpectedly, and I needed something warm and comforting in minutes. These little sliders have saved me more times than I can count, especially when sweet cravings meet hungry crowds.
Last summer I made these for a backyard movie night, and honestly, they disappeared before the popcorn even finished popping. My brother-in-law kept wandering back to the kitchen every ten minutes until finally he just admitted hed eaten six.
Ingredients
- 12 Hawaiian rolls: The sweetness is non negotiable here—regular sandwich rolls just give you a completely different vibe
- 12 slices cheddar cheese: I like sharp for contrast but honestly use whatever melts beautifully in your kitchen
- 4 tablespoons unsalted butter: Melted and mixed with garlic powder this creates that golden buttery top everyone fights over
- 1 teaspoon garlic powder: Adds just enough savory depth without turning these into garlic bread
- 1 teaspoon dried parsley: Totally optional but makes them look like you tried way harder than you actually did
- 1/4 teaspoon salt: Brings everything together especially if your butter is unsalted
Instructions
- Get your oven ready:
- Preheat to 350°F and grab a baking dish that fits all your rolls snugly together
- Prep the rolls:
- Slice them all in half horizontally but keep them connected—it keeps the cheese from melting everywhere and makes assembly faster
- Layer the cheese:
- Place bottom halves in your dish and lay cheese slices on each one, overlapping slightly if needed to cover completely
- Reassemble:
- Put the tops back on and press down gently so everything stays friendly
- Make the butter magic:
- Whisk melted butter with garlic powder, parsley, and salt until combined
- Brush generously:
- Coat the tops thoroughly—dont be shy here, this is what creates that gorgeous golden crust
- Bake until perfect:
- 12 to 15 minutes until cheese is melty and tops are golden brown
- Finish and serve:
- Let them cool for just a couple minutes then cut into individual sandwiches while still warm
 Save
Save These became my daughters most requested sleepover food after she served them at her 13th birthday party. Her friends still ask about them every single time they come over.
Make Them Your Own
Sometimes I slide thin tomato slices between the cheese layers, especially in summer when tomatoes are actually worth eating. A layer of ham or turkey transforms them into something that feels like dinner rather than just snacks.
Cheese Choices
Cheddar is classic but mozzarella creates those ridiculous cheese pulls kids go crazy for. Provolone adds a sharpness that cuts through the sweet rolls beautifully, and honestly mixing two cheeses is never a bad idea.
Serving Ideas
These disappear fastest when served alongside something warm like tomato soup for dipping. They also work perfectly as game day food or packed into lunchboxes cold—though honestly they never last long enough to become leftovers.
- Pair with a simple green salad to make it feel like a real meal
- Cut them in quarters for bite sized party appetizers
- Double the recipe if you are feeding more than four people because they go fast
 Save
Save These little sandwiches have a way of making ordinary Tuesdays feel like tiny celebrations. Sometimes simple food is exactly what we need.
Recipe FAQs
- → Can I prepare these ahead of time?
-
Yes, assemble the sliders up to 24 hours before baking. Wrap tightly in foil and store in the refrigerator. Add the butter mixture just before baking, or brush it on beforehand and bake straight from the fridge—just add 2-3 extra minutes to the cooking time.
- → What cheese works best for melting?
-
Sharp cheddar provides excellent flavor and melt, but mozzarella creates superior stretch. Provolone adds mild nuttiness, while Swiss brings subtle sweetness. For the ultimate experience, try combining two cheeses—cheddar for flavor plus mozzarella for that perfect cheese pull.
- → How do I prevent the rolls from getting soggy?
-
Avoid over-brushing with butter—a thin, even coating is sufficient. Also, place cheese directly on the bottom roll without adding moist ingredients like tomatoes unless serving immediately. If adding extras, keep portions minimal and ensure they're well-drained.
- → Can I make these vegetarian or add protein?
-
These are naturally vegetarian. For added protein, layer thin slices of deli ham, turkey, or cooked bacon between the cheese and roll. Just keep fillings thin to ensure proper heating throughout without drying out the bread.
- → What's the best way to reheat leftovers?
-
Reheat in a 350°F oven for 5-7 minutes to restore crispiness. Microwaving makes them soft, while air frying at 350°F for 3-4 minutes re-crisps the tops beautifully. Avoid refrigerating longer than 2 days as the rolls become stale.
