 Save
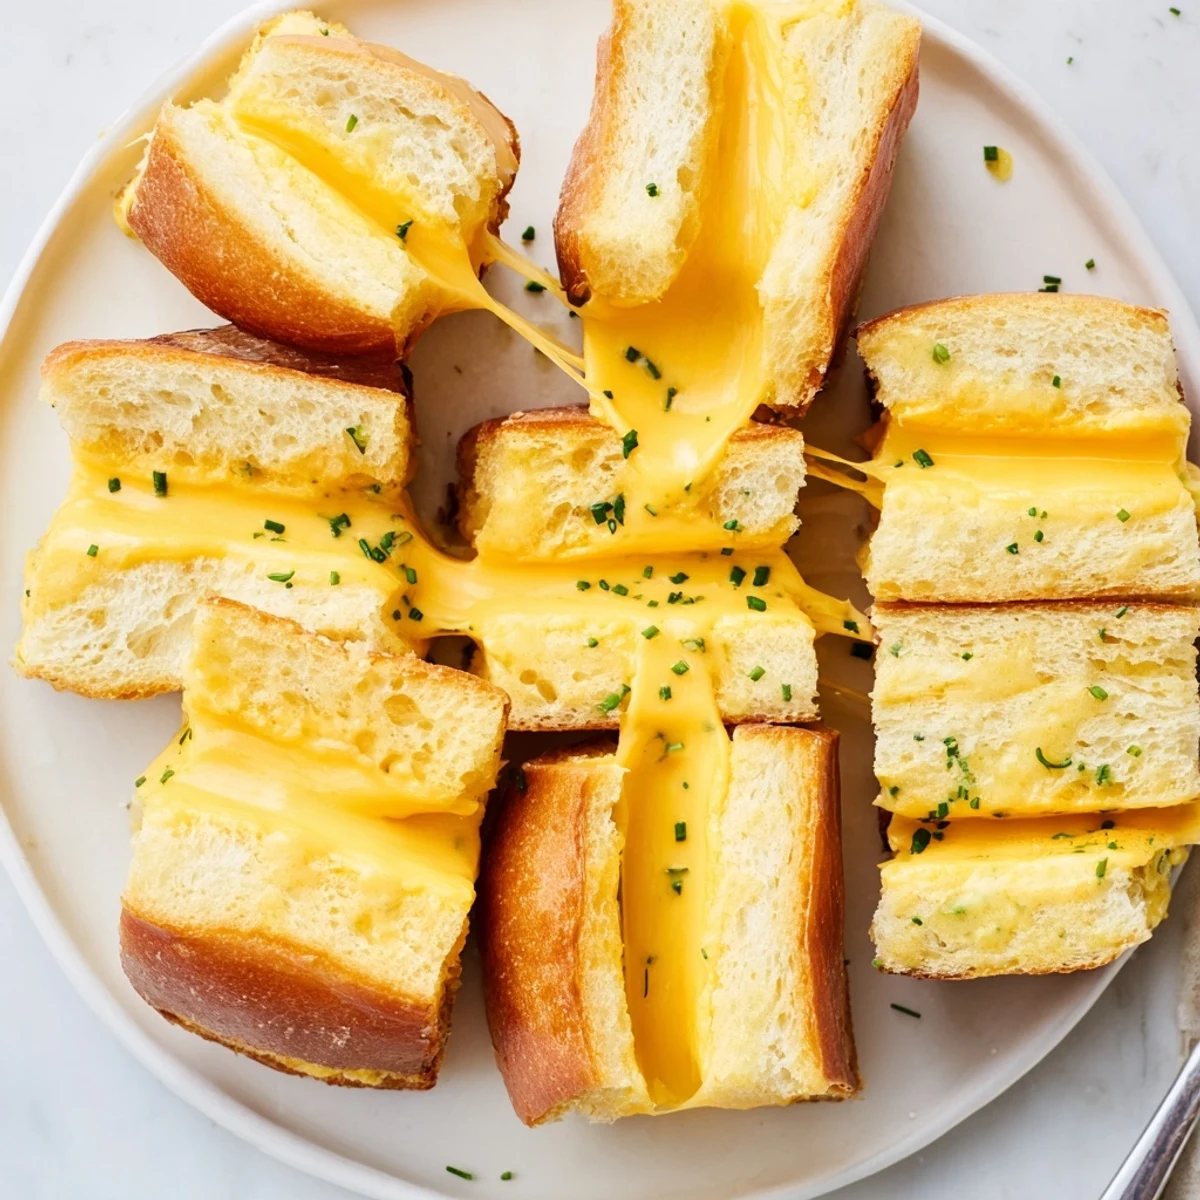
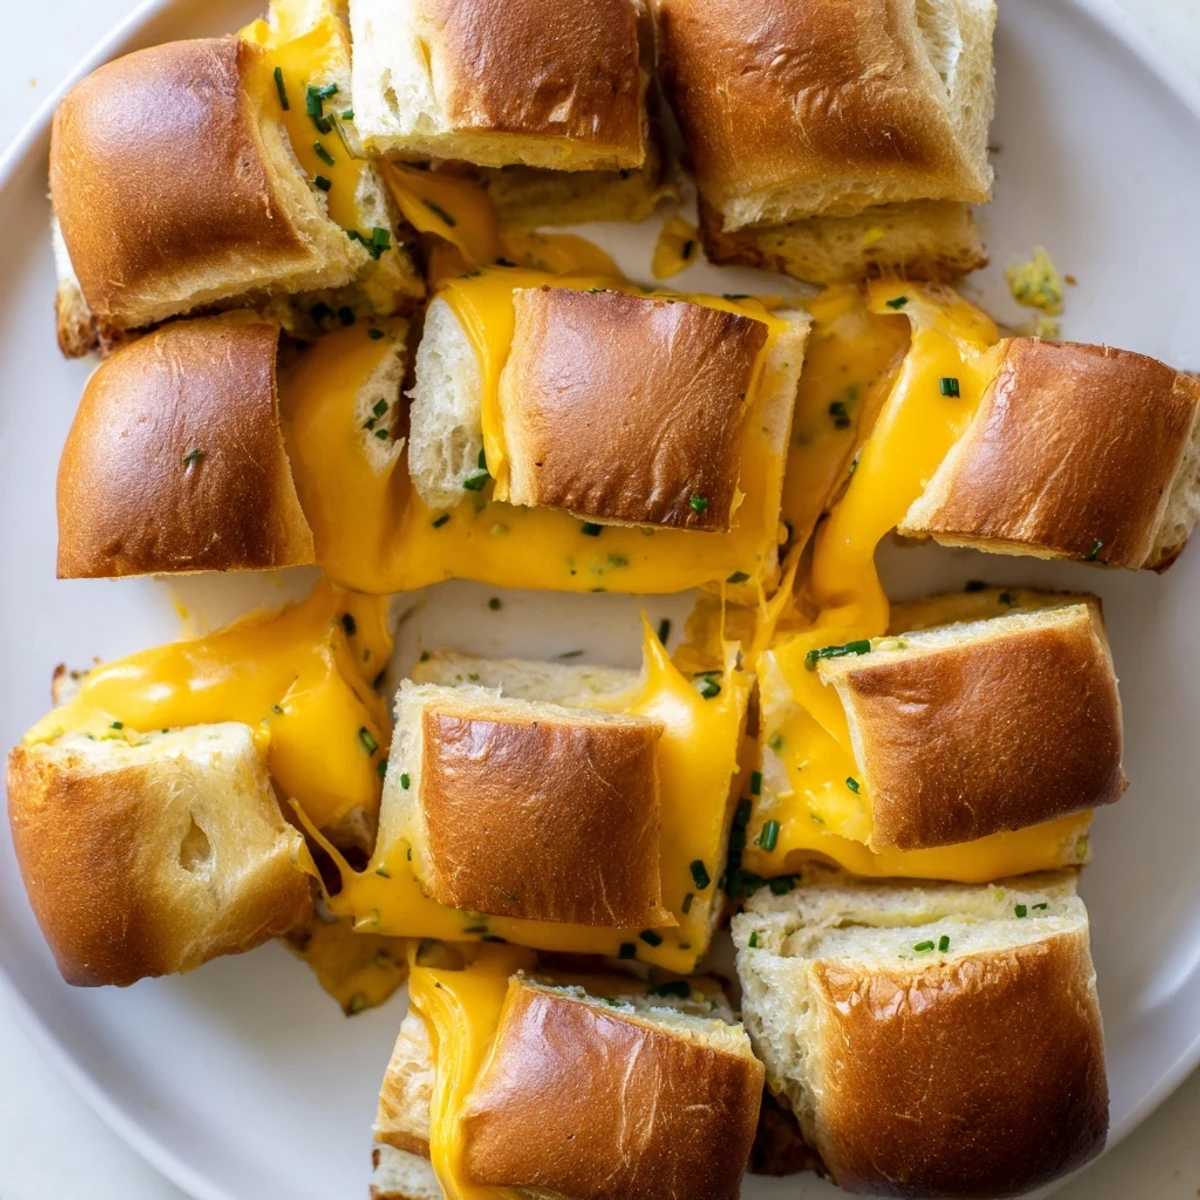
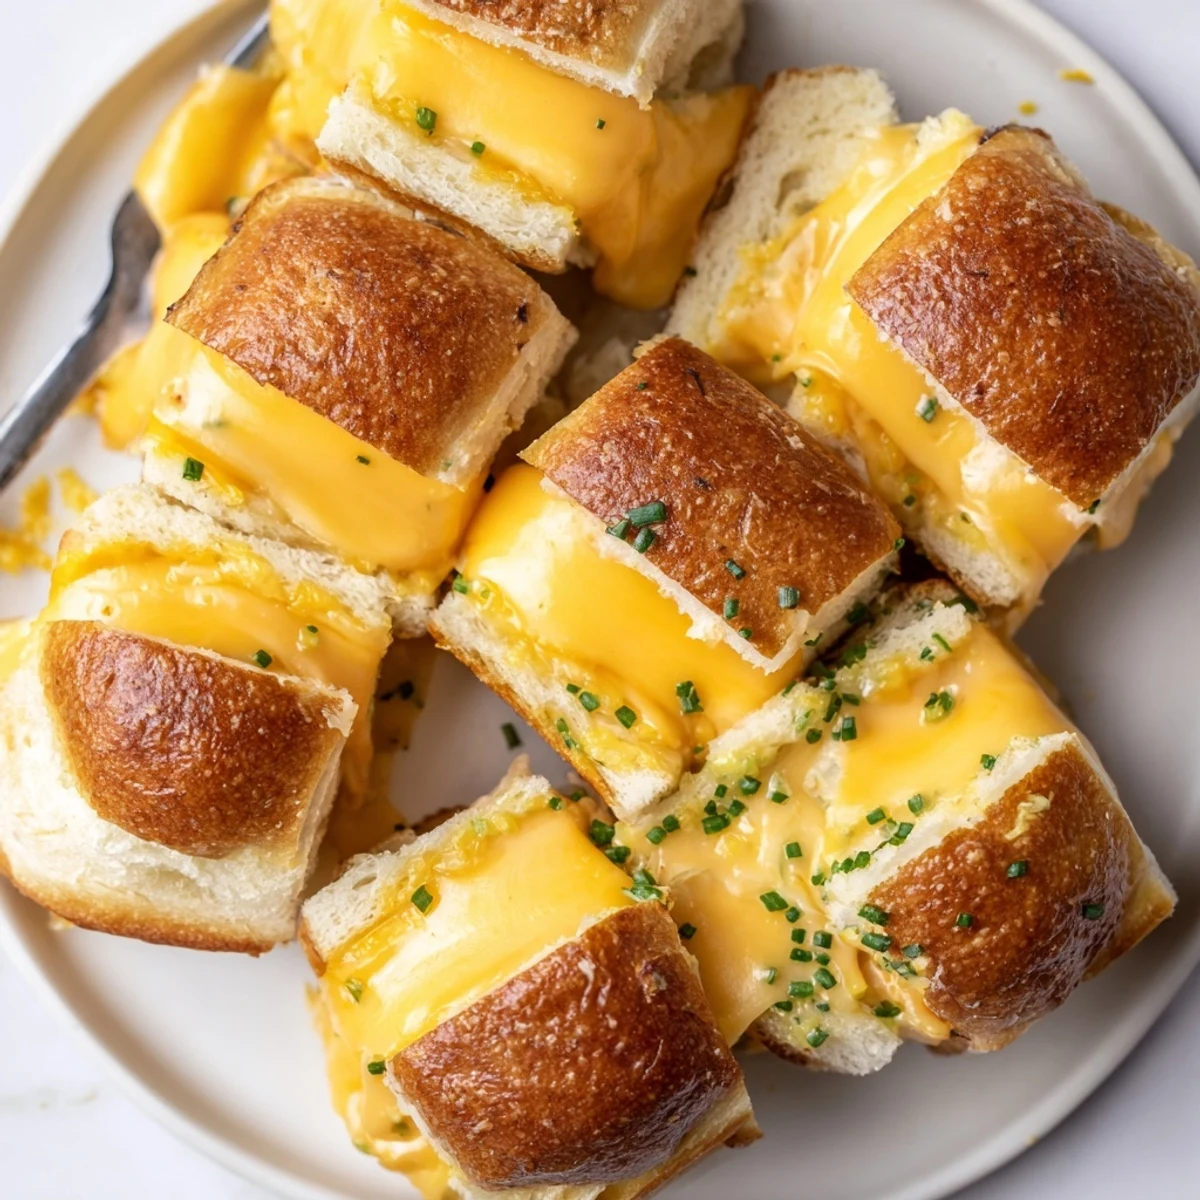
Save Soft, slightly sweet Hawaiian rolls are split into a top and bottom slab, layered with halved cheddar or Swiss and assembled into a 12-portion slab. Spread softened butter on both outer surfaces and either pan-grill 3–4 minutes per side over medium-low or bake 10–12 minutes at 180°C/350°F until bread is golden and cheese is melted. Let cool briefly, pull into minis and finish with Dijon or chopped chives. Serve warm with tomato soup or a dipping sauce.
The first time I tried making mini grilled cheese Hawaiian rolls, the intoxicating whiff of melting butter and toasting bread drifted through the kitchen before I even realized how satisfying this snack would be. My hands were sticky with softened butter and the cheese tried to slide away as I assembled each sandwich, but I ended up laughing at the buttery mess more than worrying about it. There is something playful about slicing through fluffy, golden buns and layering bright orange cheddar and pale Swiss side by side. I promise, this is more fun when you go a little off-script.
Once, during an impromptu movie marathon, I made a batch for friends and barely set the tray down before everyone dove in, hardly pausing for napkins. There were shouts over which cheese tasted best—cheddar melting in golden streaks or gooey Swiss stringing between bites. Someone suggested dunking theirs in tomato soup and the whole kitchen erupted with approval. At that moment, these little sandwiches transformed our evening into an unexpectedly memorable party.
Ingredients
- Hawaiian rolls: Their sweetness and soft, pillowy texture keep each sandwich tender, and pulling apart the rolls is oddly satisfying; slice carefully in one clean go to keep the shape.
- Cheddar cheese: Sharp cheddar gives these sandwiches that signature tang and oozy melt; choose slices over shreds for best layering.
- Unsalted butter: Makes every edge golden and crisp without overpowering the rolls; let it soften fully so spreading is gentle and even.
- Swiss cheese (optional): Adds a nutty dimension that complements the sweetness of the bread; it melts beautifully in the oven or skillet.
- Dijon mustard (optional): Brushing on a bit transforms these from kid-friendly to subtly gourmet.
- Chives or parsley (optional): A sprinkling of herbs at the end adds freshness and color; chop right before for the brightest flavor.
Instructions
- Gather and prep:
- Set out all your ingredients, letting the butter reach room temperature—this makes spreading so much easier and less mess.
- Slice rolls:
- Without separating them, cut the Hawaiian rolls horizontally to create a top and bottom slab; use a large bread knife and work slowly to prevent squishing.
- Layer cheeses:
- Place the bottom half of the rolls on your cutting board and neatly arrange the cheese slices on top, tucking them to the edges for maximum gooey coverage.
- Close and butter:
- Rest the top slab over the cheese, then generously slather softened butter over both the top and bottom exteriors.
- Grill or bake:
- If using a skillet, grill each side over medium-low heat for 3–4 minutes until golden and crisp, pressing gently with a spatula; in the oven, bake in a dish at 180°C (350°F) for 10–12 minutes until bread is golden and cheese has melted into pools.
- Pull apart and finish:
- Let the rolls cool just enough to handle, then cut or pull apart into twelve mini sandwiches; if desired, brush with Dijon and sprinkle with fresh chives or parsley before serving.
 Save
Save One late afternoon, after a rainy walk, I made these just for myself—and as the butter sizzled in the pan, the simple sound brought instant comfort. When I bit into a crunchy, cheesy corner, I realized sometimes what's on your plate really can change the mood of a whole day.
Variations That Are Actually Worth Trying
Mixing up the cheeses leads to new discoveries—pepper jack for a little heat, mozzarella for extra stretch, or a dusting of Parmesan over the buttered tops before grilling for a crispy, flavorful finish. Little tweaks like slipping a thin tomato slice inside or adding a swipe of Dijon mustard can turn your snack into something dinner-worthy with almost zero effort. Fresh herbs sprinkled right after baking not only make them prettier, they add a summery perfume that's hard to resist.
What Makes These So Crowd-Pleasing
Mini sandwiches seem to vanish from a table faster than anything else, and I suspect it's because they look so inviting and easy to grab. Sharing these instantly draws everyone to the kitchen, with the aroma alone starting a conversation or sparking a late-night snack raid. Dunking them into warm tomato soup or even ranch adds another layer of comfort, making each bite a bit of a ritual.
If You Want Extra Flavor, Try This
If you have a few minutes, sauté a little garlic in the melted butter before spreading it on the rolls and you'll never look back. The slight nuttiness of toasted garlic turns them surprisingly savory and works especially well with Swiss. You can even sprinkle the tops with flaky salt for a little crunch.
- Use parchment paper if baking to make cleanup a breeze.
- Let everyone customize their own inside, especially if making these for kids or picky eaters.
- Remember to resist the urge to slice immediately—the cheese sets up just enough to stay inside the rolls after a few minutes.
 Save
Save Whether you're making these mini grilled cheese rolls for a group or just one, each one is a tiny hand-held invitation to slow down, enjoy, and share a bite. Make extra—the leftovers (if any survive) are just as magical the next day.
Recipe FAQs
- → What cheese melts best for these minis?
-
Cheddar offers a sharp, creamy melt; Swiss adds nuttiness. For stretch and mild flavor, use mozzarella or pepper jack for a spicy kick.
- → Pan-grill or bake—what yields better texture?
-
Pan-grilling gives a crisp, buttery exterior with pressed contact browning; baking is easier for batches and produces an evenly golden top while keeping interiors gooey.
- → How do I prevent soggy bread?
-
Use moderate heat and avoid overfilling with wet ingredients. Spread butter on the exterior to brown the crust and cook until cheese has fully melted but bread is just golden.
- → Can these be prepared ahead?
-
Assemble the slab and refrigerate up to a day; brush with butter and finish in a skillet or oven just before serving to retain crispness and warm cheese.
- → What are good add-ons and pairings?
-
Try thin tomato slices, cooked bacon, Dijon, or chopped chives. Serve with tomato soup, marinara, or your favorite dipping sauce for crowd-pleasing combo flavors.
- → Any allergen-friendly swaps?
-
Use dairy-free cheese and vegan butter to avoid milk; choose gluten-free rolls if needed, and always check labels for cross-contamination risks.
