 Save
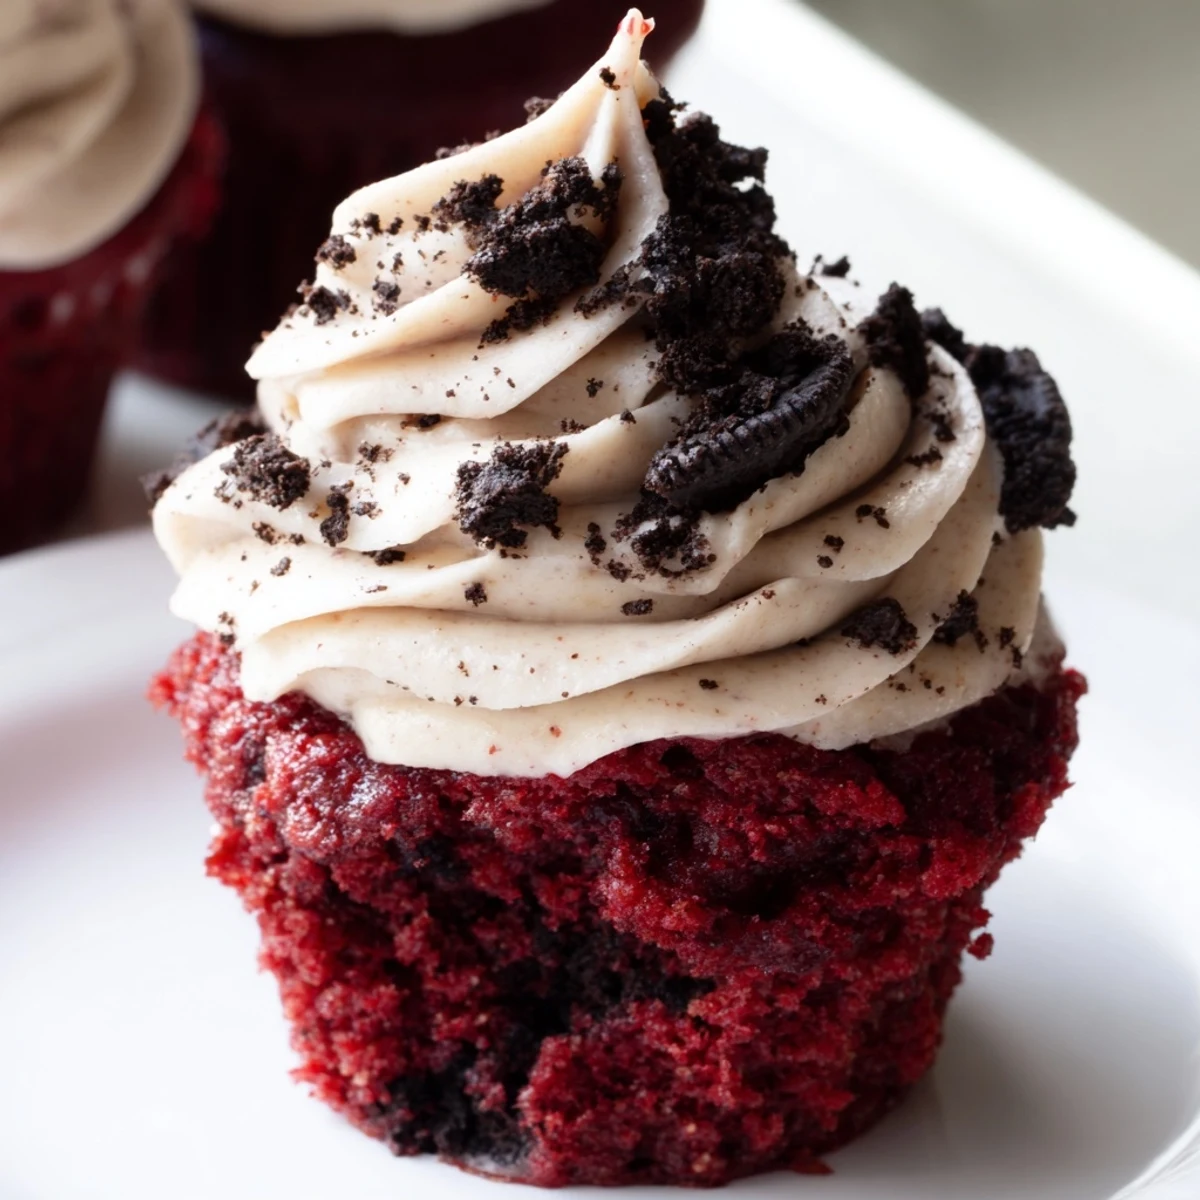
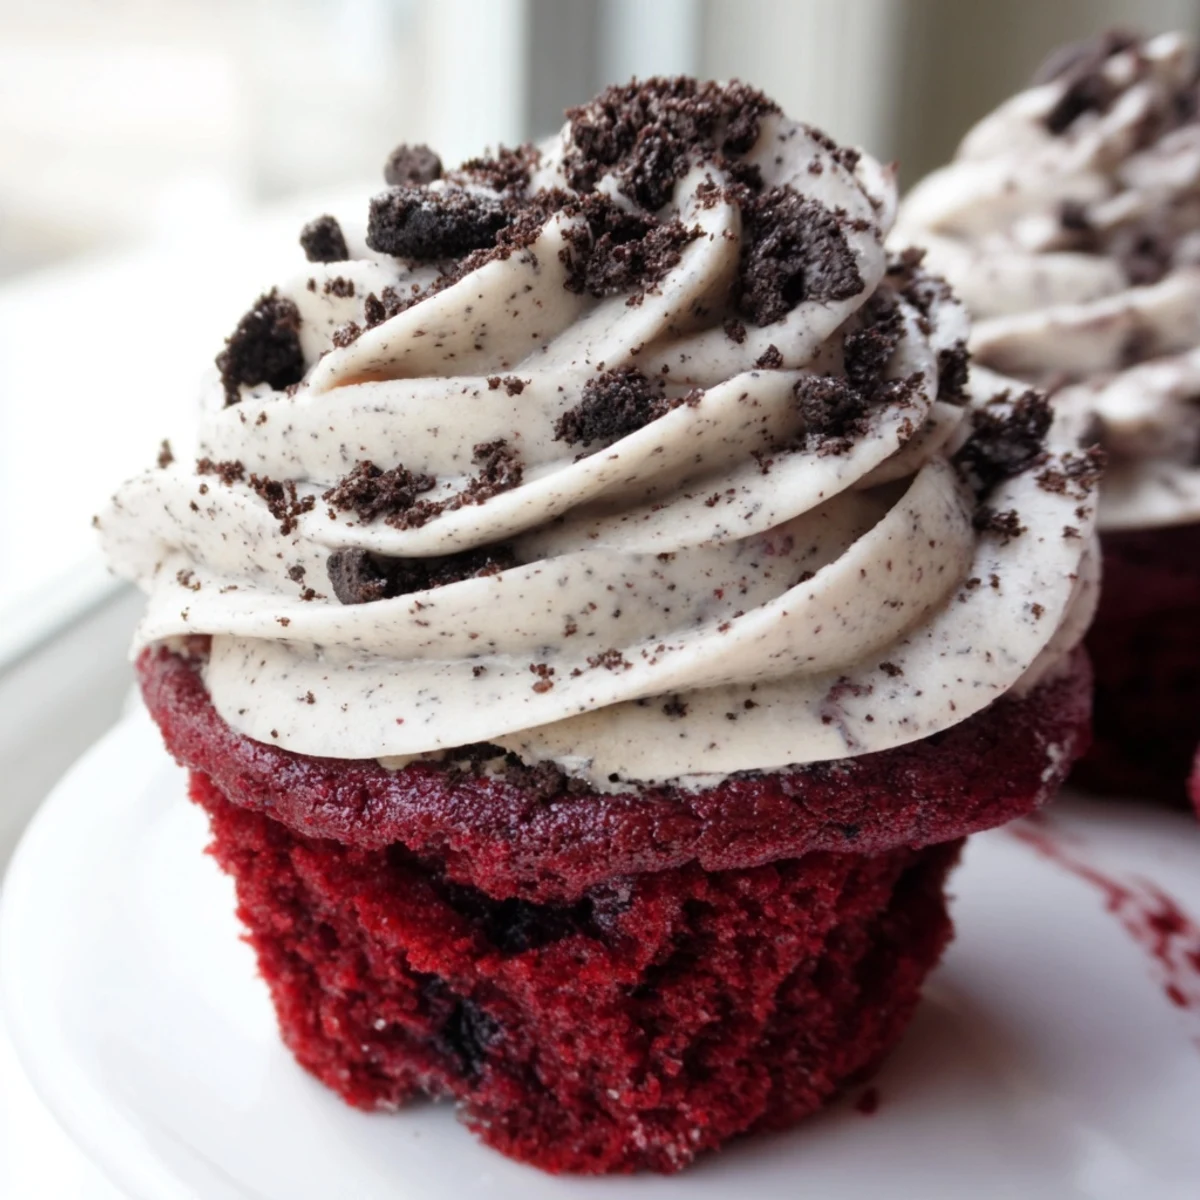
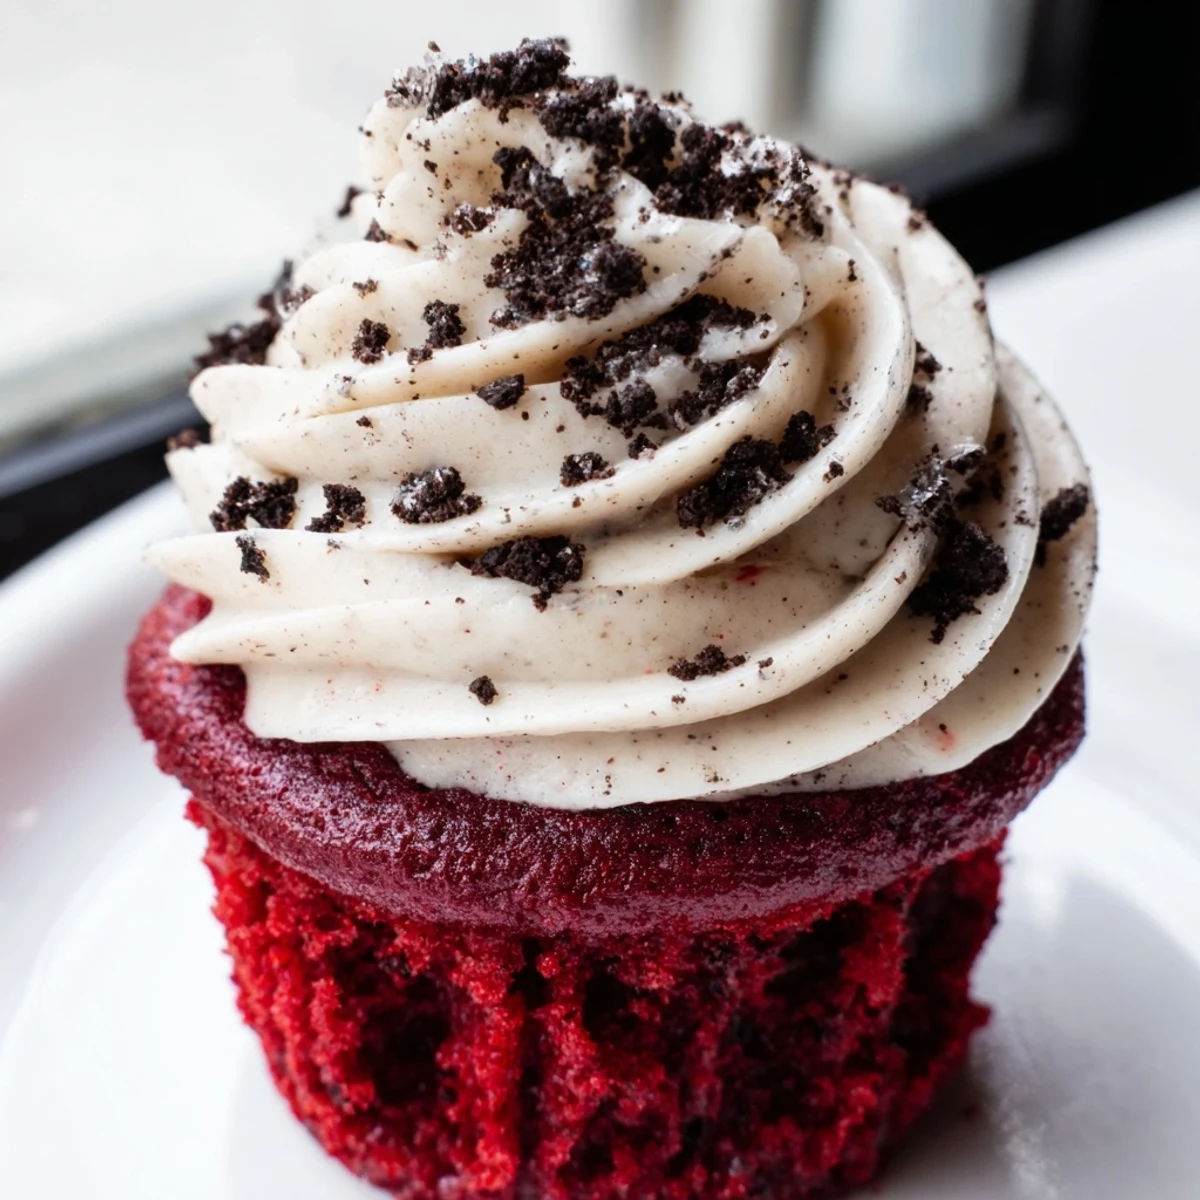
Save These red velvet Oreo cupcakes combine a tender, cocoa-kissed red velvet batter with chunks of everyone's favorite sandwich cookie. Each cupcake is loaded with roughly chopped Oreos that soften during baking, creating pockets of creamy filling throughout.
Topped with a luscious cream cheese frosting flecked with finely crushed Oreos, these cupcakes strike the perfect balance between tangy, sweet, and chocolatey. They're ideal for birthdays, holiday gatherings, or anytime you want to impress.
Ready in just 40 minutes with simple ingredients, this medium-difficulty treat yields a dozen generously frosted cupcakes that disappear fast at any party.
The batter turned out so red it looked like something from a science experiment, and my sister stood in the kitchen doorway asking if it was safe to eat. That was my first batch of red velvet cupcakes with crushed Oreos folded in, and honestly, I was not sure either. They baked up with this impossibly soft crumb that made me forget all my doubts. Now they are the only thing anyone requests when birthdays roll around.
I brought a tray of these to a potluck last winter and watched a quiet crowd turn into a group of people loudly debating who got the biggest Oreo chunk in their cupcake. My friend Marcus ate three before dinner was even served and then pretended he had not. That is the kind of recipe this is.
Ingredients
- All purpose flour (1 1/4 cups): Gives structure without making them dense, and I learned the hard way to spoon it into the measuring cup rather than packing it down.
- Unsweetened cocoa powder (3 tbsp): Just enough to give that subtle chocolate backbone without turning them into full chocolate cupcakes.
- Baking soda (1/2 tsp): Works with the vinegar to create lift and that tender texture you want.
- Salt (1/4 tsp): A small amount that makes the sweetness taste balanced instead of one note.
- Vegetable oil (1/2 cup): Oil keeps these softer than butter would, and they stay moist for days on the counter.
- Granulated sugar (3/4 cup): Sweetens without being cloying since the cream cheese frosting brings plenty more sugar to the party.
- Large egg (1): Binds everything together and adds richness.
- Buttermilk (1/2 cup): The secret to that velvety texture, and please use real buttermilk if you can find it.
- Red food coloring gel (1 tbsp): Gel gives you bold color without thinning the batter like liquid would.
- Pure vanilla extract (1 tsp for cupcakes, 1 tsp for frosting): Rounds out the flavor and makes everything taste warmer.
- Distilled white vinegar (1/2 tsp): Reacts with baking soda for a lighter crumb.
- Oreo cookies (10 chopped for batter, 6 crushed for frosting): The star of the show, so use fresh ones that still have a good snap.
- Unsalted butter (1/2 cup for frosting): Softened butter creams smoothly with the cheese for a silky frosting.
- Cream cheese (8 oz for frosting): Full fat brick style, not the spreadable kind in a tub.
- Powdered sugar (2 cups for frosting): Sift it to avoid lumps that will show up as white streaks in your finished frosting.
Instructions
- Get your oven ready:
- Preheat to 350 degrees F and line a 12 cup muffin tin with paper liners so nothing sticks.
- Whisk the dry team:
- In a medium bowl, combine the flour, cocoa powder, baking soda, and salt with a whisk until evenly blended, then set it aside.
- Build the wet mixture:
- Beat the oil and sugar together in a large bowl until combined, then add the egg, buttermilk, red food coloring, vanilla, and vinegar, mixing until everything looks smooth and gloriously red.
- Bring it all together:
- Add the dry ingredients to the wet in three additions, mixing gently after each one until just combined so you do not overwork the batter.
- Fold in the good stuff:
- Toss in those chopped Oreos and fold with a spatula until they are evenly distributed, trying not to crush them into dust.
- Fill and bake:
- Divide the batter evenly among the liners, filling each about two thirds full, then bake for 18 to 20 minutes until a toothpick comes out clean.
- Cool properly:
- Let them sit in the pan for 5 minutes to firm up slightly, then move them to a wire rack to cool completely before frosting.
- Make the frosting:
- Beat the softened butter and cream cheese together until creamy and lump free, then add the powdered sugar and vanilla, beating until fluffy before folding in the finely crushed Oreos.
- Finish with flair:
- Pipe or spread the frosting onto fully cooled cupcakes and sprinkle extra Oreo crumbs on top if you want that extra crunch factor.
 Save
Save There is something about the way these cupcakes look sitting on a plate with their bright red centers peeking through white cream cheese frosting that makes people grab their phones before they grab a fork. My niece once arranged twelve of them in a circle and called it her masterpiece before anyone was allowed to touch them.
Chilling Makes Them Better
These cupcakes taste even better after a couple hours in the refrigerator because the frosting firms up into something almost like cheesecake on top. The cake itself stays soft and the Oreo pieces inside get a pleasant little chew. I actually prefer them cold straight from the fridge the next day.
Swaps and Adaptations
You can make these gluten free by swapping in a one to one gluten free flour blend and using gluten free chocolate sandwich cookies instead of Oreos. For a bigger chocolate punch, throw a handful of mini chocolate chips into the batter alongside the chopped cookies. The recipe is forgiving enough that small changes still give you a great result.
Storing and Serving
Keep leftovers in an airtight container in the fridge for up to four days, though they rarely last that long around here. Let them sit at room temperature for about twenty minutes before serving if you want the frosting softer. The liners peel away more easily when the cupcakes are not ice cold.
- A piping bag gives you a professional swirl but a small offset spatula works beautifully too.
- Crush the frosting Oreos finely so they do not clog your piping tip if you go that route.
- Always double check your food coloring label for allergens since some brands contain unexpected ingredients.
 Save
Save Every time I make these, someone asks for the recipe before they have finished their first bite. That alone tells you everything you need to know.
Recipe FAQs
- → Can I make red velvet Oreo cupcakes ahead of time?
-
Yes, you can bake the cupcakes a day in advance and store them unfrosted in an airtight container at room temperature. Frost them the day you plan to serve for the freshest presentation. Frosted cupcakes can also be made a day ahead and chilled in the refrigerator.
- → Why did my red velvet cupcakes sink in the middle?
-
Sinking usually happens from overmixing the batter, opening the oven door too early, or using expired baking soda. Mix just until the dry and wet ingredients are combined, and avoid peeking into the oven until at least 16 minutes of baking time have passed.
- → Can I use regular milk instead of buttermilk?
-
Buttermilk is key to the tender crumb and slight tang in red velvet batter. If you don't have any, add 1/2 tablespoon of white vinegar or lemon juice to 1/2 cup of regular milk and let it sit for 5 minutes before using as a substitute.
- → How should I store frosted cupcakes?
-
Store frosted cupcakes in an airtight container in the refrigerator for up to 3 days because of the cream cheese frosting. Let them sit at room temperature for about 20 minutes before serving so the frosting softens and the flavors come through.
- → Can I use gel food coloring instead of liquid?
-
Gel food coloring is actually preferred for red velvet batters. It delivers a more vibrant red color without adding extra liquid that could throw off the batter consistency. Use about 1 tablespoon of gel for a deep, rich red hue.
- → How do I get perfectly even cupcake batter portions?
-
Use a large cookie scoop or an ice cream scoop to portion the batter. Each well should be filled about two-thirds full. This ensures uniform sizing and even baking across all twelve cupcakes.
