 Save
Save Preheat oven to 200°C/400°F. Sauté diced onion and garlic until softened, then mix with ground chicken, chopped sage, thyme, salt, pepper, breadcrumbs and a beaten egg. Shape into heaped tablespoon portions, brush with olive oil and bake 20–25 minutes, turning once, until golden and 74°C/165°F inside. Swap in gluten-free crumbs if needed; serve warm with mustard or cranberry sauce.
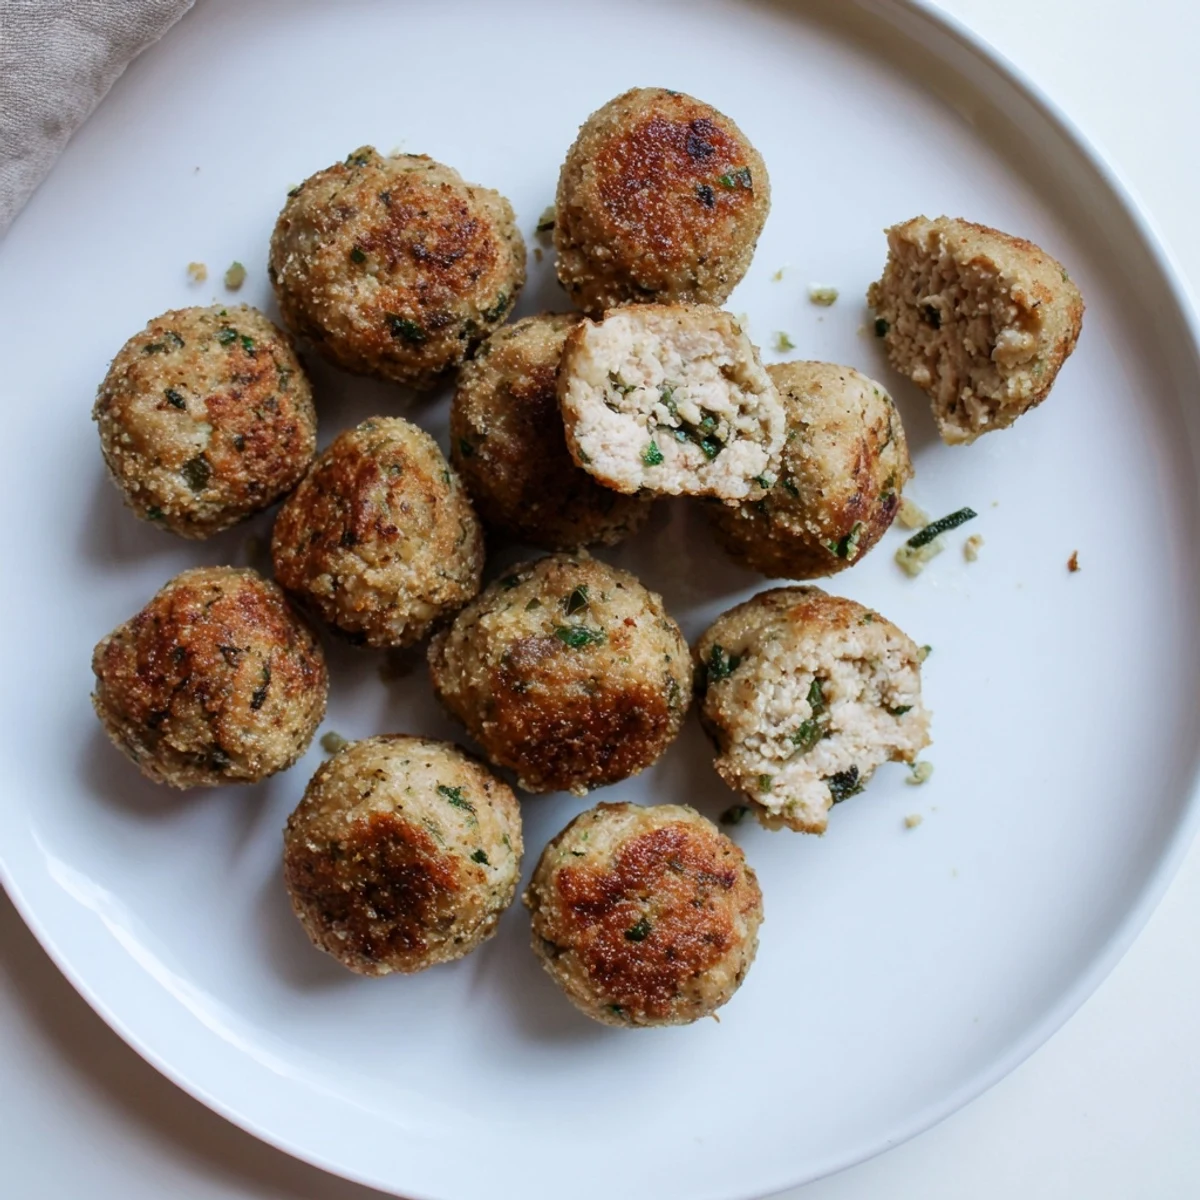
Lately, cooking midweek dinners has felt like a gentle challenge and I stumbled upon the idea for these sage and onion chicken balls after opening the fridge to find far too much fresh sage left from another recipe. The aroma of onions and sage mingling in a pan is my idea of the happiest kind of kitchen noise, less a dance and more a cozy hum. Once, a friend joked that anything round and baked must automatically taste comforting—these chicken balls proved her absolutely right. Their golden edges promise warmth in every bite, making them perfect whether served at a party or devoured on the couch with a favorite show.
Last autumn, I made these for a casual family dinner—small talk clouded the kitchen, and my youngest niece declared they were better than meatballs. I still remember the way her laughter mixed with the sound of olive oil sizzling as we shaped the mixture together, hands just a little sticky but grins wide. The recipe quickly turned into a staple for those evenings when something easy, but a bit special, is exactly what we want. Watching people pause for a second bite always feels like a small win.
Ingredients
- Ground chicken (preferably thigh meat): Using thigh meat ensures juiciness and prevents dry, tough balls—a tip I learned after my first batch came out disappointingly dense.
- Medium onion, finely diced: Dice as small as possible; tiny bits melt into the mix, bringing sweetness without dominating the texture.
- Garlic cloves, minced: Fresh garlic gives a subtle warmth—don't skip it, but avoid burning it when sautéing for the smoothest flavor.
- Fresh sage (or dried), finely chopped: Sage can be strong, so if using dried, start sparingly; pair with thyme for that herby British twist.
- Salt, black pepper, dried thyme, optional nutmeg: This combo seasons every bite, and that whisper of nutmeg makes everything taste cozier in colder months.
- Breadcrumbs (gluten-free if needed): Breadcrumbs bind without heaviness and using gluten-free works just as well; just don’t overdo it or you’ll lose moisture.
- Large egg, lightly beaten: The egg is the unsung hero—holding it together without making things rubbery, especially if you mix it in gently.
- Olive oil: Brushing the tops before baking gives the balls a golden crust and a hint of richness—don’t skip this step!
Instructions
- Get Prepped:
- Turn the oven on to 200°C (400°F) and cover your baking tray with parchment or a light slick of oil—I always hope for less mess later.
- Sauté Aromatics:
- Warm a spoonful of olive oil in a skillet; once hot, tumble in the onions to soften, then add garlic, stirring for just a minute so it smells sweet but not burnt. Let it cool so the egg doesn’t start to cook ahead of time.
- Mix the Chicken Base:
- In your biggest bowl, combine ground chicken, the cooled sautéed onion and garlic, sage, thyme, salt, pepper, and a pinch of nutmeg. Use your hands or a fork—just enough to blend everything together.
- Add Binders:
- Sprinkle in the breadcrumbs and pour the egg on top, gently folding until no streaks remain but without overmixing (trust me, it keeps things tender).
- Shape the Balls:
- Wet your hands to keep sticking at bay and roll the mixture into balls about the size of a heaping tablespoon; line them up on the tray like little soldiers.
- Olive Oil Finish:
- Brush or drizzle the remaining olive oil over the tops—don’t be shy, it’s what helps them get satisfyingly crisp and golden.
- Bake to Perfection:
- Slide the tray into the oven for 20–25 minutes, giving the balls a gentle roll at halftime for even color. They’re done when golden and their centers read 74°C (165°F).
- Serve Hot:
- Dig in straight from the oven with a dip, or tuck a couple inside a wrap with crisp greens for an easy meal.
 Save
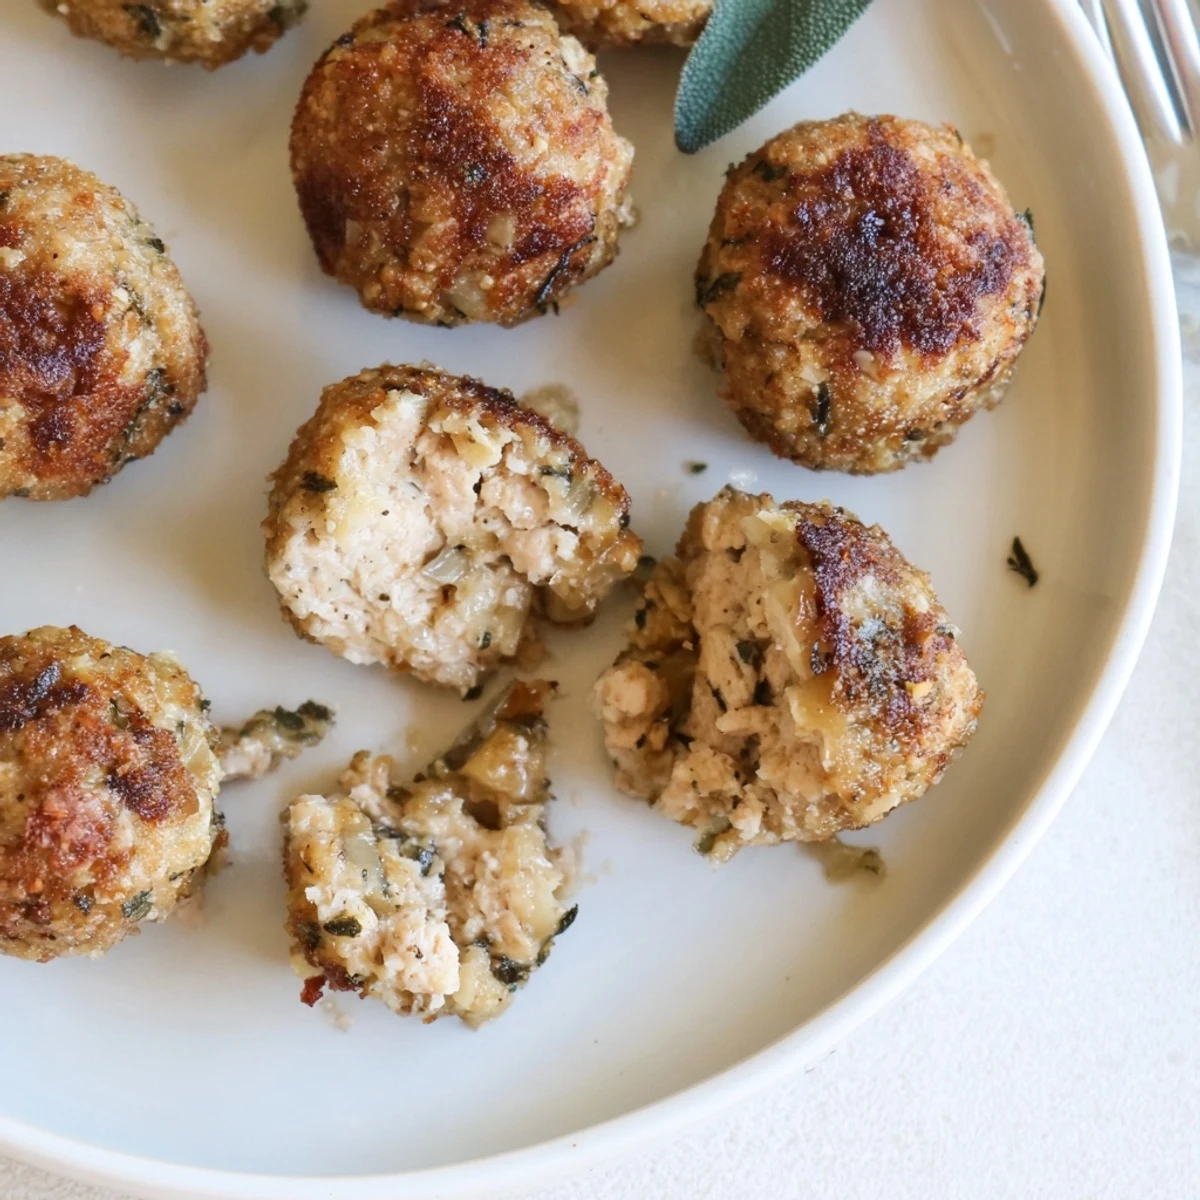
Save When I set out a platter at Sunday lunch, I noticed everyone reaching for seconds before the roast potatoes even hit the table (and if you know my family, that's saying something). Sharing these chicken balls became a shortcut to easy conversation and a little bit of quiet satisfaction knowing they brought joy to a busy afternoon.
How to Customize or Adapt
These chicken balls are a blank canvas—try swapping sage for rosemary when you crave a different herby kick, or add fine-chopped spinach for a pop of color and vitamins. One night I stirred in a handful of grated apple on a whim, which added a gentle sweetness that got people guessing. For spicier tastes, a pinch of chili flakes does wonders without overwhelming the gentle flavors.
Serving Suggestions That Stole the Show
I’ve served these straight up with a honey-mustard dip at friends' movie nights, but they’re just as homey when paired with roasted root vegetables and a brisk glass of white wine. Inside a warm pita with crunchy lettuce and cucumber, they make an amazing leftover lunch. For a festive touch, cranberry sauce turns them into mini holiday bites.
If You’re Making These in Advance
Sometimes I prep the mix the night before—cover and chill, and it holds together even better the next day. The balls can be formed and refrigerated, ready to bake just before serving, or baked completely and reheated for a quick snack. Freezing works well too, just remember to thaw gently so they stay moist.
- Refrigerate uncooked balls for up to 24 hours before baking.
- Freeze baked balls up to 3 months; reheat covered at 180°C (350°F).
- Always let them rest a couple of minutes so none of that juicy flavor escapes.
 Save
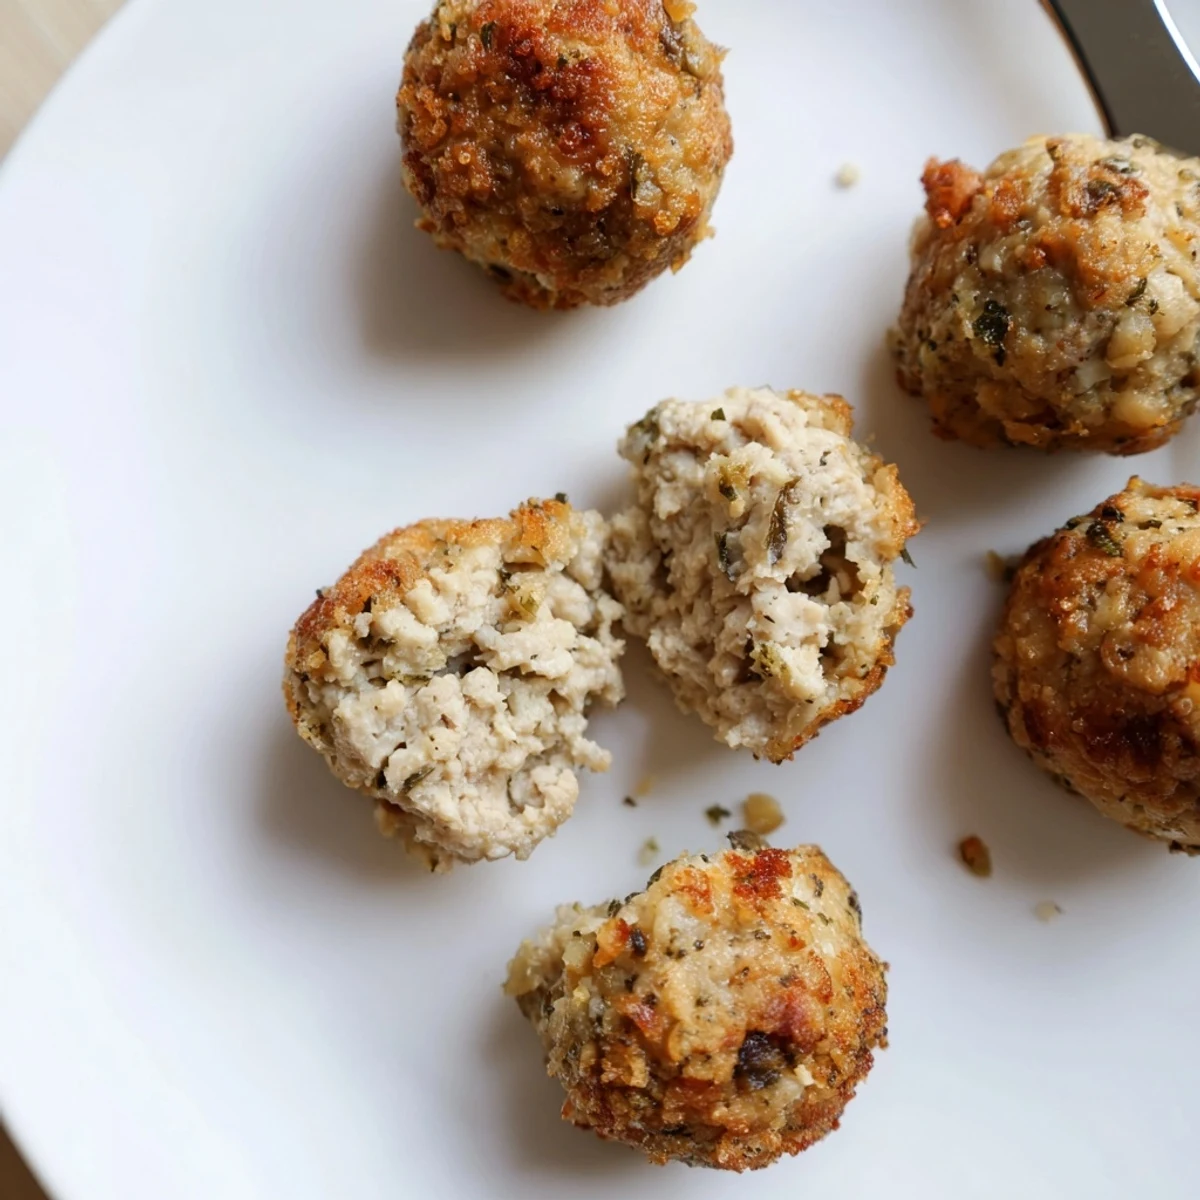
Save There’s something satisfying about shaping these little balls by hand and seeing them disappear from a platter moments after baking. I hope this recipe brings a little fun and flavor to your table, just as it has to mine.
Recipe FAQs
- → Can I use chicken breast instead of thigh?
-
Yes. Breast meat is leaner and can dry out more easily—add a tablespoon of olive oil or an extra yolk for moisture, and avoid overmixing to keep the balls tender.
- → How do I make these gluten-free?
-
Use gluten-free breadcrumbs or replace with ground oats, crushed rice crackers, or almond flour. Adjust binder amount as needed, since alternatives absorb moisture differently.
- → What keeps the balls moist and tender?
-
Use thigh meat or add a small amount of fat (olive oil or yolk), don’t overwork the mix, and avoid packing the balls too tightly. Sautéing the onion first also adds moisture and flavor.
- → Can I fry them instead of baking?
-
Yes—pan-fry in a couple of tablespoons of oil over medium heat, turning to brown all sides, then finish in the oven if needed. Ensure internal temperature reaches 74°C/165°F.
- → How can I tell when they are cooked through?
-
Use an instant-read thermometer—74°C/165°F is safe. Alternatively, cut one open: the interior should be opaque with no pink and juices should run clear.
- → Can these be frozen?
-
Yes. Freeze uncooked formed balls on a tray until solid, then transfer to a bag for up to 3 months; bake from frozen adding a few extra minutes. Cooked balls also freeze well—reheat in the oven to restore crispness.
