 Save
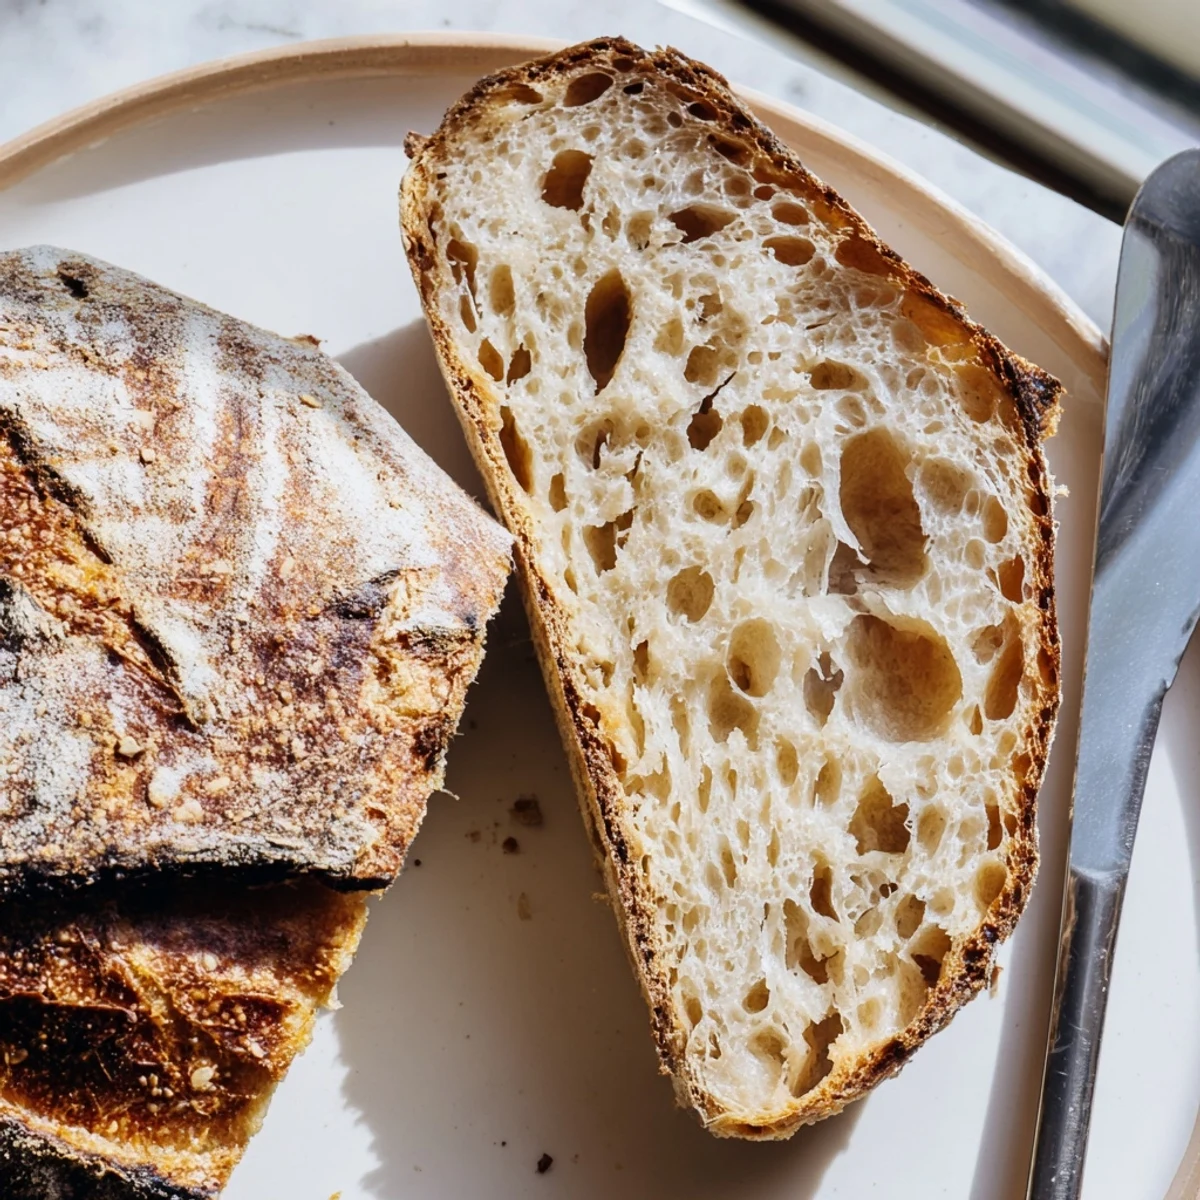
Save Create authentic sourdough bread using wild yeast fermentation for that distinctive tangy flavor and professional bakery results. This method combines bread flour with a touch of whole wheat for depth, developing character through a long fermentation process.
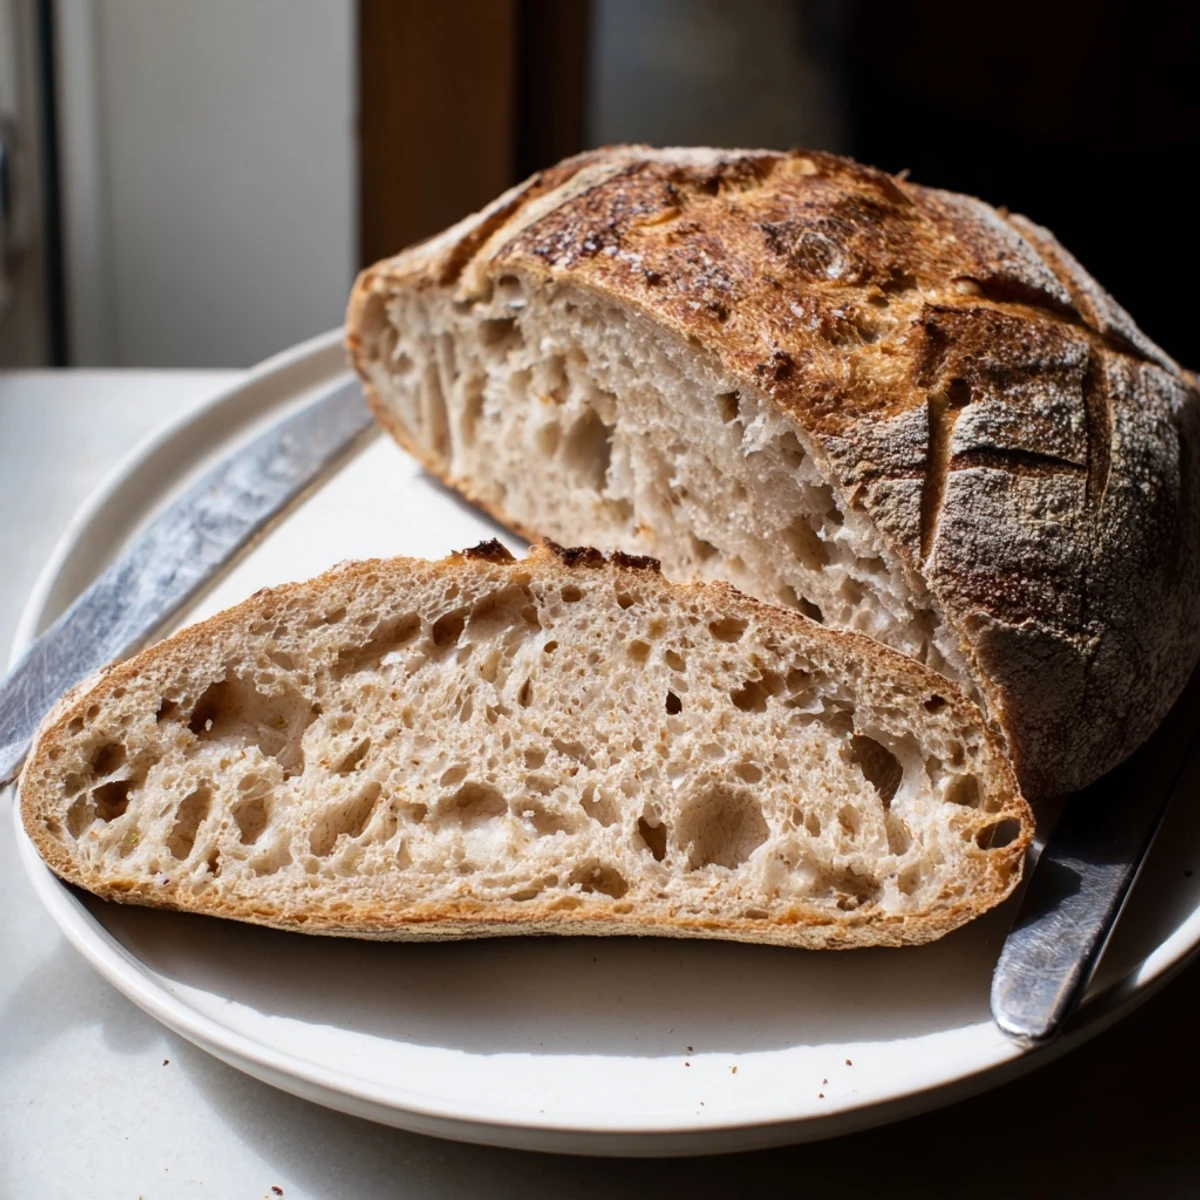
The technique involves autolyse, periodic stretch-and-fold handling, and optional cold proofing for enhanced complexity. Baking in a preheated Dutch oven creates steam, ensuring that coveted crackly crust and impressive oven spring.
Patience is essential—allowing proper fermentation time yields superior texture and flavor development. The result is a rustic loaf with golden exterior, open crumb structure, and satisfying chew that rivals artisan bakery offerings.
There is something almost meditative about baking sourdough, about how a simple mixture of flour and water can transform into something so complex and alive. I started my journey with a jar of starter that lived on my kitchen counter, bubbling away like a tiny pet I had to feed twice daily. The first time I achieved that perfect crackly crust and open crumb, I felt like I had unlocked some ancient secret that bakers have guarded for centuries.
I once brought a fresh loaf to a dinner party, still warm from the oven, and watched it disappear within minutes as people kept sneaking back to the kitchen for just one more slice. My friend confessed she ate three pieces plain, standing at the counter, before I even had a chance to serve it properly.
Ingredients
- 100 g active sourdough starter: This is your wild yeast culture and it should be fed 8 to 12 hours before baking and doubled in size with lots of bubbles on the surface
- 375 g bread flour: High protein flour creates the strong gluten network needed for that beautiful open crumb structure
- 25 g whole wheat flour: Adds depth of flavor and a little nutrition while keeping the dough manageable
- 275 g room temperature water: The temperature matters too cold and fermentation slows too much too warm and it speeds up unpredictably
- 10 g sea salt: Do not reduce this amount as salt is crucial for flavor and also helps strengthen the gluten structure
Instructions
- Prepare for the autolyse:
- Mix bread flour whole wheat flour and water in a large bowl until just combined and shaggy then cover and let rest for exactly 1 hour which allows the flour to fully hydrate and gluten development to begin
- Build the dough structure:
- Add your bubbly starter and salt to the bowl then mix by hand using a pinching motion until everything is evenly distributed and the dough starts to come together in a rough mass
- Stretch and fold during bulk fermentation:
- Let the dough rest covered at room temperature for 4 to 5 hours and every 30 to 45 minutes grab one side of the dough stretch it up and fold it over the center repeating this four times around the bowl which builds strength without aggressive kneading
- Pre shape the dough:
- Turn the dough onto a lightly floured surface and gently shape it into a round by folding the edges toward the center then flip it over and let it rest covered for 20 minutes which relaxes the gluten for final shaping
- Create the final loaf shape:
- Shape the dough into a tight round by folding the edges to the center and creating tension on the surface then place it seam side up in a well floured proofing basket or bowl lined with a floured towel
- Let it proof to perfection:
- Cover and let rise at room temperature for 2 to 3 hours until the dough has noticeably grown and springs back slowly when poked or refrigerate overnight for a more developed sour flavor and easier handling
- Get your oven ready:
- Place a Dutch oven or heavy pot with its lid in your oven and preheat to 250°C (480°F) for at least 30 minutes because that thermal mass is what creates the initial steam burst for a blistered crust
- Score and bake:
- Gently invert the dough onto parchment paper score the surface with a sharp blade at a 45 degree angle about half an inch deep then transfer to the preheated pot cover and bake for 20 minutes
- Finish the bake:
- Remove the lid reduce temperature to 220°C (430°F) and bake another 25 minutes until the bread is deep golden brown and sounds hollow when tapped on the bottom then cool completely on a wire rack
 Save
Save This bread became my weekend ritual during a particularly stressful winter and I found myself planning my entire Saturday around the fermentation schedule. There is something deeply grounding about working with dough that operates on its own timeline completely indifferent to my hurry.
Understanding Your Starter
A healthy starter should double in size within 4 to 8 hours after feeding and have a pleasant slightly sour aroma. If it smells acrid or has liquid on top called hooch it needs more frequent feedings to get back to peak activity before baking day.
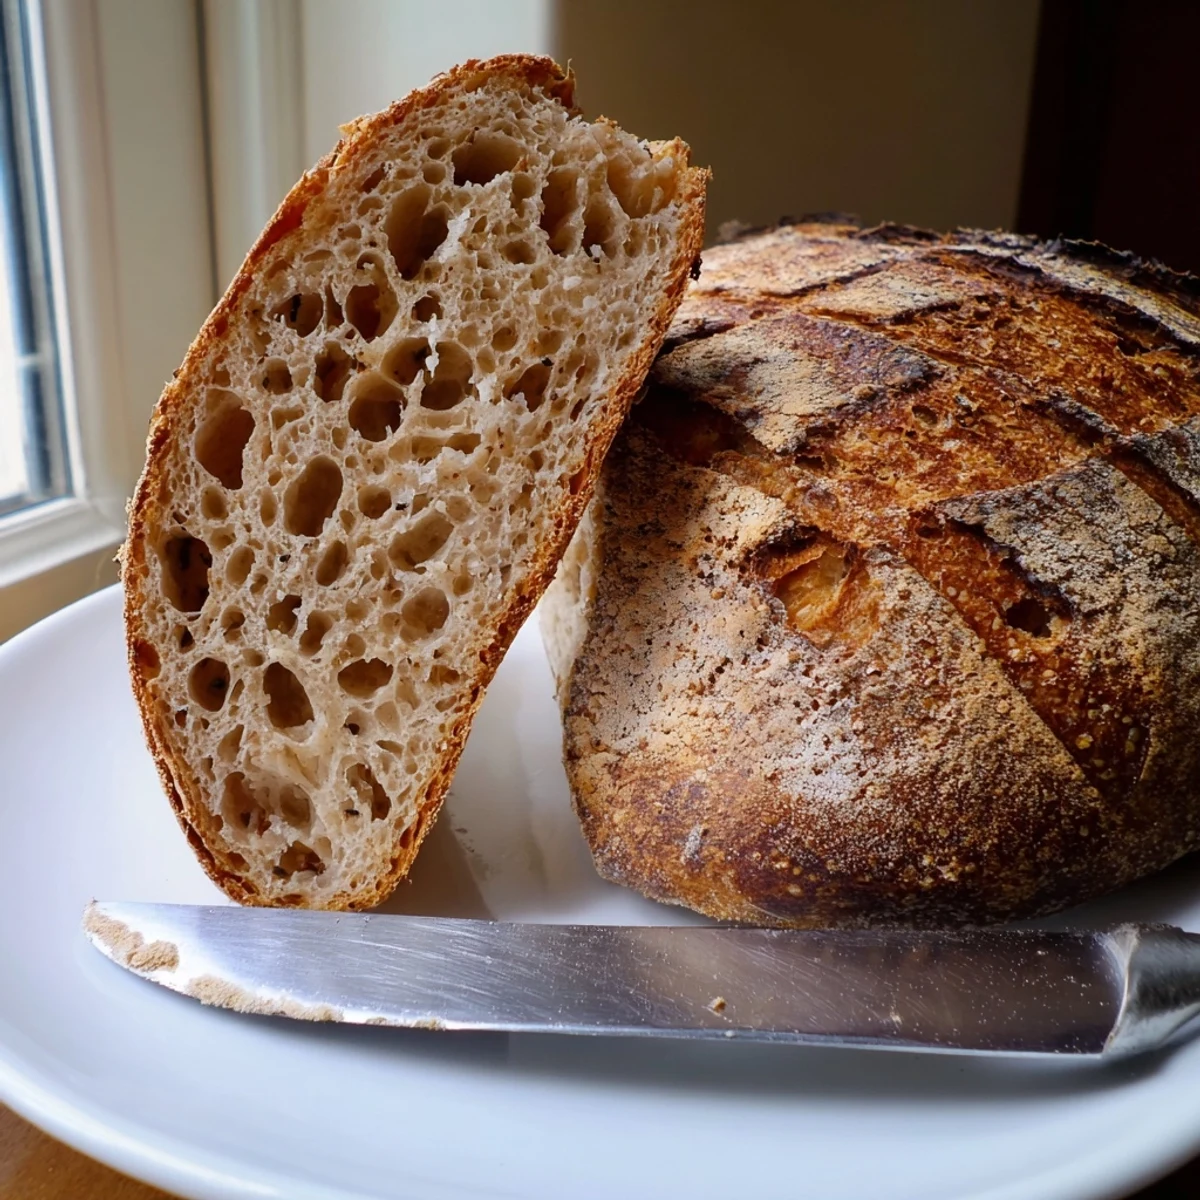
Scoring Like a Pro
Your scoring blade should be razor sharp and held at about 45 degrees to create a beautiful ear that lifts during baking. I practiced on dough scraps until I learned that confident swift cuts work better than hesitant ones and the depth controls how dramatically the bread expands in the oven.
Storage and Refreshing
Store your baked loaf cut side down on a cutting board for up to two days or freeze slices in freezer bags for months. To refresh day old bread sprinkle it with water and bake at 180°C (350°F) for 10 minutes which brings back most of that fresh baked texture.
- Never store sourdough in plastic bags unless freezing as it promotes mold and makes the crust rubbery
- Paper bags are perfect for short term storage and maintain that wonderful crust
- Revive stale bread by transforming it into breadcrumbs or the best croutons you have ever tasted
 Save
Save May your kitchen always smell like fermenting dough and your oven always produce that perfect crackle when the bread hits the hot surface.
Recipe FAQs
- → What makes sourdough different from regular bread?
-
Sourdough relies on wild yeast and beneficial bacteria naturally present in flour rather than commercial yeast. This fermentation process creates distinct tangy flavor, improves digestibility, and extends shelf life naturally while developing that characteristic chewy texture and crispy crust.
- → Why does sourdough take so long to make?
-
Wild yeast ferments more slowly than commercial yeast, requiring extended fermentation for proper dough development. This slow process breaks down complex carbohydrates, enhances flavor complexity, and creates better texture. The lengthy timeline is essential for authentic sourdough character.
- → Can I skip the stretch and fold steps?
-
While technically possible, skipping stretch and folds will result in weaker dough structure and poorer oven spring. These gentle manipulations strengthen gluten networks without overworking the dough, ensuring good rise and proper crumb formation. The brief effort yields significantly better results.
- → What happens if my starter isn't bubbly enough?
-
Inactive starter leads to poor rise, dense texture, and disappointing results. Always feed your starter 4-8 hours before mixing and ensure it's doubled in size with plenty of bubbles. A healthy, active starter is crucial for proper fermentation and that classic sourdough flavor.
- → Why bake in a Dutch oven?
-
A preheated Dutch oven creates steam inside the enclosed space, essential for developing crispy, blistered crust and impressive oven spring. The trapped moisture keeps the exterior soft initially, allowing maximum expansion before setting into that beautiful golden crust artisan breads are known for.
- → How do I know when the dough is properly proofed?
-
Gently press the dough with a floured finger—if the indentation slowly springs back partially, it's ready. An over-proofed loaf will collapse or fail to spring back, while under-proofed dough won't have developed enough flavor or structure. Watch for increased volume and jiggly consistency.
