 Save
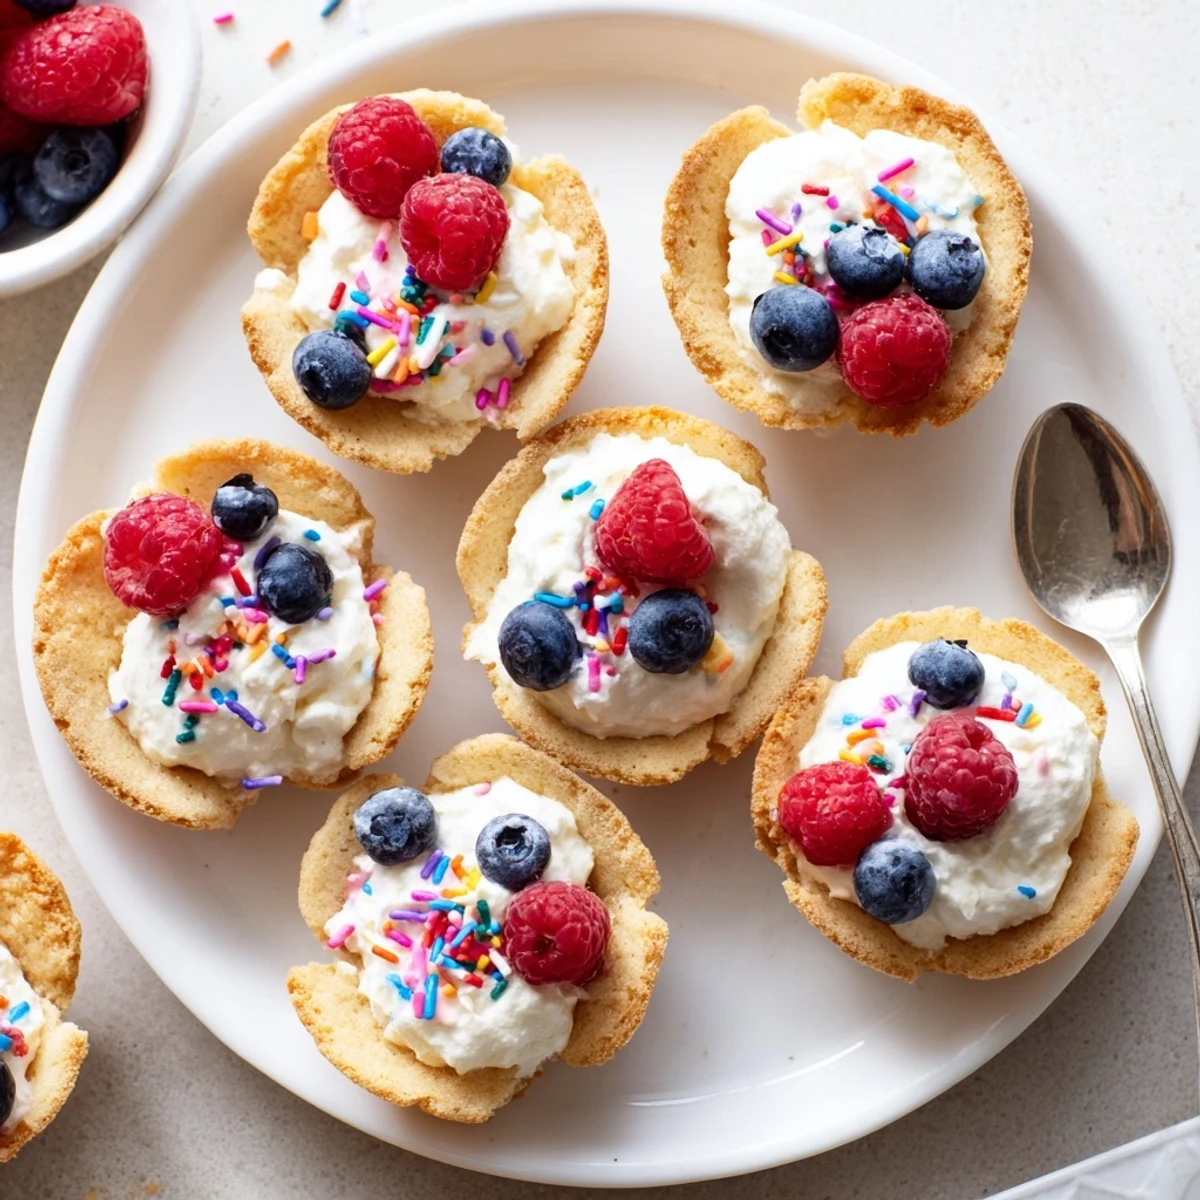
Save These adorable sugar cookie cups transform classic sugar cookies into bite-sized treats baked in mini muffin tins. The naturally sweet, buttery cookie dough forms perfect cup shapes that hold whipped cream, fresh berries, lemon curd, or chocolate ganache beautifully. They're ideal for parties, holidays, or whenever you want an impressive yet simple dessert that both kids and adults love.
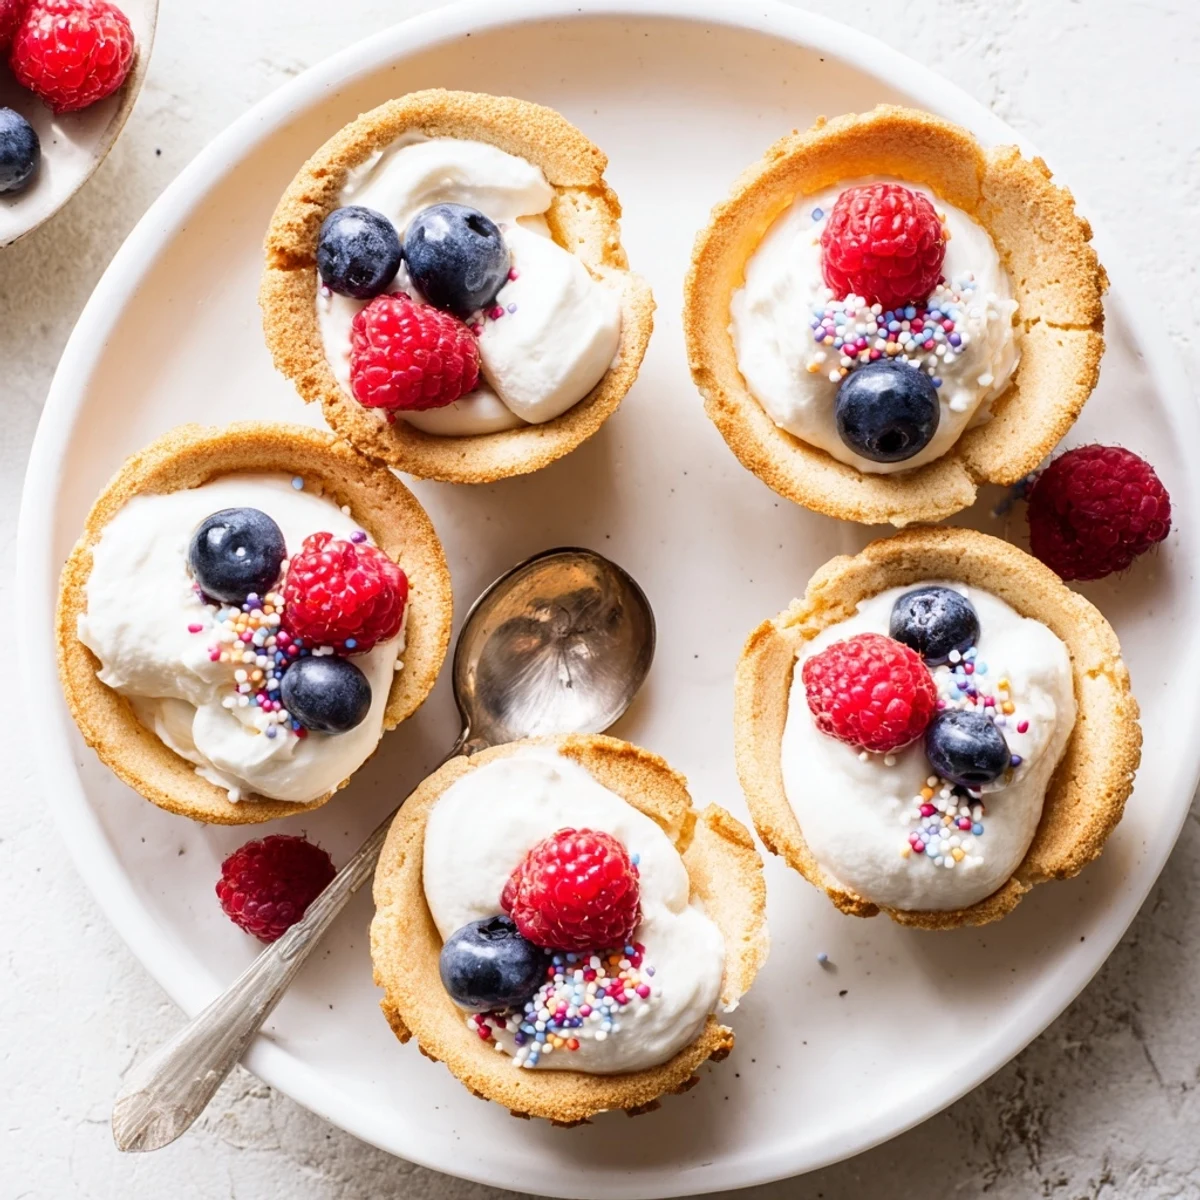
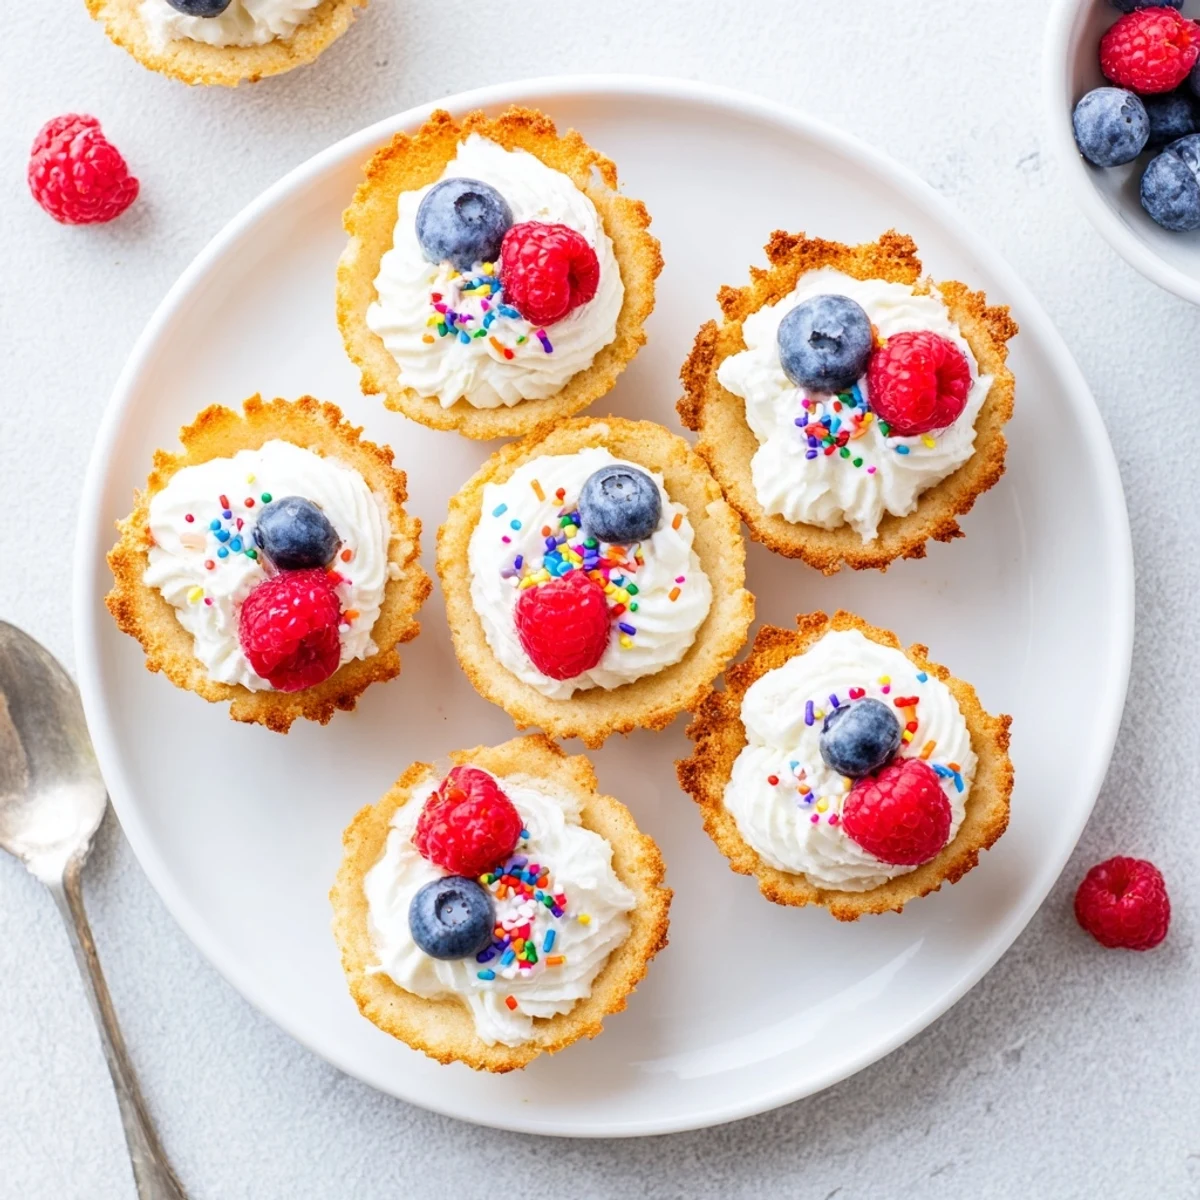
The process involves creaming butter and sugar until fluffy, adding vanilla for warmth, then shaping the dough into muffin cups. While still warm, gently press centers to create deeper wells. Once cooled, fill with your choice of toppings—vanilla whipped cream with fresh berries is a classic combination, but the possibilities are endless.
These portable treats store well unfilled for up to three days, making them perfect for preparing ahead of time. Fill just before serving to maintain the ideal crisp-tender texture.
My niece's birthday party last summer changed everything about how I think about sugar cookies. She wanted something "fancy and fun" but still familiar, and after three failed attempts at elaborate cupcakes, I pressed sugar cookie dough into mini muffin tins on a whim. The kids went absolutely wild for them, and honestly, so did all the adults who pretended they were just trying to be polite. Now they're my go-to whenever I need to bring something that looks impressive but secretly takes zero fancy skills.
I brought these to my book club meeting when it was my turn to host, and we spent the first twenty minutes just discussing the cookie cups instead of the actual book. Someone asked if I'd spent all day piping perfect little domes of cream, and I happily admitted my secret weapon was just a mini muffin tin and a regular spoon. Now every time we meet, someone casually asks if I'm bringing those little cookie cup things, and I've learned to always make double because they disappear faster than you'd think possible.
Ingredients
- All-purpose flour: This creates the structure that holds the cup shape without getting tough or crumbly, and I've found that measuring by weight gives the most consistent results
- Baking soda: Just enough to help the cups puff up slightly and create those perfect little edges that everyone loves to nibble first
- Salt: Don't skip this because it balances all the sugar and actually makes the vanilla flavor pop more than you'd expect
- Unsalted butter: Softened to room temperature so it creams properly with the sugar, creating that tender texture that makes these so addictive
- Granulated sugar: The classic choice for sugar cookies because it gives that slightly crisp exterior while staying soft inside
- Large egg: This binds everything together and adds richness, and using it room temperature helps it incorporate more evenly
- Pure vanilla extract: The backbone of that classic sugar cookie flavor we all know and love from childhood
- Heavy cream: Chilled thoroughly before whipping because warm cream simply won't hold those beautiful stiff peaks you want for filling
- Powdered sugar: Sweetens and stabilizes the whipped cream without making it too heavy or dense
- Fresh berries: The perfect contrast to all that sweetness, and they make these look so much fancier than they actually are
Instructions
- Get your oven ready:
- Preheat to 350°F and lightly grease every cup of your 24-cup mini muffin tin, getting into all those little corners
- Whisk the dry ingredients:
- Combine the flour, baking soda, and salt in a medium bowl so everything is evenly distributed before you start mixing
- Cream the butter and sugar:
- Beat the softened butter and granulated sugar for about 2 minutes until it's pale and fluffy, which is what gives these their tender texture
- Add the wet ingredients:
- Beat in the egg and vanilla extract until everything is well combined and the mixture looks smooth and glossy
- Bring the dough together:
- Gradually mix in the dry ingredients just until you no longer see streaks of flour, being careful not to overwork it
- Shape the cups:
- Scoop about 1 tablespoon of dough into each muffin cup and gently press it up the sides to form that little cup shape
- Bake until golden:
- Bake for 10 to 12 minutes until the edges are lightly golden and the centers are set but still soft
- Create the cup shape:
- While they're still warm, gently press the center of each cookie with the back of a spoon to deepen that well
- Cool completely:
- Let them rest in the tin for 10 minutes before carefully transferring to a wire rack to cool completely
- Make the filling:
- Whip the chilled heavy cream with powdered sugar and vanilla until stiff peaks form
- Fill and decorate:
- Scoop or pipe the cream into each cooled cup and top with whatever berries or sprinkles make you happy
 Save
Save These became my signature holiday treat two years ago when I brought them to Christmas Eve dinner and my grandmother actually asked for the recipe, which is basically her highest form of compliment. Now every family gathering includes a platter of these little cups, each person claiming their favorite filling as the superior choice. It's become this sweet tradition where everyone helps fill them while catching up in the kitchen, and honestly that time together is better than the cookies themselves.
Making Them Ahead
I've learned through plenty of party prep stress that the cookie cups themselves freeze beautifully for up to two weeks if you store them in an airtight container. Just let them thaw at room temperature for about an hour before filling, and nobody will ever know they weren't baked that morning. The whipped cream filling really does need to be made the same day though, because even in the fridge it starts to weep and lose that perfect texture after about 24 hours.
Filling Variations
While the vanilla cream is classic, I've discovered that lemon curd creates this incredible bright contrast that people go absolutely crazy for in spring. Chocolate ganache is probably the most requested variation at my house, especially when I top it with a tiny pinch of flaky salt. Sometimes I'll do a mix of fillings on one platter so people can try a few different flavors, and it always looks so impressive despite being incredibly simple to pull together.
Common Questions
Can I make these without a mini muffin tin? You can use a regular muffin tin but you'll need to press the dough higher up the sides and increase the baking time to about 14 to 16 minutes, though you'll only get about 12 larger cups instead of 24.
- Room temperature dough is so much easier to work with than cold, so if you've chilled it let it sit out for 20 minutes before shaping
- If the cups are sticking to the tin, run a thin knife around the edge and give them a gentle twist they should pop right out
- A small cookie scoop makes portioning so much faster and more consistent than using spoons
 Save
Save There's something so satisfying about watching people's eyes light up when they bite into these little cups, discovering that perfect combination of buttery cookie and sweet cream. Hope they become as beloved in your kitchen as they are in mine.
Recipe FAQs
- → How do I prevent the cookie cups from sticking to the muffin tin?
-
Lightly grease your mini muffin tin with butter or cooking spray before adding the dough. Allow the cups to cool in the tin for about 10 minutes after baking, then carefully loosen the edges with a small knife or spoon before transferring to a wire rack. The slight cooling period helps them set and release more easily.
- → Can I make the cookie dough ahead of time?
-
Yes, you can prepare the cookie dough up to 2 days in advance and store it in the refrigerator wrapped tightly in plastic wrap. Let it soften slightly at room temperature for about 15-20 minutes before scooping into the muffin tins. You can also freeze the dough for up to 3 months.
- → What other fillings work well in sugar cookie cups?
-
Beyond vanilla whipped cream, try filling the cups with lemon curd for a bright tangy contrast, chocolate ganache for rich indulgence, cream cheese frosting, Nutella, or even pastry cream. Fresh berries, sliced fruit, sprinkles, mini chocolate chips, or crushed candies make excellent toppings. The neutral sweetness of the sugar cookie base pairs well with almost any filling.
- → Why do I need to press the centers while warm?
-
The cookie centers puff up during baking and naturally settle as they cool, but pressing gently with the back of a spoon while still warm ensures a deeper, more defined cup shape. This creates more space for fillings and prevents the centers from being too shallow. Be gentle to avoid cracking the edges.
- → How should I store filled versus unfilled cookie cups?
-
Store unfilled cookie cups in an airtight container at room temperature for up to 3 days. Fill them just before serving for the best texture and presentation. If you need to store filled cups, keep them refrigerated and consume within 24 hours, as moisture from the filling can soften the cookie cups over time.
- → Can I double this recipe for larger gatherings?
-
Absolutely. This recipe scales well—simply double all ingredients for 48 cookie cups. You may need to bake in batches unless you have multiple mini muffin tins. The baked, unfilled cups freeze beautifully for up to 3 months; thaw at room temperature before filling and serving.
