 Save
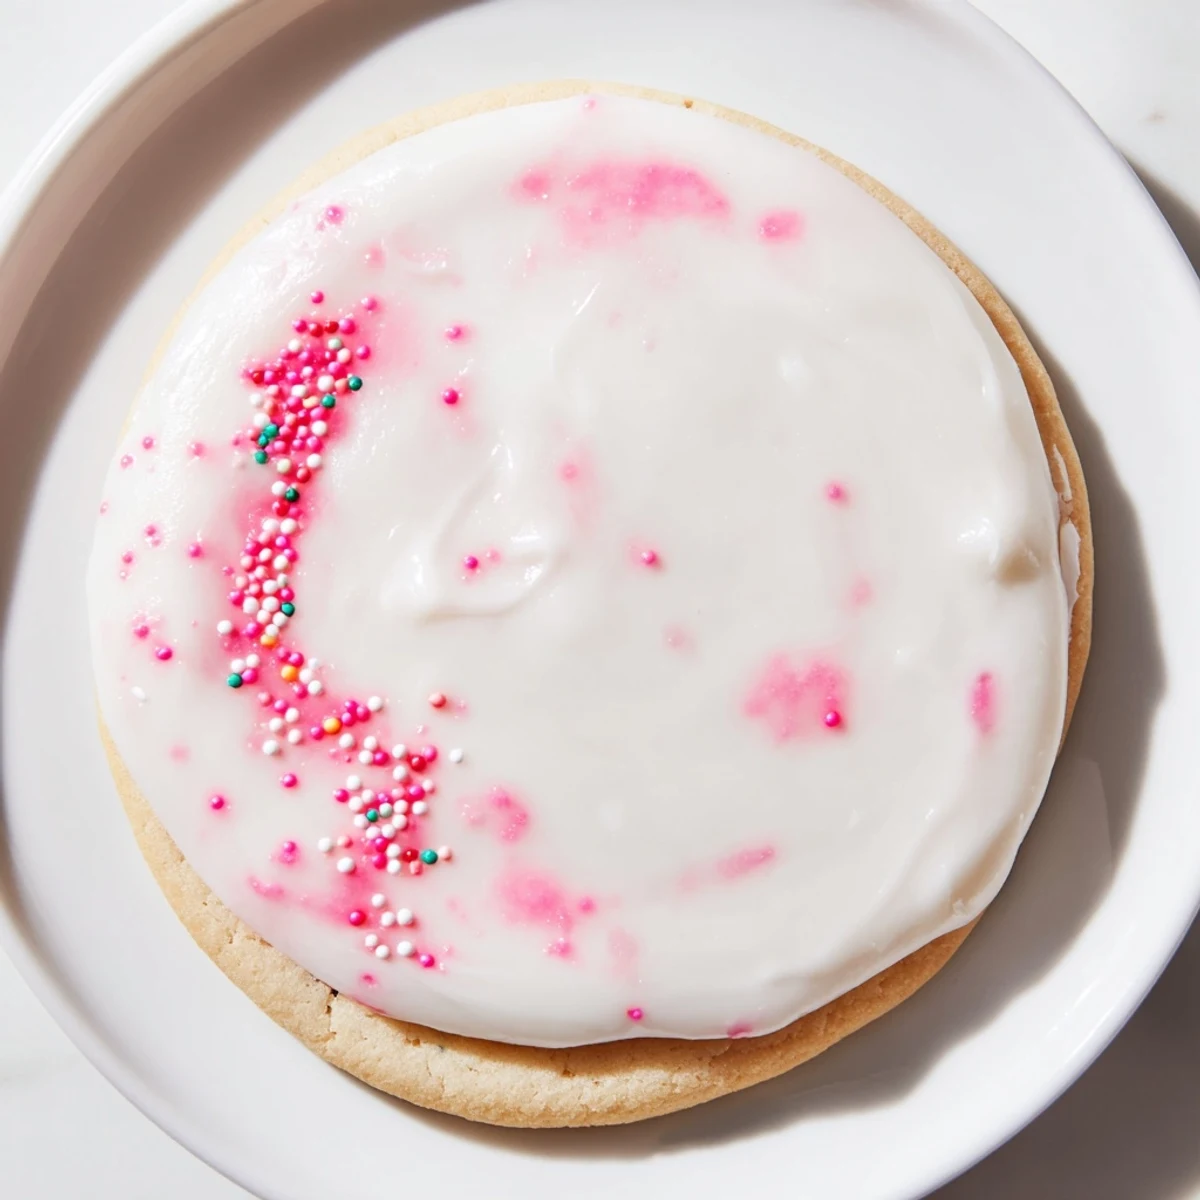
Save This simple icing creates a smooth, glossy finish that dries perfectly firm for decorating sugar cookies. The corn syrup ensures a professional shine while the vanilla adds classic flavor.
Mix powdered sugar with milk, corn syrup, and vanilla until glossy and smooth. Adjust consistency by adding more milk for spreading or more sugar for piping detailed designs.
Divide into bowls and color with gel or liquid food coloring for vibrant custom shades. Apply to cooled cookies by dipping, spreading, or piping.
Let decorated cookies dry at room temperature for 4 hours until completely set. The icing stays firm and perfect for stacking or gifting.
The kitchen counter was covered in a snowfall of powdered sugar, my daughter standing on a stool with flour in her hair and the biggest grin I'd ever seen. We'd spent the entire afternoon rolling out sugar cookies, cutting them into imperfect stars and hearts, and now came the part she'd been waiting for—the decorating. That afternoon taught me that the icing isn't just a topping, it's the magic that transforms ordinary cookies into something that makes memories stick.
Last Christmas, my neighbor's kids came over for our annual cookie decorating party, and I made triple batches of this icing. We set up bowls of different colors like little edible rainbows, and something about watching those small hands carefully drizzle icing onto cookies made the whole holiday feel real. The best part was seeing how proud they were when their creations dried into something they could actually hold and show off.
Ingredients
- 2 cups powdered sugar, sifted: Sifting might feel like an extra step, but it's the difference between silky smooth icing and one with tiny lumps that'll clog your decorating tools
- 2 to 3 tablespoons milk: Start with less and add gradually—dairy milk adds richness, but any milk works beautifully here
- 1 tablespoon light corn syrup: This is the secret ingredient that gives your icing that gorgeous glossy shine and helps it dry perfectly smooth
- 1/2 teaspoon pure vanilla extract: Pure vanilla makes all the difference in flavor, and you can swap it for almond or lemon if you're feeling adventurous
- Food coloring: Gel colors give you vibrant shades without thinning your icing, while liquid works in a pinch
Instructions
- Mix your base:
- Whisk together the powdered sugar, 2 tablespoons of milk, corn syrup, and vanilla extract in a medium bowl until everything dissolves into a smooth, glossy mixture that looks like liquid glass.
- Find your perfect consistency:
- Test your icing by dragging a knife through it—if the line fills in within 10 seconds, you've nailed it, but add more milk 1/2 teaspoon at a time if it's too thick.
- Create your palette:
- Divide the icing into separate bowls for each color you want, then stir in food coloring drop by drop until you reach exactly the shade you're imagining.
- Decorate your cookies:
- Work quickly while the icing is fresh—dip the tops of cooled cookies directly into the icing, spread it with a small knife, or pipe detailed designs using a squeeze bottle or piping bag.
- Let it set:
- Leave your decorated cookies undisturbed at room temperature for at least 4 hours, until the icing feels completely dry and firm to a gentle touch.
 Save
Save My sister once tried to rush the drying process by putting iced cookies in the oven on the lowest setting, and we ended up with a batch that looked like melted artwork. We laughed about it while scraping off the gooey mess, but now she always lets them air dry naturally—even if it means staying up late to check them before bed.
Getting The Consistency Right
Think of this icing like liquid honey that's been warmed slightly. When you first mix it, it should thickly coat your whisk and slowly drip off in ribbons. For flooding large areas of cookies, you want it thinner, but for piping borders or details, add a bit more powdered sugar until it holds its shape. I keep a small bowl of extra powdered sugar and another of milk nearby while I work, tweaking as I go.
Color Like A Pro
Gel food coloring is worth every penny because you can achieve those deep, saturated colors without turning your icing into soup. Start with a toothpick dip of gel—it's easier to add more than to fix something that's too dark. I learned to mix slightly more of each color than I think I'll need, because trying to recreate the exact same shade twice is nearly impossible.
Storage And Troubleshooting
This icing keeps beautifully in an airtight container in the refrigerator for up to a week, though you'll need to whisk it again and possibly thin it with a few drops of milk after it's been chilled. If your icing has formed a skin on top, just whisk it vigorously and it'll come back together.
- Always ice cookies that have completely cooled—warm cookies will melt your icing right off
- If you're making cookies for an event, ice them the day before to ensure they're fully set
- Keep a damp paper towel over your bowls of icing while you work to prevent them from drying out
 Save
Save There's something deeply satisfying about pulling out a container of iced cookies you made days ago, seeing how perfectly they've set, and knowing that little bit of effort created something that will make someone smile.
Recipe FAQs
- → How long does the icing take to dry completely?
-
The icing dries firm and set within 4 hours at room temperature. For best results, decorate cookies on a wire rack or parchment-lined surface where air can circulate around them. Avoid stacking or packaging until fully dry to prevent smudging.
- → Can I make this icing ahead of time?
-
Yes, store leftover icing in an airtight container in the refrigerator for up to 1 week. The consistency may thicken when chilled—simply stir well and add small amounts of milk to return it to a workable consistency before using.
- → What's the difference between this and royal icing?
-
This icing uses corn syrup for glossiness and dries to a firm but slightly flexible finish. Royal icing typically uses egg whites or meringue powder and dries completely hard. Both work well for decorating, but this version is easier to make and has a smoother mouthfeel.
- → Why use corn syrup in cookie icing?
-
Corn syrup creates a glossy, professional-looking finish and helps the icing dry smoothly without cracking. It also improves the texture, making the icing easier to spread while maintaining stability. For an even shinier appearance, increase to 1.5 tablespoons.
- → How do I adjust consistency for different decorating techniques?
-
For flooding or covering large areas, add more milk until the icing flows easily. For outlining or piping detailed designs, add more powdered sugar until thick enough to hold its shape. Always adjust gradually—small amounts make big differences in texture.
