 Save
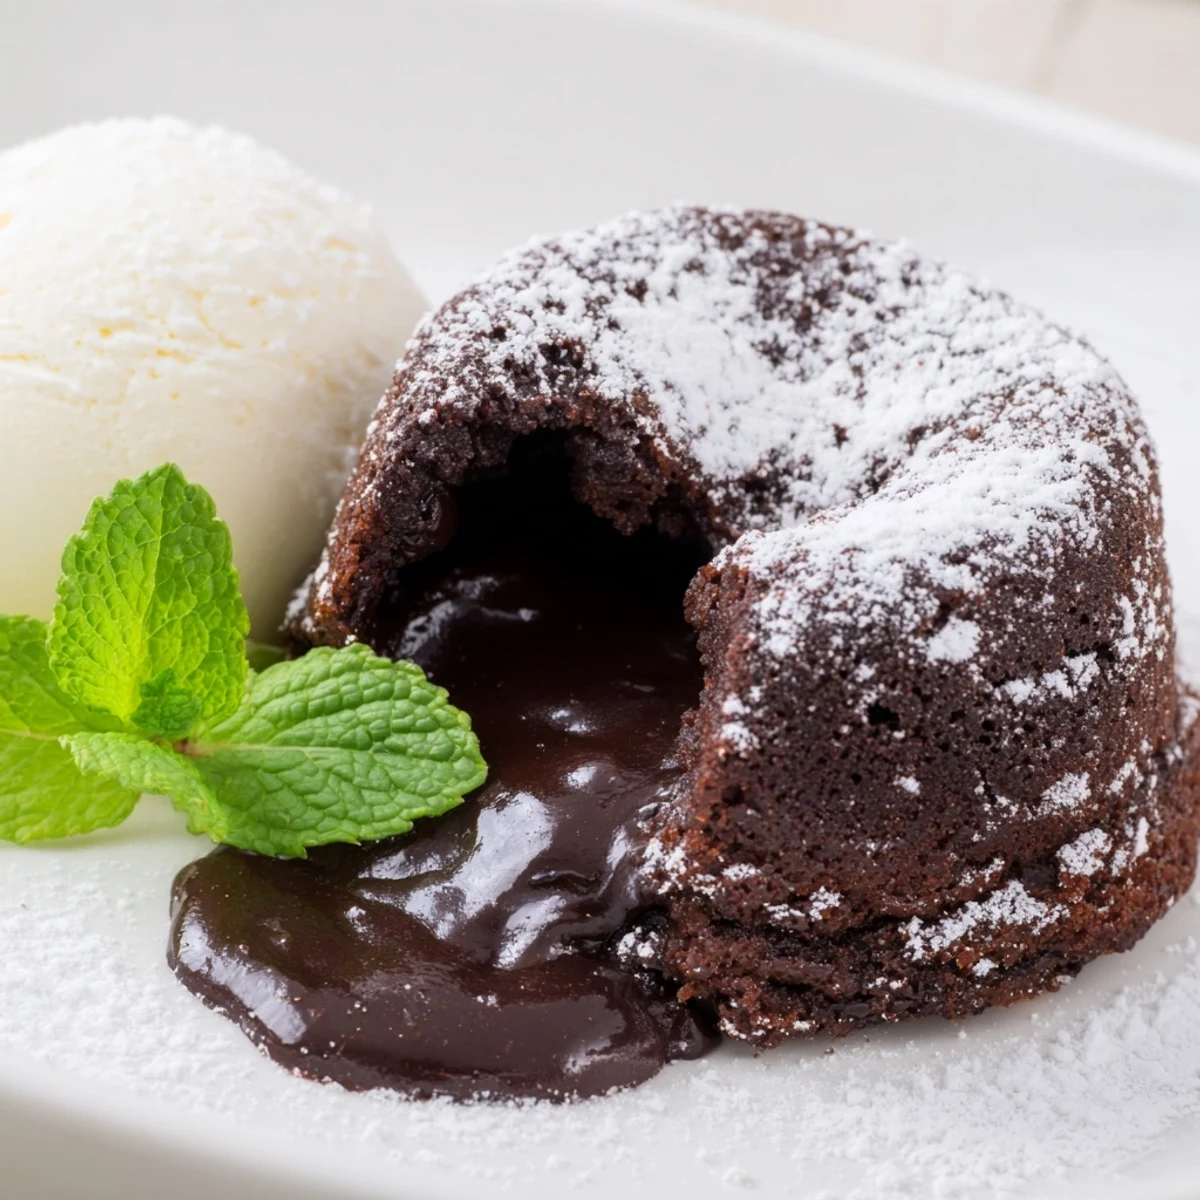
Save This dessert features rich chocolate cakes with a molten center, baked to perfection and served warm with creamy vanilla ice cream. Using dark chocolate and a delicate balance of eggs, sugar, and flour, the cakes offer a soft edge and a gooey middle. Baking in buttered ramekins dusted with cocoa powder ensures a smooth release and added flavor. Finished with optional powdered sugar and fresh berries, this elegant treat blends warm and cold textures for a satisfying indulgence.
There's a moment that happens almost every time I make these chocolate lava cakes—right when that warm, glossy center spills onto the plate and catches the light. I first attempted them during a dinner party when I was trying to impress someone, and honestly, I was terrified of the timing. But the second the fork broke through that thin chocolate shell and released that molten river, all the anxiety dissolved, and I realized I'd stumbled onto something truly magical.
I'll never forget the Christmas Eve when my dad bit into one of these and actually went silent for a few seconds—which, if you know my dad, is saying something. He looked up with this kid-like wonder and asked how I'd made chocolate do that. It was one of those small kitchen moments that reminded me why cooking for people matters.
Ingredients
- Dark chocolate (60–70% cocoa), 120 g: The cocoa percentage matters here—anything below 60% tastes too sweet and dull, while above 70% can overshadow the molten center. I chop it fairly fine so it melts evenly and smoothly.
- Unsalted butter, 120 g: This isn't a background ingredient; it's what gives the batter that luxurious mouthfeel. Cold butter for greasing the ramekins, though, helps them release cleanly.
- Eggs and egg yolks, 2 whole plus 2 yolks: The yolks are what create that molten center—they're richer and more forgiving than whites. Room temperature eggs incorporate more air and cook more evenly.
- Granulated sugar, 100 g: This gets whisked with the eggs until pale, which is where a lot of the structure comes from. Don't skip the whisking step or your cakes might spread too thin.
- All-purpose flour, 30 g: Just enough to give the cakes stability without making them dense. Sifting it in prevents lumps and incorporates a bit of air.
- Salt and cocoa powder for dusting: The salt balances the sweetness and deepens the chocolate flavor, while the cocoa powder in the ramekins prevents sticking and adds a subtle bitter edge.
- Vanilla ice cream, 4 scoops: Don't cheap out here—good vanilla makes the whole dish sing. The cold sweetness against the hot chocolate is the entire point.
Instructions
- Prep your ramekins like they're small edible vessels:
- Butter them generously, making sure to get into the bottom corners, then dust with cocoa powder and tap out the excess. This step actually prevents sticking better than flour would, and it adds chocolate flavor right from the start.
- Melt chocolate and butter together slowly:
- A double boiler keeps the heat gentle so the chocolate doesn't seize or scorch. Stir occasionally until everything is smooth and glossy, then let it cool for a minute or two—you want it warm but not hot when it meets the eggs.
- Whisk eggs and sugar until they're pale and thick:
- This step usually takes 2–3 minutes with an electric mixer or good arm strength. You're basically making the base of a mousse, and that pale color means you've incorporated enough air to keep the cakes light.
- Fold the chocolate mixture in gently:
- Use a spatula and work slowly in a few additions so you don't deflate all that aeration. The batter should look dark and glossy but still fluffy.
- Add flour and salt without overmixing:
- Once you add flour, stop as soon as you don't see white streaks anymore. Overmixing develops gluten, which makes the cakes tough instead of tender.
- Divide batter and bake with confidence:
- Fill each ramekin about three-quarters full and place them on a baking sheet so they're easy to grab. Bake at 220°C (425°F) for 11–12 minutes—the edges should look set and slightly risen, but the center should jiggle just a tiny bit when you gently shake the ramekin.
- Invert onto plates while they're still warm:
- Run a thin knife around the edges first, then place a plate on top and flip confidently in one quick motion. If one sticks, pop it back in the oven for 30 seconds and try again.
 Save
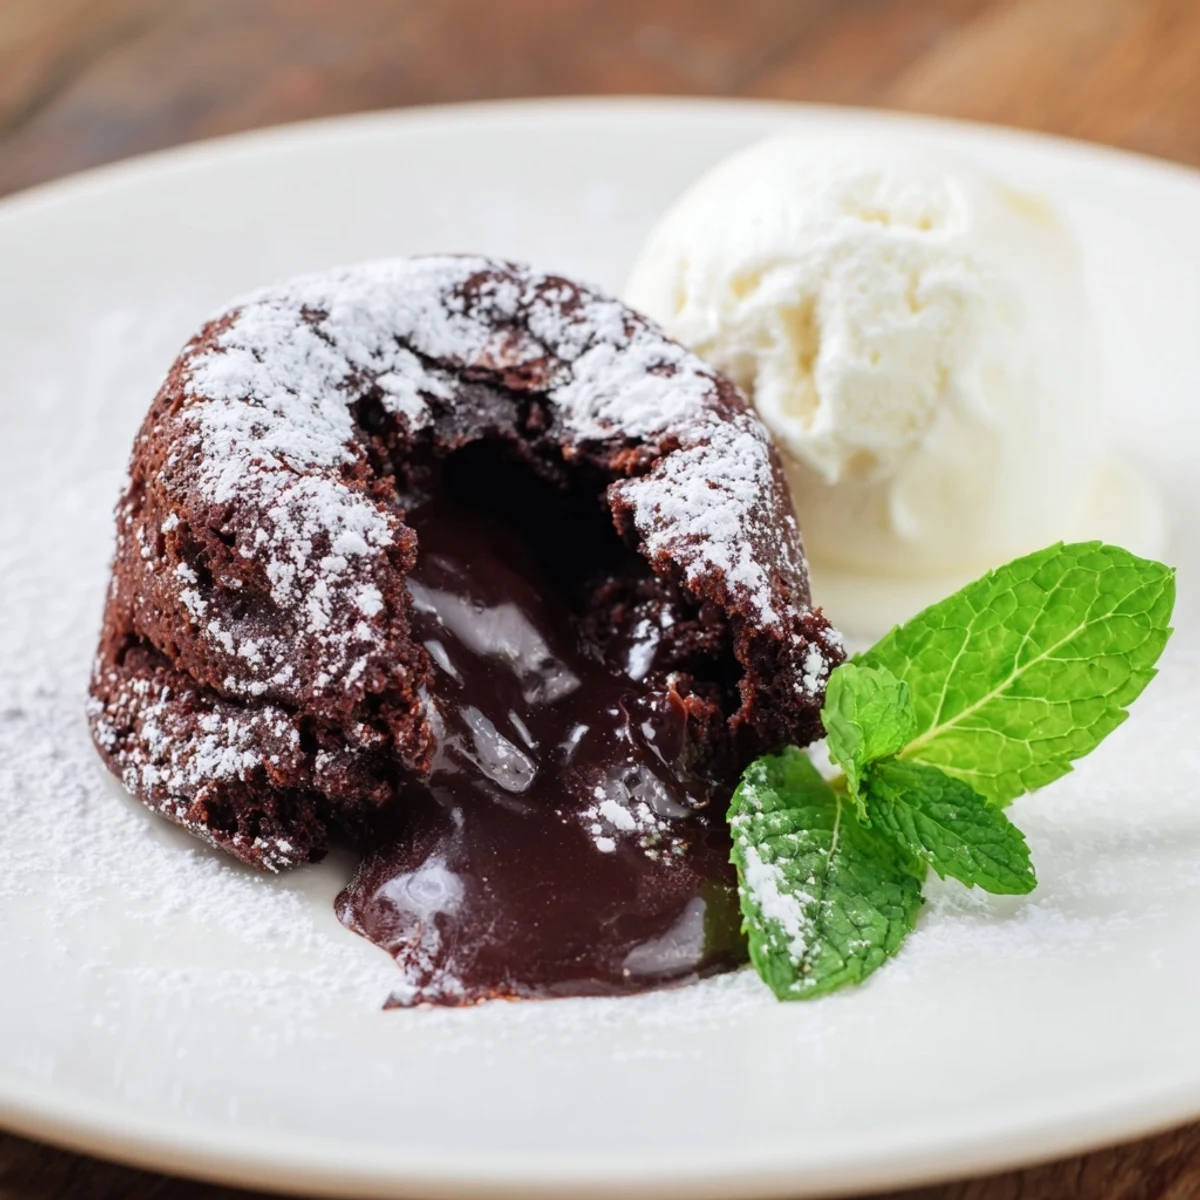
Save There's something almost ceremonial about flipping one of these cakes onto a warm plate and watching the chocolate spill out. It's the kind of moment where you remember why you bother cooking for people—it's not really about the food, it's about creating something that makes someone pause and smile.
The Science of the Molten Center
What makes a lava cake actually lava is the ratio of egg yolks to flour and the precise baking time. Too much flour and it becomes a regular chocolate cake; too little time and the edges don't set. The yolks contain a lot of water and fat, which means they stay soft even when the surrounding batter sets up. It's almost like you're creating a chocolate mousse in the middle and a light, thin sponge around it.
Timing and Temperature Matter More Than You'd Think
Room temperature eggs and chocolate that's cooled to warm (not hot) are non-negotiable if you want the right texture. A cold egg will deflate when it hits warm chocolate, and chocolate that's too hot will scramble the eggs. I learned this the hard way during batch three of my lava cake experiments. The oven temperature also needs to be accurate—if it's too low, your cakes will bake through completely instead of staying molten in the center.
Make-Ahead Magic and Flavor Variations
You can prepare the batter up to 8 hours ahead and refrigerate it in the ramekins—just add a minute or two to the baking time since they'll be cold. If you want to play with flavors, add a half teaspoon of espresso powder to the chocolate mixture to deepen the flavor without making it taste like coffee, or add a tiny pinch of cayenne pepper for a subtle heat that surprises people. Some people add liqueur like Grand Marnier or Chambord to the batter, which adds sophistication without overpowering the chocolate.
- A dusting of fleur de sel on top adds elegance and a salty-sweet balance that's genuinely memorable.
- If you don't have ramekins, you can use muffin tins or even shallow bowls—just adjust your baking time.
- Serve these the moment they come out of the oven; waiting even five minutes changes the whole vibe.
 Save
Save These cakes are proof that sometimes the simplest ingredients, treated with just a bit of care and respect, become something unforgettable. Serve them warm, serve them with good ice cream, and serve them to people you care about.
Recipe FAQs
- → How do I achieve the molten center?
-
Baking the cakes for 11–12 minutes ensures the edges are set while the centers stay soft and gooey. Avoid overbaking to maintain the molten middle.
- → Can I prepare the batter ahead of time?
-
Yes, you can refrigerate the batter before baking. Bring it to room temperature before placing in the oven for even cooking.
- → What type of chocolate works best?
-
Use dark chocolate with 60–70% cocoa content for a rich, deep flavor that balances sweetness and bitterness.
- → What alternatives can I use for garnish?
-
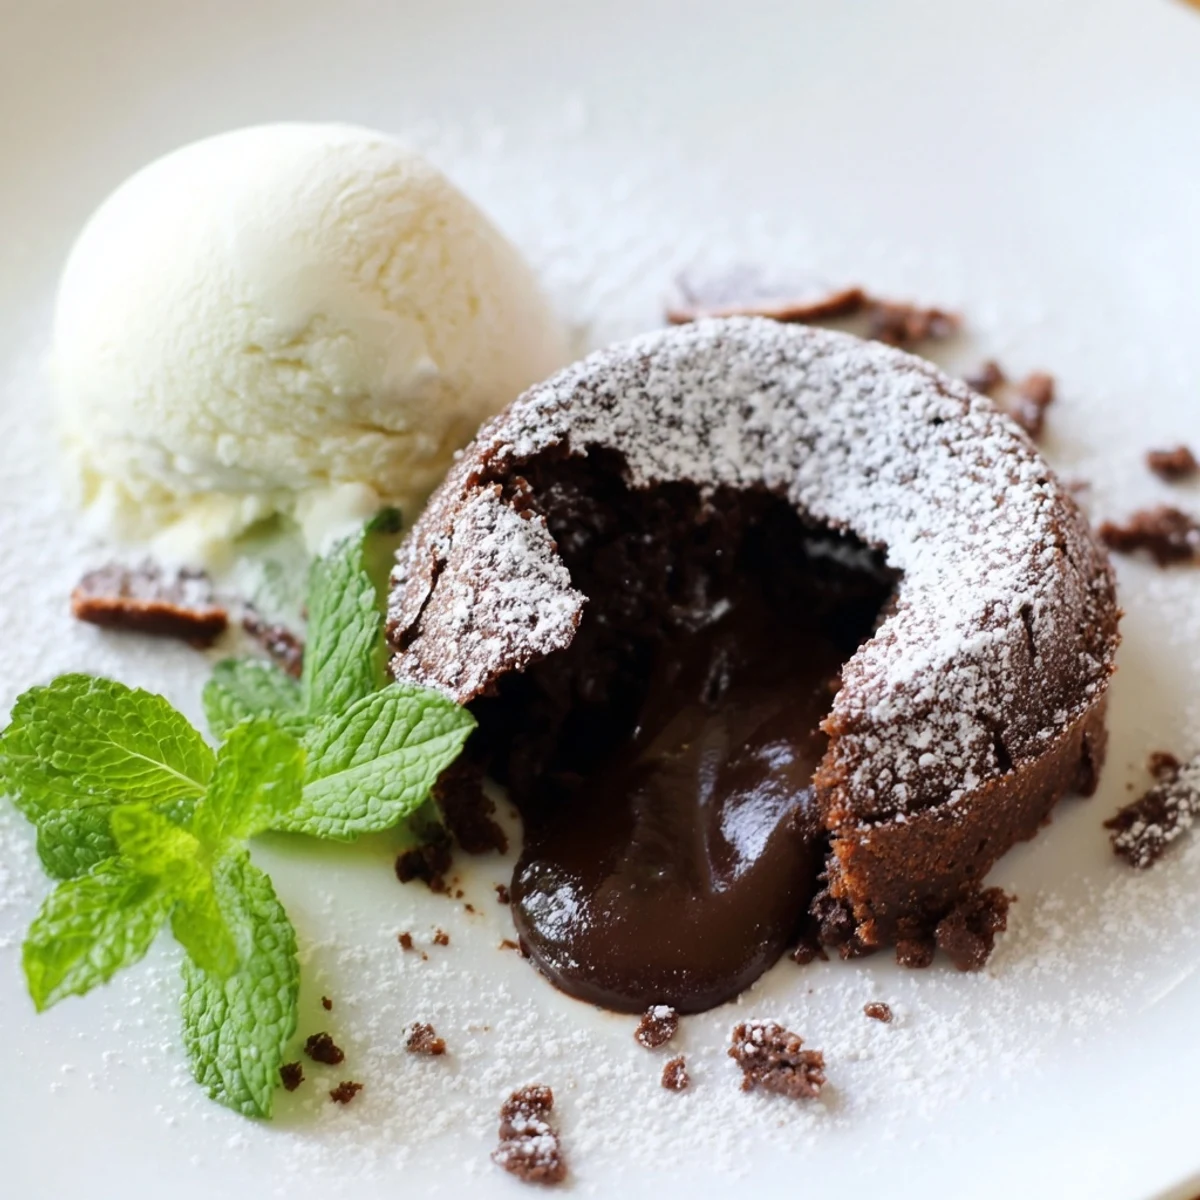
Fresh berries, mint leaves, or a light dusting of powdered sugar add visual appeal and complementary flavors.
- → How should I serve the dessert?
-
Serve the warm cakes immediately after baking with a scoop of creamy vanilla ice cream to contrast temperatures and textures.
