 Save
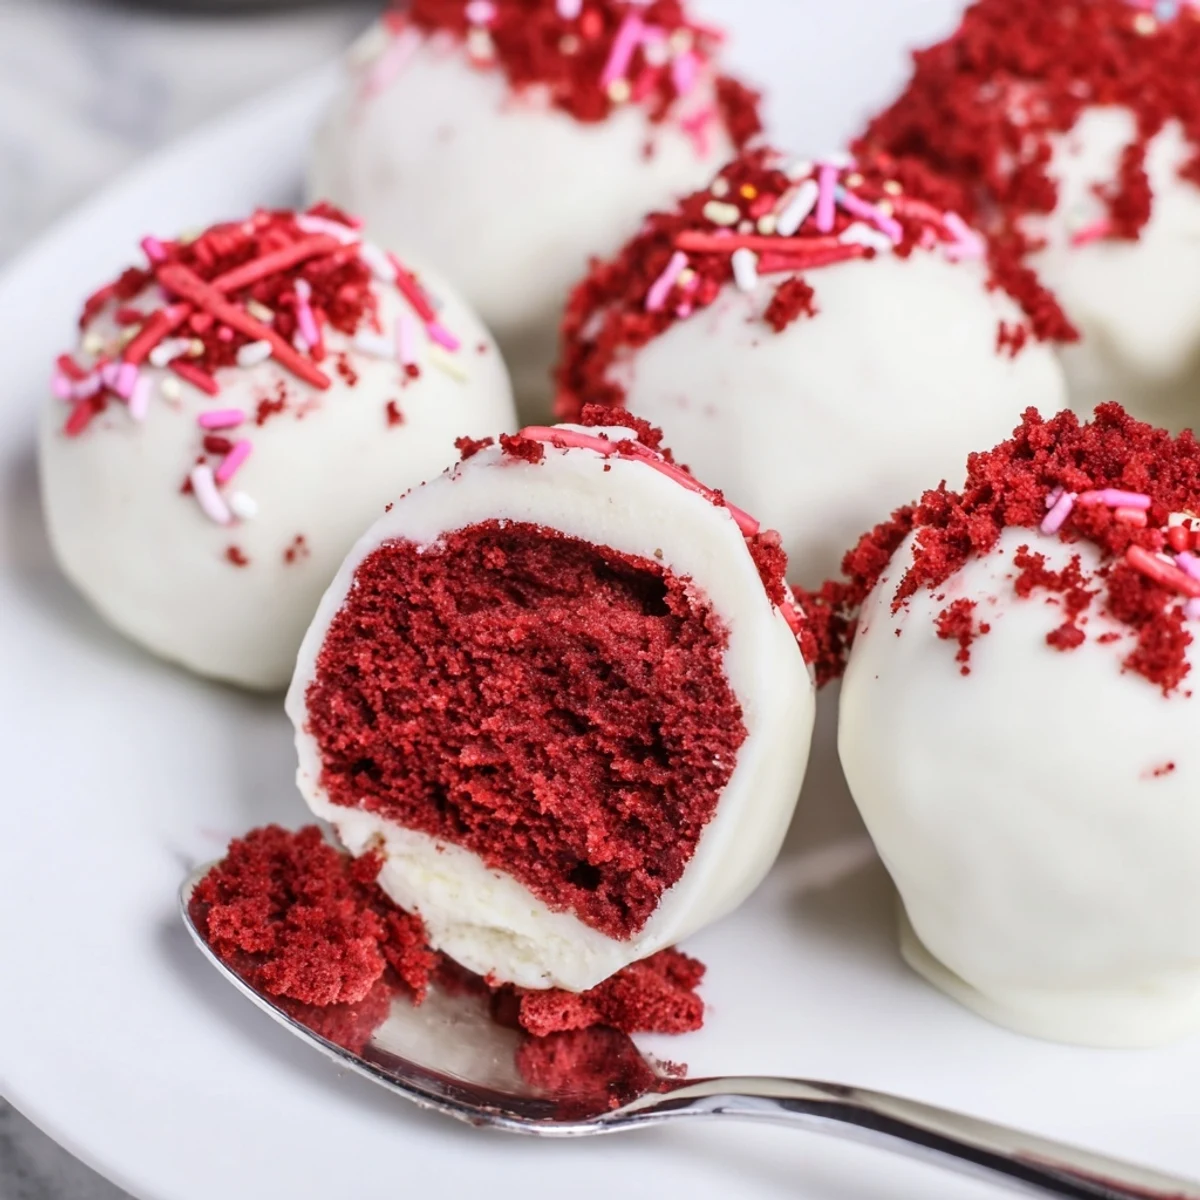
Save Mix crumbled red velvet cake with softened cream cheese, powdered sugar and vanilla until a smooth, moldable mixture forms. Portion into tablespoon-sized balls and chill at least an hour to firm. Dip each chilled ball in melted chocolate, let excess drip off, then decorate with crumbs or sprinkles. Store chilled in an airtight container; swap coatings or fold in nuts for variation.
My sister brought a tray of these to a holiday party three years ago and they vanished before the main course even hit the table, leaving nothing but a smear of red velvet crumbs on the serving platter. I cornered her in the kitchen demanding the recipe and she laughed, saying the hardest part was not eating them all while dipping. That challenge has defeated me every single time since.
I made a double batch for my neighbors potluck last summer and ended up sitting on her kitchen floor at midnight, rolling the last few balls while we recounted every embarrassing thing we did in college. The chocolate had gotten everywhere, my hands looked like a crime scene, and those might have been the best ones of the whole batch.
Ingredients
- Red velvet cake (300 g, fully baked and cooled): Store bought works beautifully here, no shame in that shortcut, but let it sit uncovered for a few hours so it dries slightly and crumbles more cleanly.
- Cream cheese (200 g, softened): Leave it on the counter for at least an hour because cold cream cheese will leave lumps in your filling and those lumps drive me absolutely mad.
- Powdered sugar (40 g): Just enough to sweeten the filling without turning it into frosting territory.
- Vanilla extract (1 tsp): Use the real stuff if you have it, the imitation version flattens the flavor noticeably.
- White chocolate (250 g): A good quality bar melts smoother than chips, which have stabilizers that make them stubborn and thick.
- Red food coloring (optional): A few drops in the white chocolate creates a gorgeous pinkish red coating that looks stunning on a dessert table.
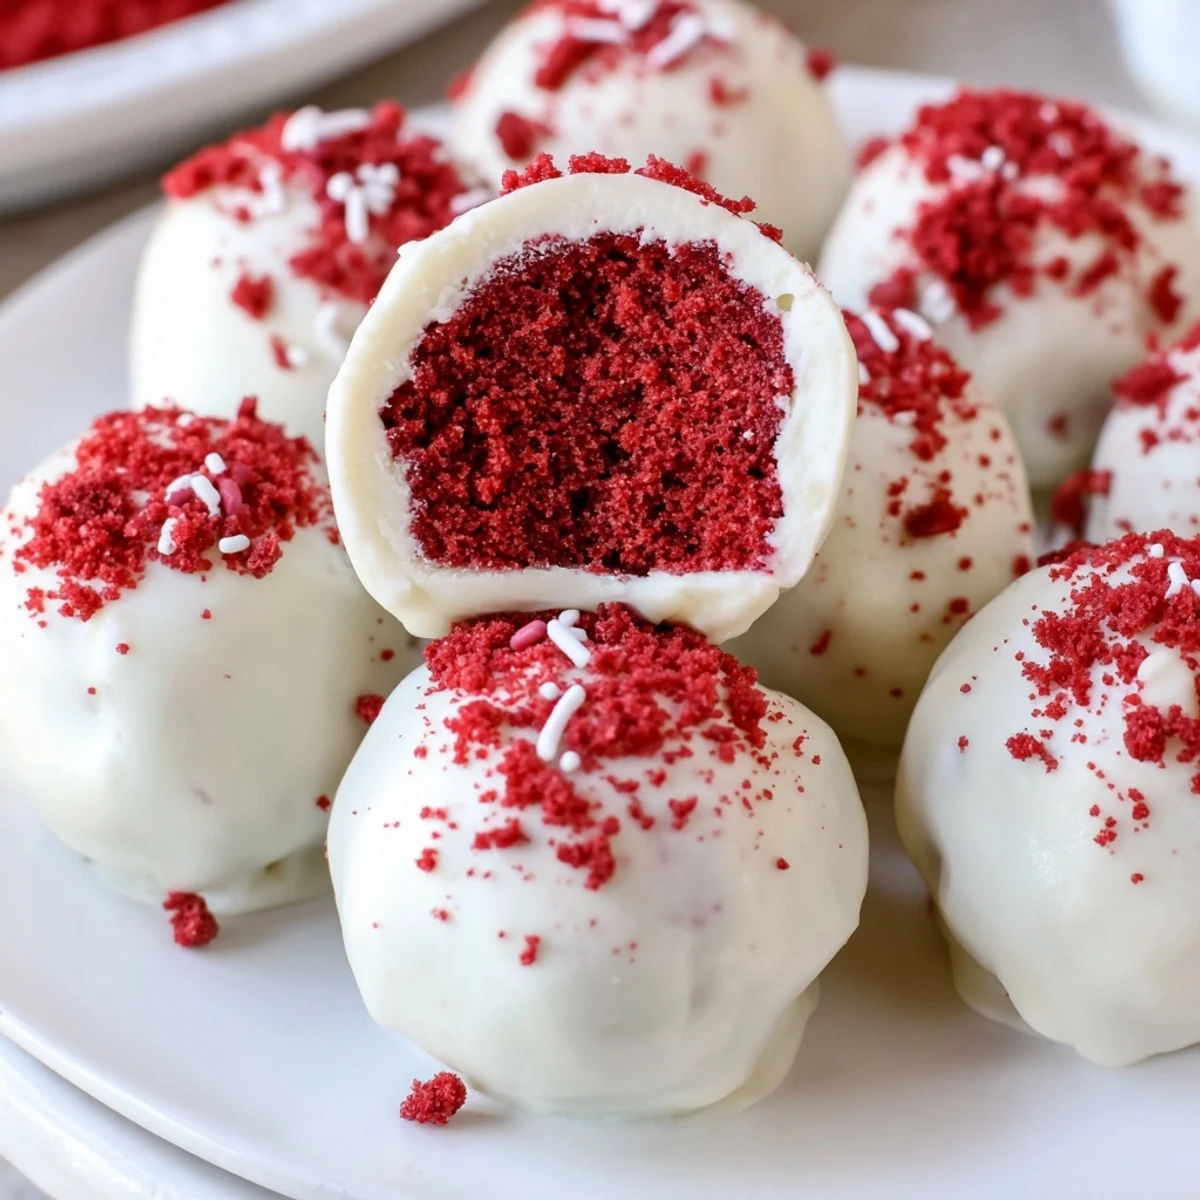
- Red velvet crumbs and sprinkles (optional): Save a handful of cake crumbs before mixing for decorating, it ties the whole presentation together.
Instructions
- Break down the cake:
- Crumble the red velvet cake into a large bowl using your fingers, pressing out any stubborn chunks until the texture resembles damp sand. This is oddly satisfying and the point where you will start sneaking pinches.
- Whip the filling:
- Beat the softened cream cheese, powdered sugar, and vanilla together until completely smooth and silky, scraping the bowl once to catch any hiding lumps.
- Bring it all together:
- Pour the cream cheese mixture over the crumbs and mix with your hands or a spatula until everything holds together like a soft cookie dough. If it feels too wet, chill it for fifteen minutes before rolling.
- Roll into balls:
- Scoop roughly one tablespoon portions and roll them between your palms, placing each one on a parchment lined tray. Try to keep them uniform but do not stress about perfection, rustic is charming.
- Chill thoroughly:
- Refrigerate the tray for at least one hour until the balls feel firm to the touch, because a soft center will slide right off your fork during dipping and that is a heartbreaking moment.
- Melt the chocolate:
- Use a microwave in thirty second bursts or a double boiler, stirring between rounds until the chocolate flows like heavy cream. Add red food coloring now if you want that rosy coating.
- Dip and decorate:
- Drop each chilled ball into the chocolate, roll it gently to coat, lift it out with a fork letting excess drip away, and return it to the parchment. Sprinkle crumbs or sprinkles on top immediately before the shell hardens.
- Let them set:
- Leave the tray at room temperature or pop it back in the fridge until the coating is completely firm and dry to the touch. Then try to eat just one.
 Save
Save The batch I made for my daughters school bake sale came back with an empty container and a handwritten note from her teacher asking for the recipe, which now sits pinned to my fridge with a magnet shaped like a cupcake.
Choosing Your Chocolate Coating
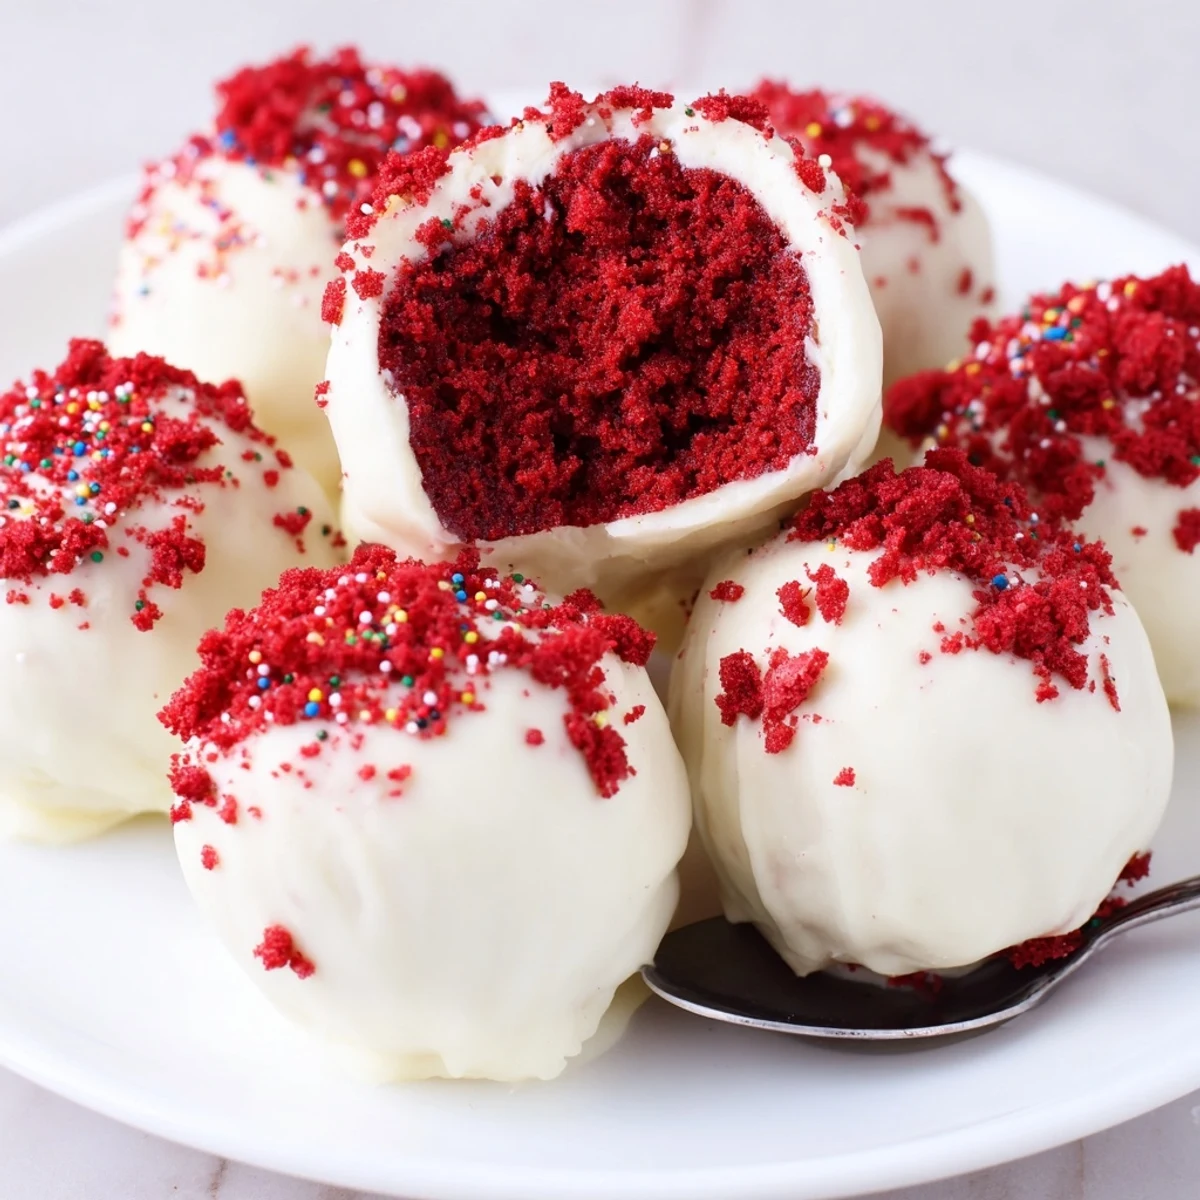
White chocolate gives the prettiest visual contrast against the red velvet interior, but dark chocolate creates a more sophisticated flavor that cuts through the sweetness beautifully. Milk chocolate lands somewhere in between and is usually the crowd pleaser at kids parties. Whichever you pick, taste it before melting because cheap chocolate cannot hide once it coats the whole ball.
Storage and Make Ahead Strategy
These keep wonderfully in an airtight container in the refrigerator for up to five days, and honestly the texture on day two might be even better than day one. I have also frozen them successfully for up to a month by layering between sheets of parchment in a freezer safe container. Thaw them in the fridge overnight and they emerge looking and tasting as though you just made them.
Variations Worth Trying
Once you have the basic technique down, the flavor possibilities open up in surprising directions. A tablespoon of espresso powder in the filling adds depth without screaming coffee. Crushed graham crackers or toasted coconut mixed into the dough changes the texture in a delightful way.
- Roll the finished balls in cocoa powder instead of dipping for a truffle style finish.
- Add a teaspoon of peppermint extract to the white chocolate during holidays for a festive twist.
- Always taste your filling before rolling to make sure the sweetness level makes you happy.
 Save
Save Every time I make these, someone asks if they took all day, and I never quite know how to answer that without sounding like I am keeping a delicious secret. They are simple, they are stunning, and they disappear faster than anything else on the table.
Recipe FAQs
- → How do I keep the balls from falling apart?
-
Chill the mixture before rolling and after shaping; the cream cheese firms the crumbs. If mixture is too dry, add a teaspoon of cream cheese or a small splash of cream. If too wet, add extra cake crumbs and re-chill until the texture is moldable.
- → What chocolate works best for coating?
-
White, milk or dark chocolate all work. Tempering gives the nicest snap and shine, but melted chocolate chips or candy melts are quicker. For contrast, use dark chocolate; for a festive look, color white chocolate lightly or use white chocolate plus crumbs.
- → Can these be frozen?
-
Yes. Freeze on a tray until firm, then transfer to an airtight container with parchment between layers. Thaw in the refrigerator before serving to avoid condensation on the coating.
- → How do I get a smooth chocolate coating?
-
Use chilled, firm balls and dip quickly while the chocolate is fluid. Tap the spoon to remove excess and let excess drip off before placing on parchment. Work at a moderate temperature so the coating sets smoothly without clumping.
- → How far ahead can I make them?
-
They can be made a day in advance and stored chilled in an airtight container for up to 5 days. For longer storage, freeze and thaw in the refrigerator before serving.
- → How can I add texture or flavor variations?
-
Fold in chopped nuts, shredded coconut, or a pinch of espresso to the filling before shaping. Roll in finely chopped nuts or cookie crumbs instead of sprinkles for added crunch.
