 Save
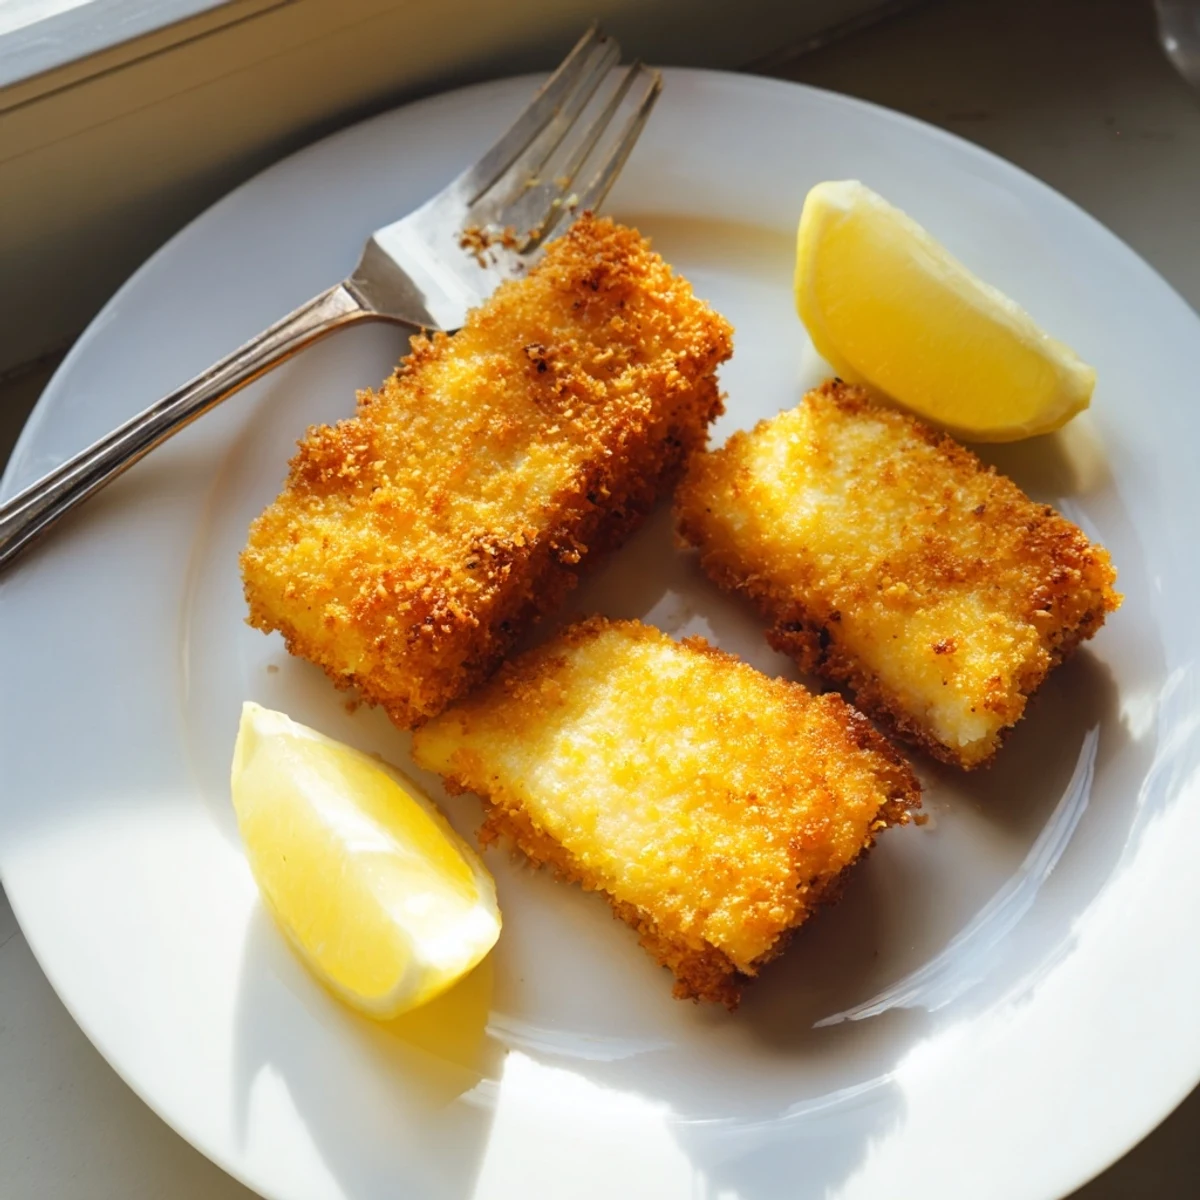
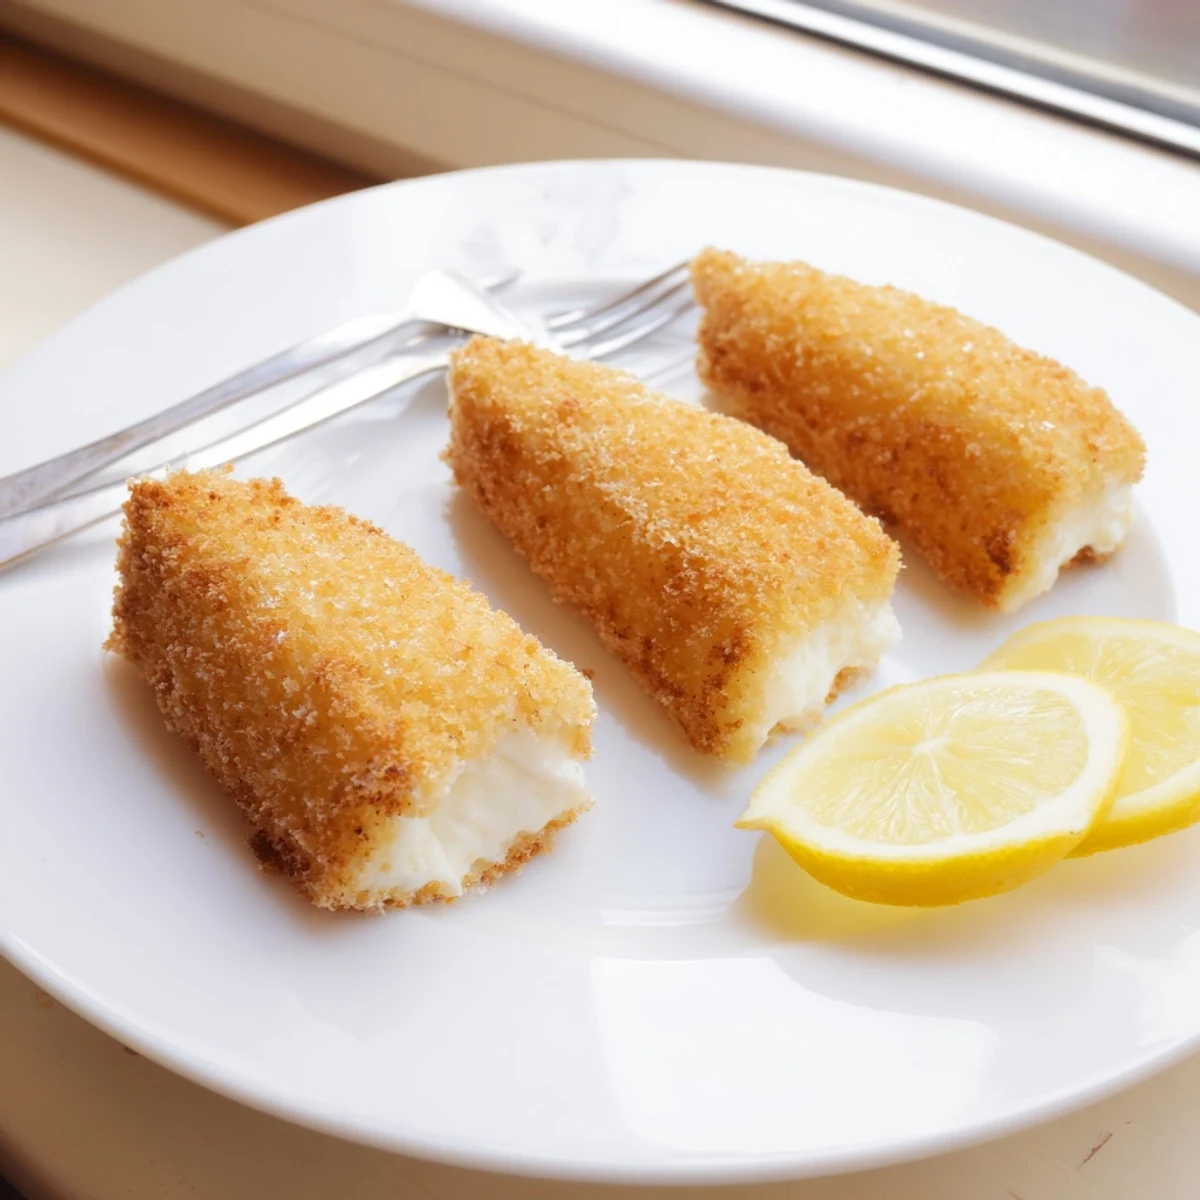
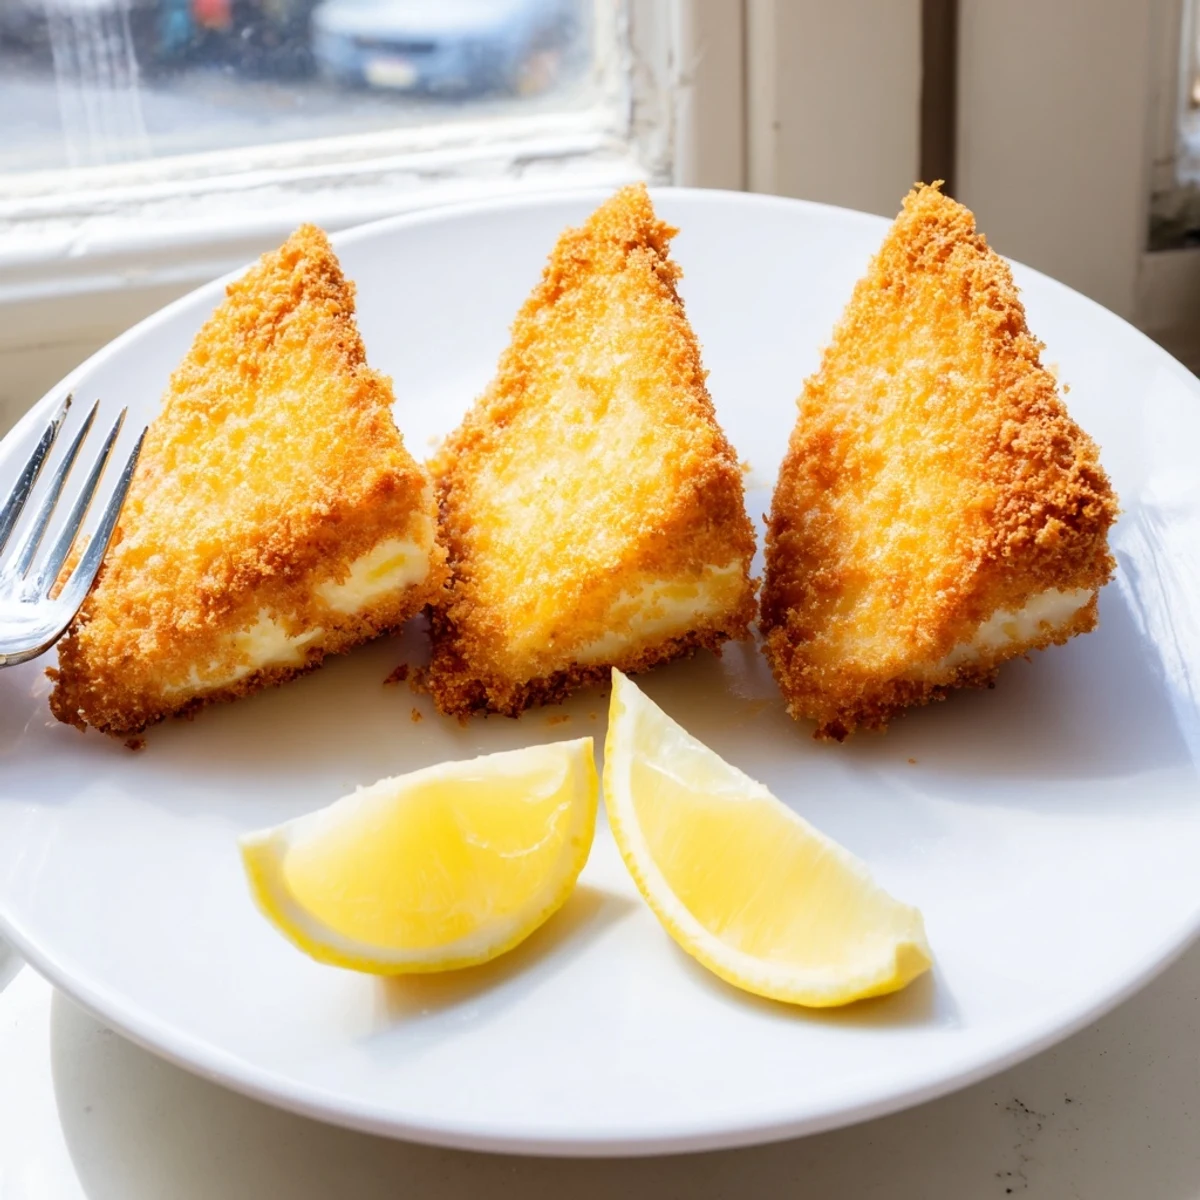
Save This traditional Greek dish, known as Saganaki, features firm cheese coated in seasoned flour and pan-fried until golden. The exterior becomes satisfyingly crisp while the interior transforms into warm, melty perfection. Ready in just 20 minutes, this appetizer delivers authentic Mediterranean flavors with minimal effort. Serve immediately with fresh lemon wedges to cut through the richness, creating that perfect balance of tangy and savory that makes Greek cuisine so beloved.
The first time I watched a Greek grandmother make Saganaki in a tiny Athens kitchen, I was mesmerized by the sizzle and the way the cheese transformed before my eyes. She laughed when I jumped at the sound, then handed me a wedge with a wink and said this is what happiness tastes like. That moment ruined me forever, because no restaurant version has ever quite matched the magic of her simple technique and generous lemon squeeze. Now I make it whenever I need instant joy, which is fairly often.
Last summer my friend Maria came over and we stood around the stove with wine glasses, taking turns flipping the cheese and arguing over whose turn it was to squeeze the lemon. By the time we actually sat down to eat, half the cheese was gone and we were both laughing so hard we could barely breathe. Some dishes are meant to be shared while still standing at the counter.
Ingredients
- 250 g firm Greek cheese: Kefalotyri or Graviera are traditional choices that melt beautifully while holding their shape, though Halloumi works wonderfully too
- 80 g gluten-free flour: This creates the golden crust we are after, and you can use regular flour if gluten is not a concern
- Freshly ground black pepper: Just enough to season the flour and add warmth without overpowering the cheese
- 3 tbsp extra virgin olive oil: The authentic Greek choice, though a neutral oil works if you prefer a lighter taste
- Lemon wedges: Absolutely essential for that bright acid that cuts through all the rich cheese
Instructions
- Prep your cheese:
- Cut into 1-1.5 cm thick slices or wedges, then pat each piece thoroughly dry with paper towels
- Create the coating station:
- Spread flour on a plate, season with black pepper, and dredge each cheese slice until evenly coated on both sides
- Get your oil ready:
- Heat olive oil in a non-stick skillet over medium-high until it shimmers but is not smoking
- Fry to perfection:
- Cook cheese slices 1-2 minutes per side until deep golden brown and crispy, then drain immediately on paper towels
- Serve immediately:
- Arrange on a platter with plenty of lemon wedges while the cheese is still sizzling hot
 Save
Save My father claimed he did not like fried cheese until I made this for him, and then proceeded to eat three pieces while pretending to be surprised each time he took another bite. There is something deeply satisfying about converting a skeptic with nothing but cheese and a hot pan.
Choosing Your Cheese
Kefalotyri is what I reach for first because it has that perfect balance of salt and the kind of melting behavior that creates those gorgeous cheese strands. Graviera is slightly sweeter and nuttier, which is lovely if you want something less intense. Halloumi will not melt quite the same way but still delivers excellent texture, and while firm feta works in a pinch, it will be crumblier than the traditional version.
Making It Your Own
A sprinkle of dried oregano over the hot cheese adds that classic Greek flavor profile I love, and sometimes I will add a pinch of paprika to the flour for extra depth and color. The honey drizzle variation sounds strange until you try it, at which point you will understand why it is a thing. Just a tiny bit creates this incredible sweet-and-salty situation that makes everyone reach for another piece.
Perfect Pairings
A chilled Assyrtiko or crisp Pinot Grigio will cut through the richness beautifully, and ouzo is the traditional choice if you want the full Greek meze experience. I have also served this alongside a simple green salad dressed with nothing but olive oil and vinegar to balance the plate. Some warm crusty bread never hurts either.
- Make sure your oil is properly hot before adding the cheese or it will absorb too much fat
- Work in batches rather than crowding the pan, which lowers the temperature and makes everything soggy
- Have your plates ready because this waits for no one, and cold fried cheese is a sad thing indeed
 Save
Save There is something profoundly cheering about standing at the stove, smelling that golden cheese bubble away, and knowing you are just minutes away from pure joy. Sometimes the simplest foods are the ones that stay with us longest.
Recipe FAQs
- → What cheese works best for fried cheese?
-
Kefalotyri and Graviera are traditional Greek choices, offering the perfect balance of saltiness and melting properties. Halloumi makes an excellent substitute with its squeaky texture, while firm feta provides a tangier variation. The key is choosing a firm cheese that holds its shape during frying.
- → Why do I need to pat the cheese dry?
-
Removing excess moisture from the cheese surface prevents oil splattering during frying and helps the flour coating adhere better. Dry cheese also crisps up more beautifully, creating that satisfying golden crunch while protecting the melty interior.
- → Can I make this ahead of time?
-
Fried cheese tastes best immediately after cooking while still hot and melty. You can prepare the cheese slices and coat them in flour ahead of time, then fry just before serving. If you must reheat, a quick pan sear helps restore some crispiness, though it won't match freshly made results.
- → What should I serve with fried cheese?
-
Fresh lemon wedges are essential—they add brightness and cut through the richness. For an authentic Greek experience, pair with chilled white wine or ouzo. Warm pita bread, olives, or a simple cucumber and tomato salad round out the perfect Mediterranean appetizer spread.
- → Is the flour coating necessary?
-
The flour coating creates the signature crispy exterior and prevents the cheese from sticking to the pan. It also forms a protective layer that keeps the cheese from melting too quickly. For a lighter version, you can use less flour, but you'll sacrifice some of that satisfying crunch.
