 Save
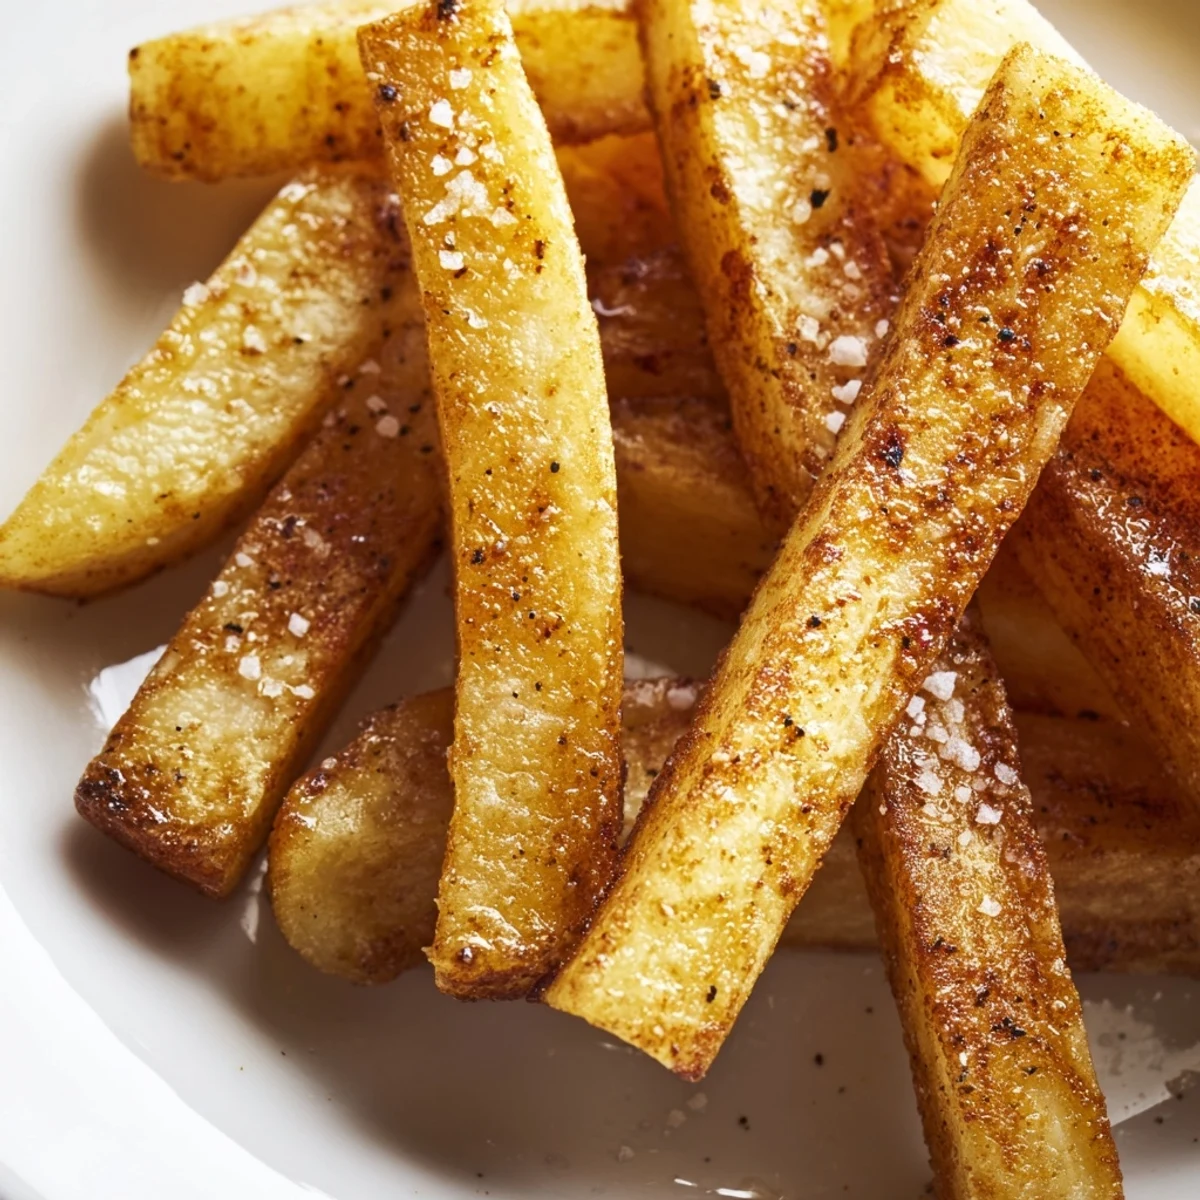
Save These oven baked fries turn russet potatoes into golden, crispy sticks with a light coating of olive oil and sea salt. Soaking cut potatoes helps remove excess starch, ensuring a perfect crunch after baking at high heat. Optional spices like smoked paprika and garlic powder add subtle depth, while a finishing sprinkle of flaky sea salt elevates the flavor. This easy, vegetarian side pairs wonderfully with a variety of dips and makes a wholesome alternative to fried versions.
There's something almost meditative about cutting potatoes into fries at home—the rhythm of the knife, the clean sticks falling onto the cutting board, the promise of something crispy and golden coming from the oven instead of a takeout bag. I stumbled onto this oven-baked method one winter when I was craving fries but didn't want the mess or the guilt of deep frying, and what surprised me most was how genuinely crispy they got without a drop of excess oil. Now they're my go-to when I want that satisfying crunch without the heaviness, and honestly, they've ruined store-bought frozen fries for me.
I made these for my sister's last-minute dinner party when she called in a panic about side dishes, and I remember standing in her kitchen with her oven preheating, both of us joking about how fancy we'd make them with smoked paprika. By the time we pulled them out, the whole house smelled incredible, and watching her guests reach for thirds told me everything I needed to know about whether this recipe was worth keeping around.
Ingredients
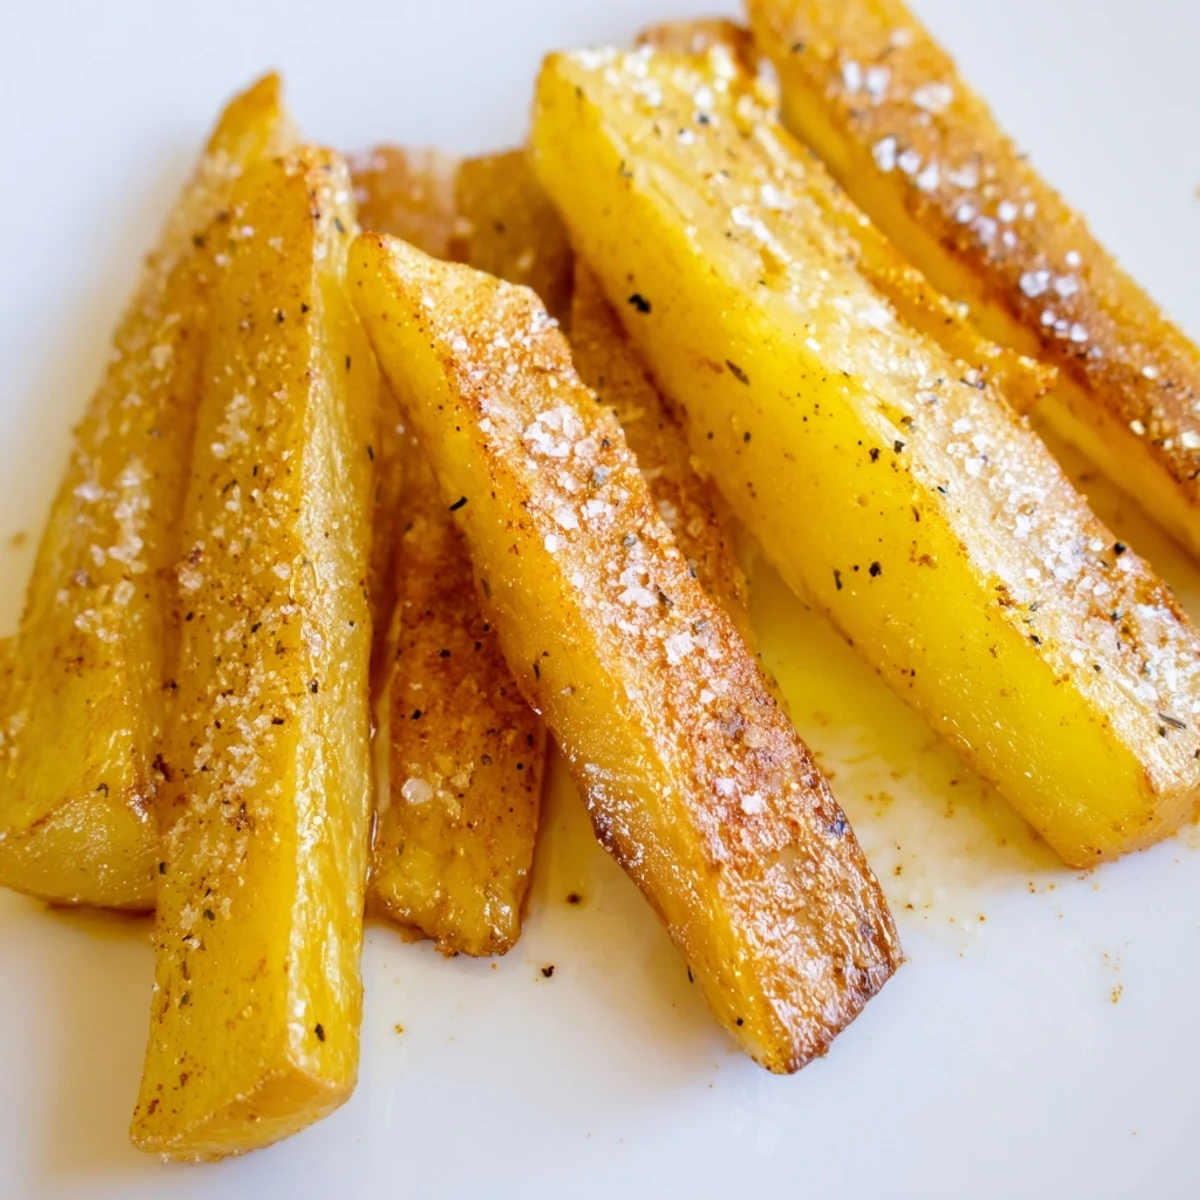
- Russet potatoes (1.2 kg / 2.5 lbs): These starchy potatoes are the gold standard—they crisp up beautifully and have that classic fry texture, though you can swap in Yukon Golds if you prefer something creamier and less fluffy.
- Olive oil (3 tbsp): Use decent quality olive oil since it's a main player here; it helps everything crisp and browns evenly in the oven.
- Sea salt (1½ tsp plus more for finishing): Flaky sea salt tastes completely different from table salt—it melts on your tongue differently and adds real seasoning, not just saltiness.
- Freshly ground black pepper (½ tsp): Grind it yourself if you can; pre-ground pepper tastes tired, and fresh pepper adds a little brightness that changes the whole dish.
- Garlic powder (½ tsp, optional): A small amount gives depth without overpowering, but skip it if you're serving these with aioli or something garlicky.
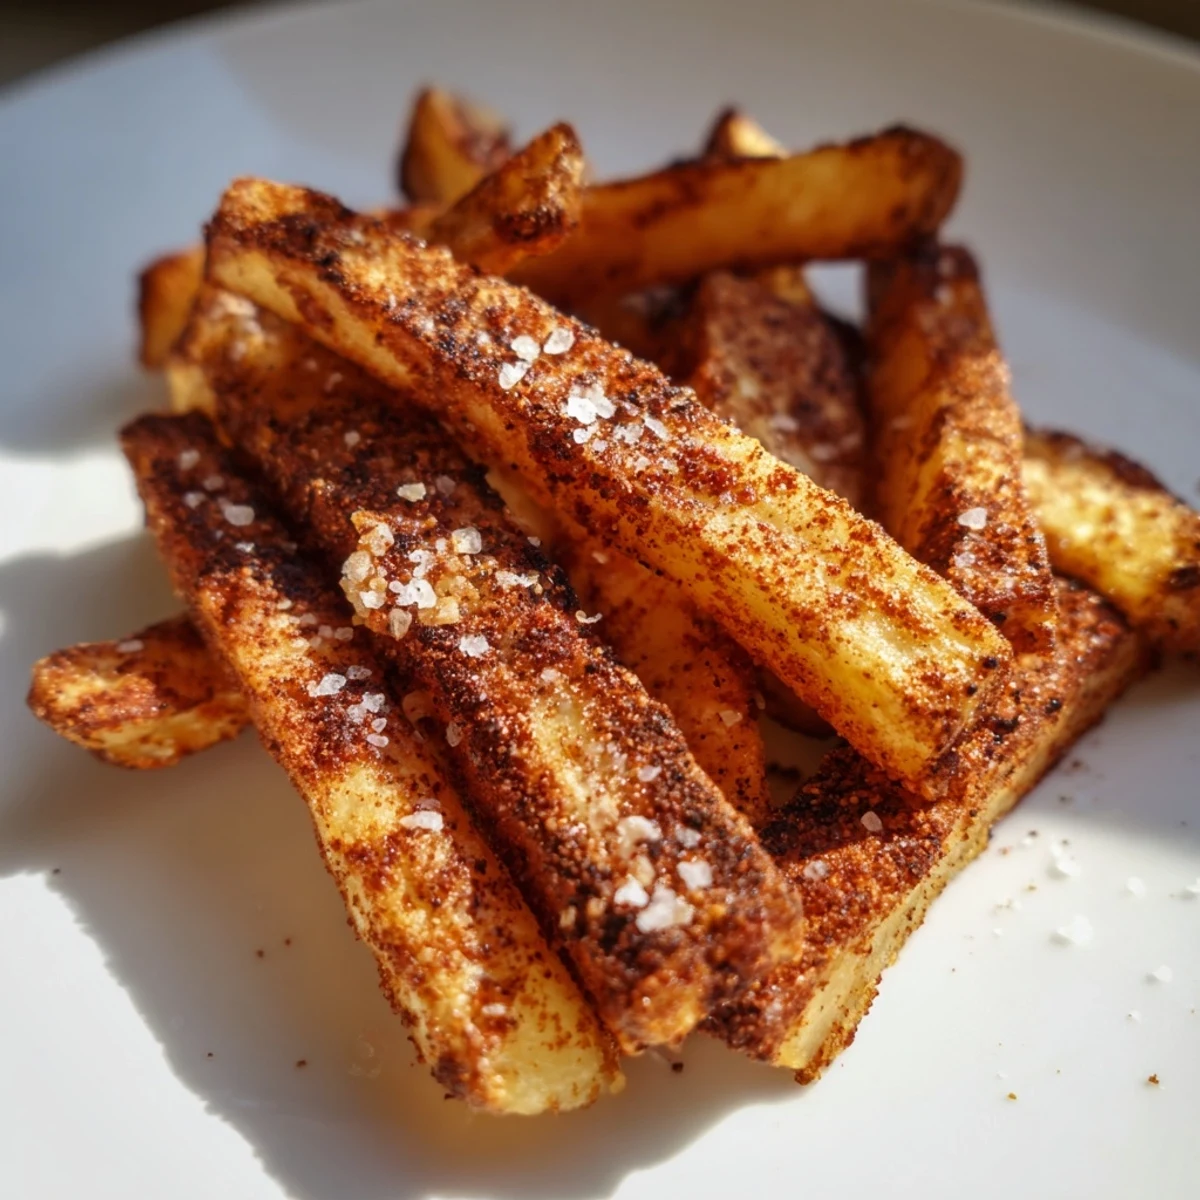
- Smoked paprika (½ tsp, optional): This is the secret ingredient that makes people ask what you did differently—it adds color and a hint of smoke that feels luxurious.
Instructions
- Heat your oven and prep your stage:
- Get your oven to 220°C (425°F) and line two large baking sheets with parchment paper—this is non-negotiable because it prevents sticking and helps them crisp evenly on the bottom.
- Cut potatoes into even sticks:
- Wash and peel your potatoes, then cut them into 1 cm (⅜ inch) thick sticks, aiming for consistency so they cook at the same rate. Thicker pieces stay fluffier inside; thinner ones get crispier all the way through.
- Soak to remove starch:
- Soak the cut fries in cold water for at least 30 minutes—this removes excess starch, which is the actual secret to crispiness. Don't skip this step; it's what separates okay fries from genuinely crispy ones.
- Dry thoroughly:
- Drain the potatoes and pat them completely dry with a clean kitchen towel—any moisture left on them will steam instead of crisping, so this matters more than you'd think.
- Coat with oil and seasonings:
- Toss everything together in a large bowl until every piece is evenly coated; any uncoated spots will stay pale and tough instead of golden and tender.
- Arrange in a single layer:
- Spread the fries on your prepared baking sheets so they're not touching—crowding them traps steam and defeats the whole purpose of getting them crispy.
- Bake and flip:
- Bake for 20 minutes, then flip each fry with a spatula, rotate the trays, and bake for another 15–20 minutes until they're golden and crispy. The flipping and rotating are the real work here, but they're what keeps things even.
- Finish with salt and serve hot:
- The moment they come out, sprinkle with extra flaky sea salt while they're still hot—the heat helps it stick, and the contrast of crispy fries and delicate salt crystals is part of the whole experience.
 Save
Save The best moment with this recipe came when my mom took a bite and said, 'These are better than the ones I used to get at the boardwalk,' and I realized that homemade doesn't have to mean complicated—it just means you cared enough to do the small things right. That kind of simple satisfaction is exactly what I make these for.
The Soaking Secret
The reason soaking works is that potatoes contain starch, and when you soak them in cold water, that starch releases and gets washed away. Without it, your fries release moisture during cooking, which creates steam, and steam is basically the enemy of crispiness—it makes everything soft and pale instead of golden and crunchy. I used to think this was fussy until I did a side-by-side test and realized that thirty minutes of soaking is literally the difference between mediocre fries and ones that actually stay crispy for hours.
Why These Cook Evenly
The even thickness and single-layer arrangement means every fry gets the same heat exposure, which is why they all finish golden at the same time instead of some being burnt while others are still soft. I learned this after overcrowding a tray once and ending up with a sad mixture of crispy and floppy fries—now I'd rather bake in two batches and eat them hot than squeeze everything in and compromise the texture. The rotation halfway through matters too because ovens have hot spots, and flipping ensures both sides get equal browning and crispiness.
Customizing Your Fries
Once you have the basic technique down, you can experiment without fear because the foundation is solid. I've done everything from adding fresh rosemary and thyme after baking to dusting them with parmesan and black pepper, and each variation feels special without being complicated. The beauty of a properly made fry is that it's a blank canvas—it's crispy and good enough to eat plain, but it's also a foundation for whatever flavors you want to play with.
- Try Yukon Gold potatoes for a naturally creamier fry that's less fluffy but buttery in the best way.
- Add fresh herbs like parsley, rosemary, or thyme right after they come out of the oven, when they're hot and will release their oils.
- Convection or fan-assisted baking makes them extra crispy if your oven has that setting.
 Save
Save What I love most about this recipe is that it proved to me that healthier versions of classics don't have to feel like sacrifices—they just need a little technique and respect for the ingredient. These fries remind me that simple food, done right, is always the most satisfying.
Recipe FAQs
- → How do I achieve extra crispy fries in the oven?
-
Soaking the cut potatoes for at least 30 minutes removes excess starch, which helps crispiness. Also, spreading fries in a single layer without touching and baking at a high temperature ensures even cooking and crunch.
- → Can I use different kinds of potatoes for these fries?
-
Yes, russet potatoes are ideal for crispiness, but Yukon Gold offers a creamier texture and works well for a softer bite.
- → What seasoning can enhance the flavor besides sea salt?
-
Smoked paprika and garlic powder add a subtle, smoky depth that complements the natural potato flavor without overpowering it.
- → Is it important to pat the potatoes dry before baking?
-
Absolutely. Drying the potatoes thoroughly after soaking prevents excess moisture, which helps achieve a crisp exterior during baking.
- → What tools are recommended for preparing these oven baked fries?
-
Using a large mixing bowl, baking sheets lined with parchment paper, a sharp knife for cutting, and a clean kitchen towel for drying makes preparation easier and more efficient.
