 Save
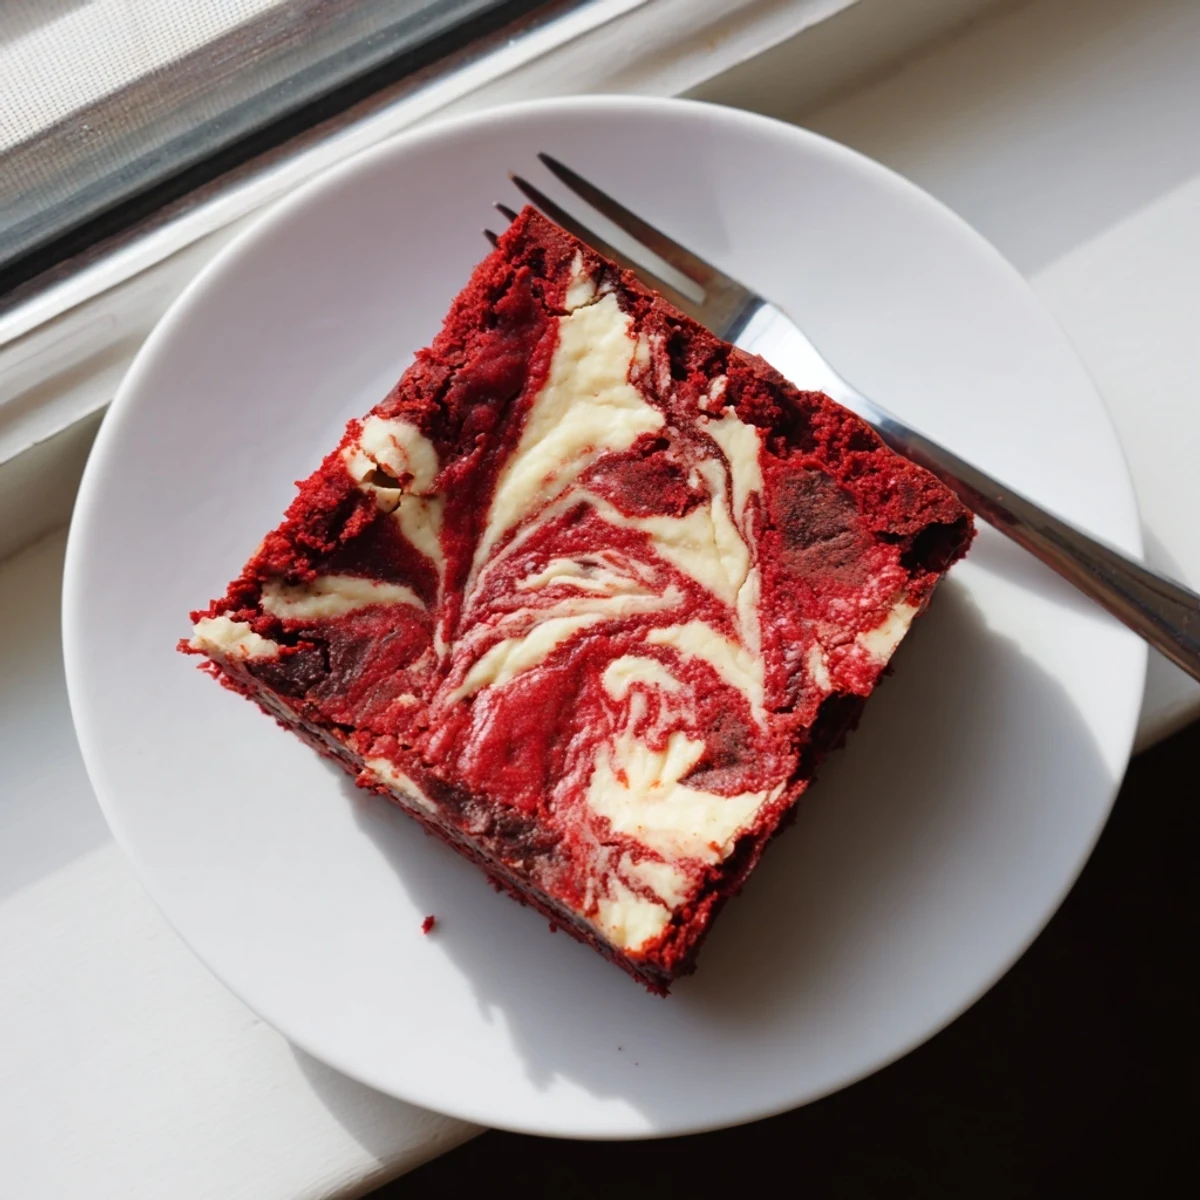
Save These stunning red velvet cheesecake brownies combine the best of both worlds—fudgy, cocoa-rich red velvet brownie base meets velvety smooth cheesecake swirls. The beautiful marbled pattern makes them visually impressive, while the contrasting textures create an irresistible bite. With just 55 minutes from start to finish, you'll have 16 indulgent squares perfect for gatherings, holidays, or whenever cravings strike. The red velvet base delivers that subtle chocolate undertone with classic velvet tanginess, while the cheesecake layer adds creamy richness that balances the dense brownie perfectly.
The first time I made these, my kitchen looked like a crime scene with red food coloring splattered everywhere, but one bite of that swirled, marbled magic made every paper towel worth it.
I brought a batch to a friends birthday dinner last winter, and people literally stopped conversation mid sentence to ask about the stunning red and cream patterns on their plates.
Ingredients
- Unsalted butter: Melted thoroughly creates that dense, fudgy texture we want in the brownie base
- Granulated sugar: Sweetens both layers and helps create that crackly, shiny top on the brownie portion
- Large eggs: Room temperature eggs blend more smoothly into both batters for consistent texture
- Vanilla extract: Pure vanilla extract enhances the cream cheese flavor beautifully
- Red food coloring: Gel coloring gives you that vibrant red without adding extra liquid
- All purpose flour: Sifted flour prevents any clumps in your velvet smooth batter
- Unsweetened cocoa powder: Dutch process cocoa gives deeper, mellower chocolate flavor
- Salt: Just enough to brighten the chocolate and balance the sweet cream cheese layer
- Cream cheese: Full fat and completely softened ensures no lumps in your swirl
Instructions
- Prepare your pan and oven:
- Heat your oven to 350F and line an 8x8 inch pan with parchment, letting the paper hang over the sides like handles for easy lifting later.
- Mix the red velvet batter:
- Whisk the melted butter and sugar until theyre glossy and combined, then add eggs, vanilla, and food coloring until you have that signature vibrant red.
- Add dry ingredients:
- Sift your flour, cocoa, and salt directly into the wet mixture and fold everything together gently.
- Layer the batters:
- Reserve a quarter cup of your red batter, spread the rest in your pan, then pour the cream cheese mixture over the top.
- Create the swirl:
- Drop spoonfuls of reserved red velvet batter across the cheesecake layer and drag a knife through them in figure eights until they marble together.
- Bake to perfection:
- Bake for 33 to 36 minutes until the center barely jiggles and a toothpick comes out with moist crumbs.
 Save
Save My sister asked for the recipe before she even finished her first square, and now these are her go to whenever she needs to impress someone new.
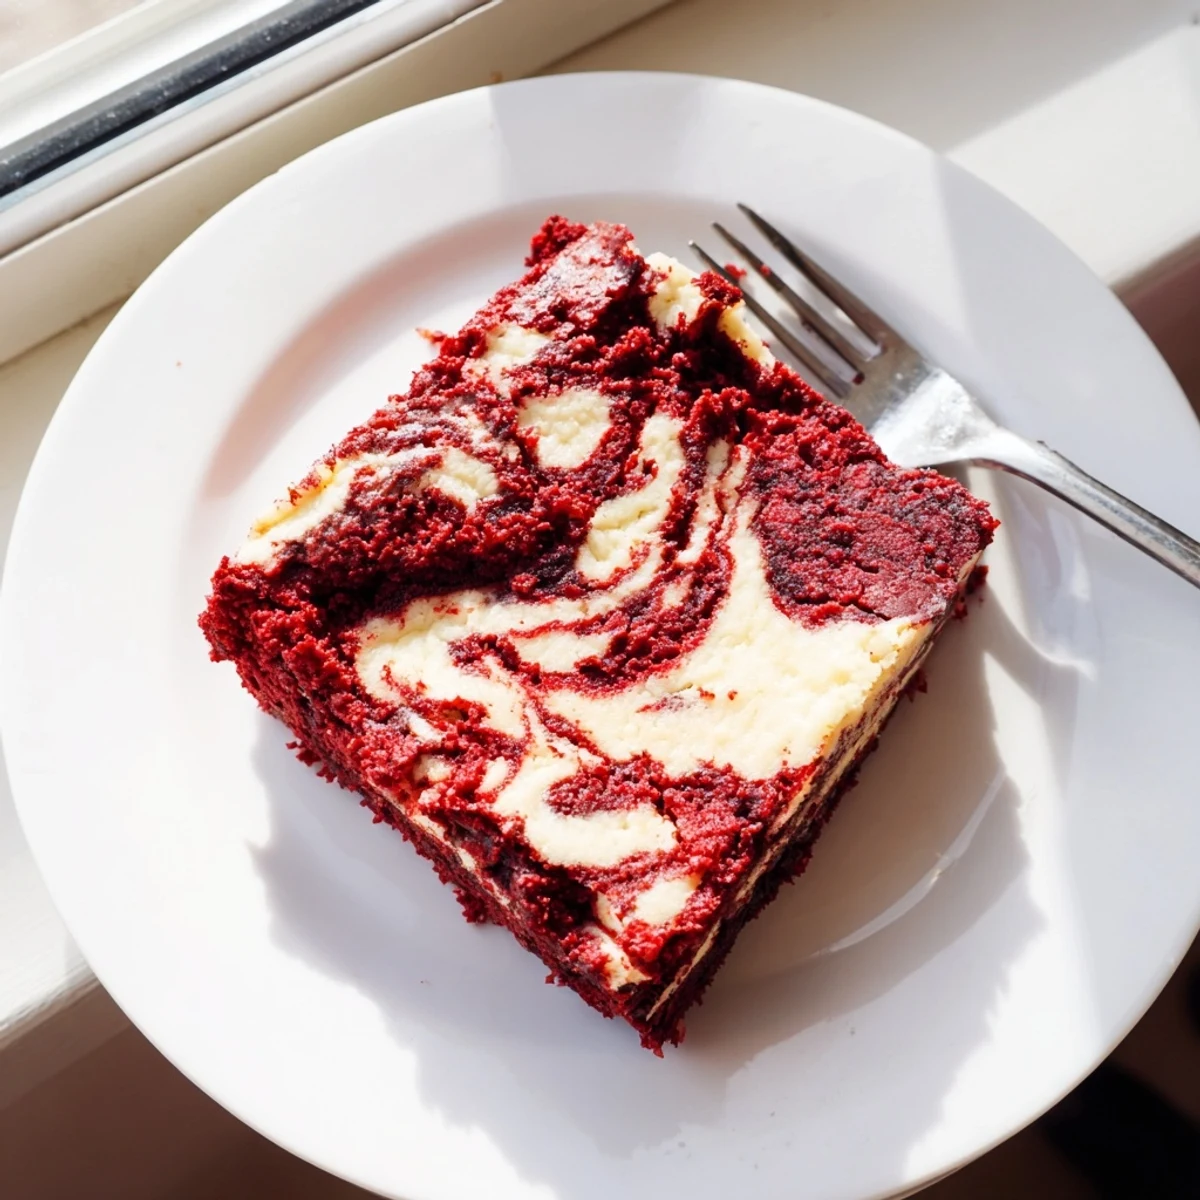
Getting the Perfect Swirl
Do not overwork your marble pattern. Just three or four figure eight motions with your knife give you those gorgeous ribbons without turning everything muddy pink.
Room Temperature Matters
Cold cream cheese creates tiny lumps that you will never fully whisk out. Let everything sit on the counter for at least an hour before you start baking.
Cutting Clean Squares
Chill the finished brownies completely before slicing, then wipe your knife with a damp paper towel between each cut for those picture perfect edges.
- Run your knife under hot water for the cleanest cuts
- Use a ruler if you want perfectly uniform squares
- These actually taste even better on day two
 Save
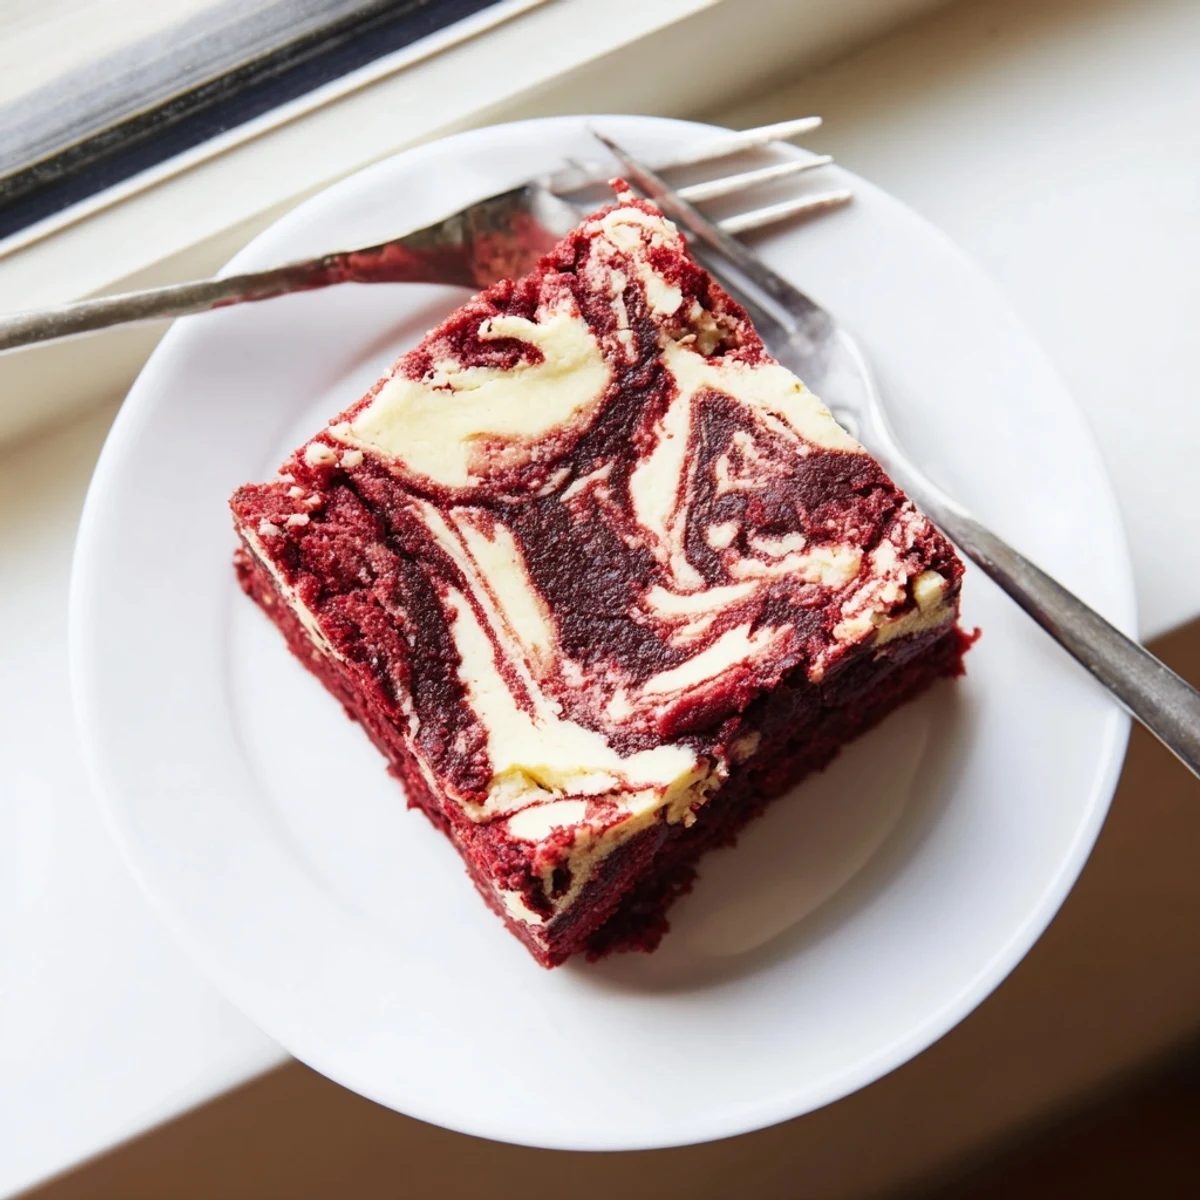
Save These have become my secret weapon for every potluck and holiday gathering.
Recipe FAQs
- → How do I know when the brownies are done baking?
-
Insert a toothpick into the center—it should come out with a few moist crumbs rather than completely clean. The center should feel just set, not jiggly. Overbaking will dry out the texture.
- → Can I make these ahead of time?
-
Absolutely. These actually taste better after chilling overnight in the refrigerator. The flavors meld together and the cheesecake layer firms up nicely. Store in an airtight container for up to 5 days.
- → Why is my red velvet batter not very red?
-
The natural cocoa powder can darken the red color. For vibrant red results, use high-quality gel food coloring rather than liquid. You may need slightly more than one tablespoon depending on your brand preference.
- → Can I freeze these brownies?
-
Yes, wrap individual squares tightly in plastic wrap then place in a freezer-safe bag. Freeze for up to 3 months. Thaw overnight in the refrigerator for best texture.
- → What's the best way to get clean swirls?
-
Drop spoonfuls of reserved batter evenly over the cheesecake layer, then use a butter knife or skewer to make figure-eight motions through both layers. Don't over-swirl or you'll lose the distinct marbled pattern.
- → Can I use natural cocoa powder instead of Dutch-processed?
-
Natural cocoa powder works fine and may give a slightly more intense chocolate flavor. The color might be slightly darker but the taste will still be delicious. Dutch-processed yields a milder, smoother chocolate note.
