 Save
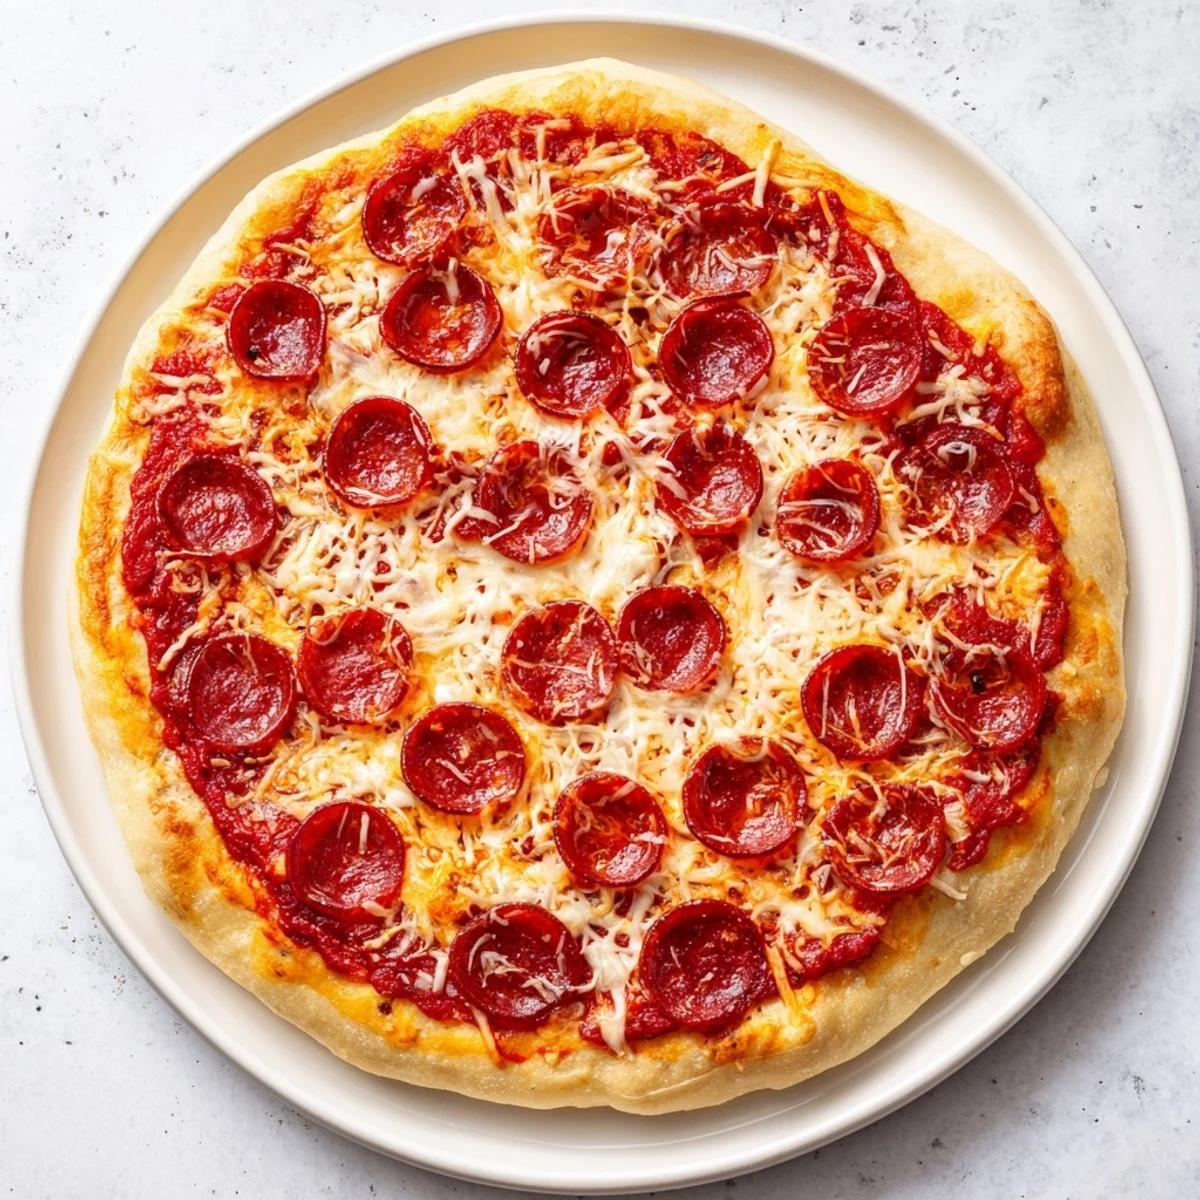
Save Master the art of thick crust pan pizza with a crispy golden bottom and soft, chewy interior. This American-style favorite features a buttery crust that rises in the oven, creating those signature airy edges. The secret lies in pressing dough into well-greased pans and letting it rest before baking at high heat. Top with classic tomato sauce, generous mozzarella, and your favorite toppings for that beloved takeout experience right from your kitchen.
The smell of butter hitting hot cake pans still takes me back to my first apartment kitchen, where I attempted to recreate that golden pan pizza crust on a tiny electric stove that never quite heated evenly. I burned the first batch, but that fried butter aroma was so intoxicating I kept trying until I got it right. Something about pressing dough into a well-greased pan feels like giving yourself permission to indulge.
My roommate walked in while I was sliding the first pan into the oven and asked if I'd secretly ordered takeout. When she saw me brushing the crust edges with olive oil, she insisted on staying for the full bake. We ended up eating straight from the pan, standing over the stove, while cheese dripped down our wrists. That's the kind of dinner memory worth repeating.
Ingredients
- 3 cups all-purpose flour: Bread flour gives extra chew, but regular flour works perfectly fine
- 2 ¼ tsp active dry yeast: Check the expiration date because old yeast won't foam properly
- 1 ½ tsp sugar: This feeds the yeast and helps the crust brown beautifully
- 1 ½ tsp salt: Dont reduce this or the crust will taste flat
- 1 cup warm water: Think bathwater temperature, around 110°F
- 2 tbsp olive oil: Adds flavor and keeps the dough tender
- 2 tbsp unsalted butter: This is the secret to that authentic fried crust
- 1 cup canned tomato sauce: Use whatever brand you normally buy for pasta
- 1 tsp dried oregano: Fresh herbs burn too fast in the high oven
- ½ tsp dried basil: Combine with oregano for classic pizza flavor
- ½ tsp garlic powder: More reliable than fresh garlic in the sauce
- ½ tsp onion powder: Adds depth without onion chunks
- ½ tsp sugar: Balances the acidity of the tomatoes
- Salt and black pepper: Season until it tastes right to you
- 2 cups shredded mozzarella: Low-moisture cheese melts better than fresh
- 20-24 slices pepperoni: Or whatever toppings make you happy
- 1 tbsp olive oil: For brushing the crust edges golden
Instructions
- Wake up the yeast:
- Dissolve sugar and yeast in warm water and watch it foam up like science experiment
- Mix the dough:
- Combine flour and salt, then pour in the yeast mixture and olive oil until everything comes together
- Knead it smooth:
- Work the dough on a floured surface for 7-8 minutes until it feels elastic and springs back when poked
- Let it rise:
- Place the dough in an oiled bowl, cover, and leave it alone for an hour in a warm spot
- Prepare the pans:
- Coat two 9-inch cake pans generously with softened butter, then add a thin layer of olive oil
- Shape the crusts:
- Press the dough into the pans, pushing it up the edges slightly to form that classic pan pizza rim
- Rest again:
- Cover the pans and let the dough relax for 10-15 minutes while you preheat the oven to 450°F
- Mix the sauce:
- Combine tomato sauce with all those herbs and spices, then spread it evenly over both crusts
- Add the toppings:
- Sprinkle cheese across the sauce, arrange your toppings, and brush the exposed crust with olive oil
- Bake until golden:
- Slide the pans into the hot oven for 20-25 minutes until the cheese bubbles and the crust turns deep golden brown
 Save
Save Last summer, my neighbor smelled this baking through our shared wall and knocked on my door with a six-pack of beer. We ended up having an impromptu pizza party on my back porch. Sometimes the best meals happen entirely by accident.
Making It Ahead
I've learned that letting the dough rise slowly in the refrigerator overnight develops such better flavor. The next day, just let it come to room temperature for about 30 minutes before shaping. It's like having a secret weapon for Friday nights.
Getting That Crispy Edge
The real magic happens where the dough meets the buttered pan. Don't be shy with the butter coating, and make sure to brush some oil on the crust edges before baking. That's what gives you those golden, slightly caramelized corners that make pan pizza so addictive.
Customizing Your Toppings
Go beyond pepperoni and experiment with what you love. Just remember not to overload the pizza or the crust won't cook through properly.
- Mushrooms release water, so cook them first in a skillet
- Bell peppers add crunch and sweetness that pairs beautifully with the salty cheese
- Pre-cook sausage or ground meat to avoid greasy puddles on your pizza
 Save
Save There's something deeply satisfying about pulling a homemade pan pizza out of the oven, especially when the cheese is still bubbling and that crust smells like buttery perfection. Grab some napkins and dig in.
Recipe FAQs
- → Why press dough up the sides of the pan?
-
Pushing dough up the pan sides creates that signature thick edge that puffs during baking. This forms the classic raised crust characteristic of American pan pizzas, giving you that perfect crispy-to-soft texture gradient.
- → Can I make the dough ahead of time?
-
Absolutely. For enhanced flavor development, let the dough rise slowly in the refrigerator overnight. The extended fermentation creates deeper, more complex taste and improves texture.
- → What's the purpose of brushing crust with olive oil?
-
Brushing the exposed crust edges with olive oil promotes even browning and adds golden color. It also creates a subtle crisp texture while preventing the edge from drying out during baking.
- → Why use cake pans instead of pizza pans?
-
Cake pans have straight sides that help the dough climb upward, creating thicker edges. The heavier material conducts heat evenly, ensuring the bottom cooks through while developing that coveted golden crust.
- → How do I know when it's done baking?
-
Look for deep golden brown crust color and bubbling cheese that's lightly browned in spots. The bottom should sound hollow when tapped, and the crust should feel firm to the touch.
- → Can I freeze the dough for later?
-
Yes, after the first rise, portion the dough and wrap tightly in plastic. Freeze for up to 3 months. Thaw overnight in the refrigerator, then bring to room temperature before pressing into pans.
