 Save
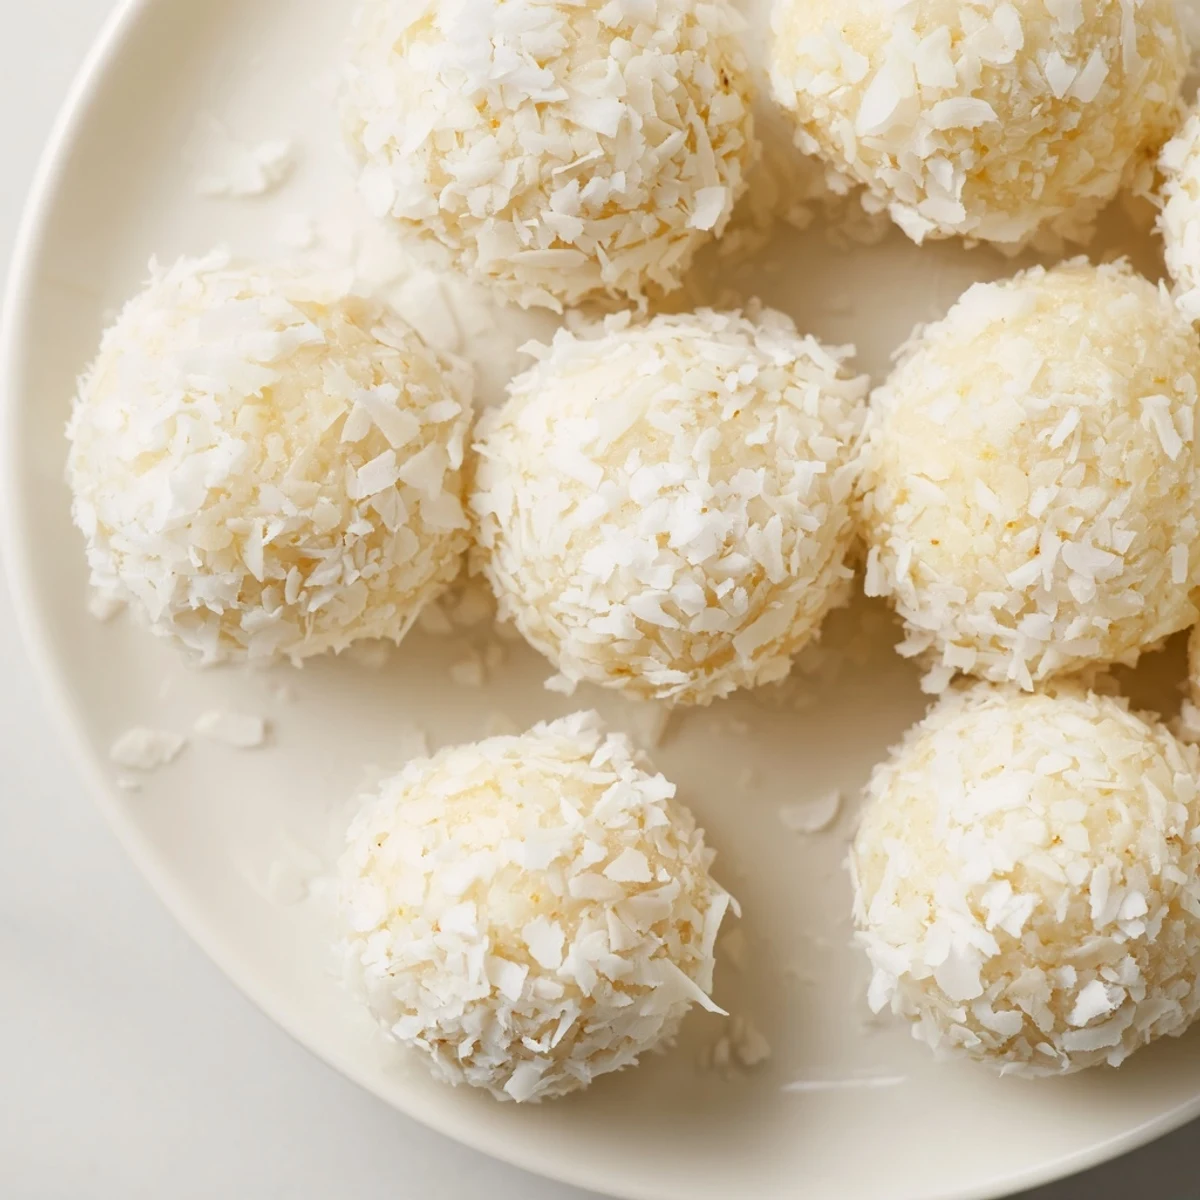
Save These refreshing no-bake treats combine almond flour and shredded coconut with bright citrus flavors from fresh orange and lemon juice and zest. Naturally sweetened with honey, they come together in just 20 minutes without any cooking required. Simply mix, roll into bite-sized balls, and chill until firm. The result is perfectly portioned treats that are naturally gluten-free and vegetarian.
The smell of orange zest and lemon hitting honey is one of those small kitchen pleasures that stops you mid-task. I was prepping these Citrus Bliss Bites for my sister's baby shower, frantically rolling balls at midnight, when I realized the batch would never survive the night because my husband kept sneaking them off the parchment tray. That dough is dangerously snackable before it even chills.
At the shower, guests kept asking which bakery I ordered from, and I just laughed because my hands were still slightly sticky from rolling them that morning. Something about the bright orange and lemon against the white coconut coating makes people think you fussed far more than you did. My mother in law grabbed three before lunch was even served.
Ingredients
- 1 cup almond flour: This is the backbone of the dough, so use a fine grind for the smoothest texture.
- 1/2 cup unsweetened shredded coconut: Adds body and a subtle chew that pairs beautifully with the citrus.
- 1/3 cup honey: Binds everything together while keeping the sweetness gentle and natural.
- 2 tbsp freshly squeezed orange juice: Skip the bottled stuff, fresh juice makes the flavor sing.
- 1 tbsp freshly squeezed lemon juice: Just enough brightness to balance the honey without turning tart.
- 1 tsp finely grated orange zest: The aromatic oils here are where the magic lives, so zest right before mixing.
- 1 tsp finely grated lemon zest: A tiny amount goes a long way toward making these taste alive.
- 1/4 cup finely shredded coconut for rolling: Optional, but it gives each bite a pretty snow-dusted finish.
Instructions
- Mix your dry base:
- Toss the almond flour and shredded coconut into a medium bowl and stir them together so the coconut is evenly distributed throughout the flour.
- Add the wet ingredients:
- Pour in the honey, both juices, and both zests, then stir with a spatula until the mixture clumps together into a soft dough that holds its shape when you press it.
- Roll into balls:
- Using a small cookie scoop or just your palms, roll rounded tablespoon-sized portions into one-inch balls, pressing firmly so they do not crumble.
- Coat with coconut:
- Roll each ball in the extra shredded coconut on a plate, giving it a gentle press so the flakes adhere to the surface.
- Chill and set:
- Arrange the bites on a parchment-lined tray and refrigerate for at least fifteen minutes until they firm up and hold their shape beautifully.
- Serve and enjoy:
- Arrange them on a platter straight from the fridge or let them sit at room temperature for ten minutes for a slightly softer bite.
 Save
Save There is something quietly satisfying about a recipe that needs no cooking, no special equipment, and no practice rounds to get right. These little bites have since shown up at birthday parties, potlucks, and once in a lunchbox with a note that got my husband in trouble at work for bragging.
Storing Your Leftovers
Keep any extra bites in an airtight container in the refrigerator and they will stay fresh and delicious for up to five days. The coconut coating softens slightly over time but the flavor actually deepens, making day three bites arguably better than day one. Let them sit out for a few minutes before serving so the chill mellows and the citrus comes forward.
Making It Your Own
Swap almond flour for certified gluten-free oat flour if you need a nut-free version, though the texture will be slightly heartier and less delicate. A teaspoon of poppy seeds folded into the dough adds a lovely speckled look and a gentle crunch that guests always notice. You can also toast the coconut briefly in a dry pan before rolling for a deeper, warmer flavor.
Quick Reference For Success
After making these a dozen times for various gatherings, a few habits have become second nature and they save me every time.
- Always zest your citrus before juicing because a squeezed-out lemon is miserable to grate.
- A slightly damp scoop prevents sticking better than flouring your hands.
- Do not skip the chill time or the bites will flatten and lose their shape on the platter.
 Save
Save Roll up a batch the night before your next celebration and watch how fast they vanish from the dessert table. Simple, bright, and made with real ingredients, these are the kind of treats that make people ask for the recipe every single time.
Recipe FAQs
- → Can I make these citrus treats nut-free?
-
Yes, simply substitute the almond flour with certified gluten-free oat flour. This maintains the texture while making them safe for those with tree nut allergies.
- → How long do these keep fresh?
-
Store in an airtight container in the refrigerator for up to 5 days. They can be served chilled or at room temperature.
- → Can I use agave instead of honey?
-
Absolutely. Agave syrup works perfectly as a vegan alternative and is recommended for infants under 1 year who should not consume honey.
- → Do I need to chill these before serving?
-
Yes, chilling for at least 15 minutes helps them firm up and hold their shape. They can be served cold or brought to room temperature.
- → Can I add other flavors to the mixture?
-
Try mixing in poppy seeds for extra texture and visual appeal, or lightly toast the coconut before mixing for a nuttier flavor profile.
